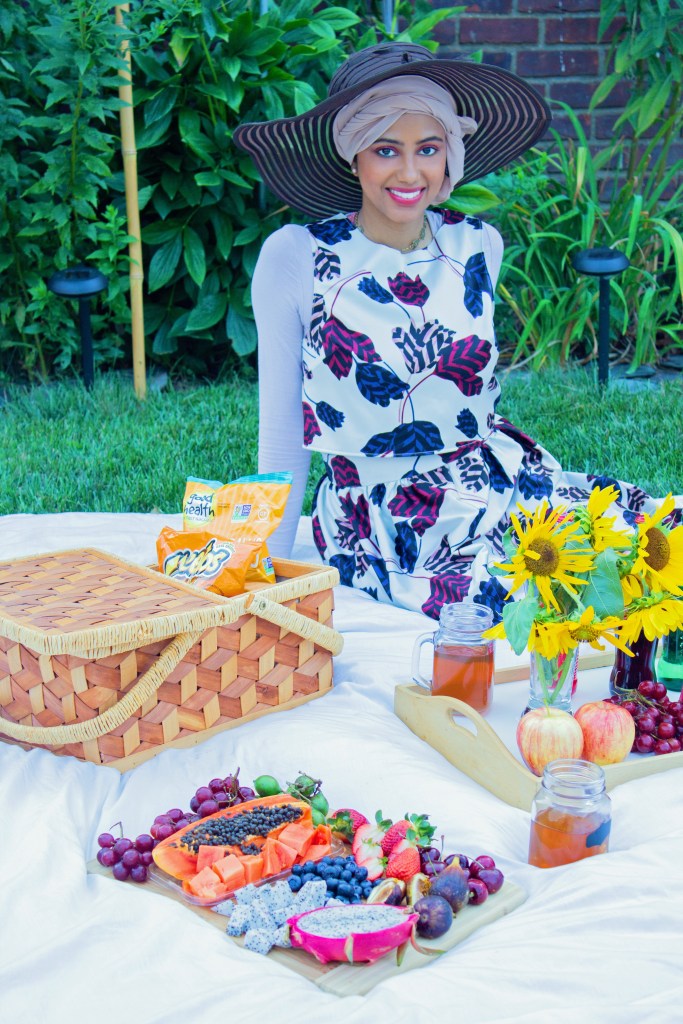
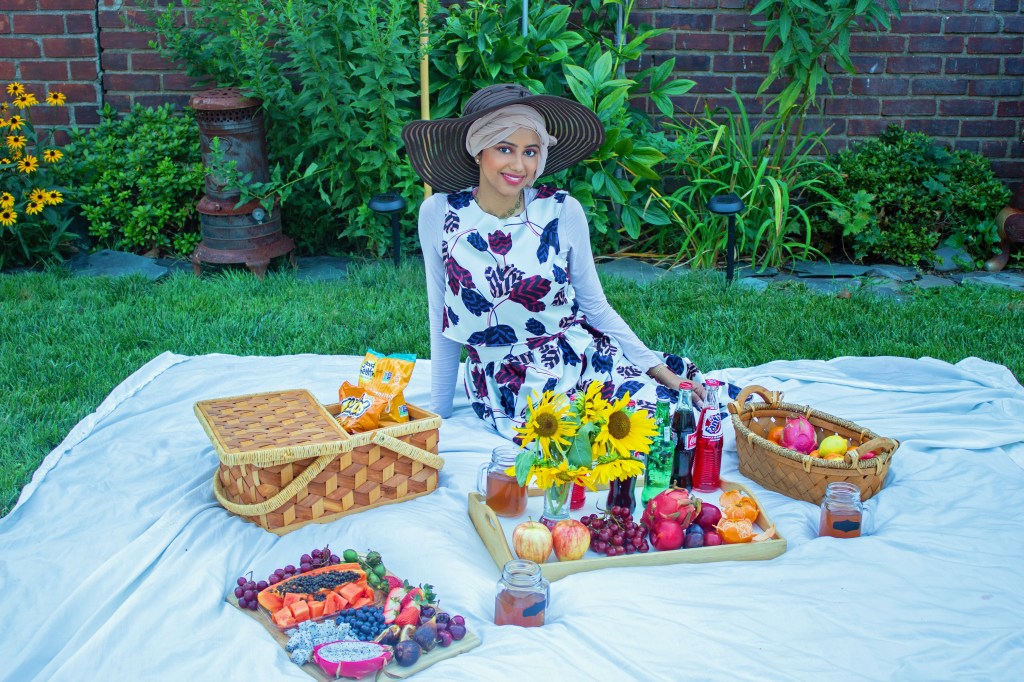
The most wonderful thing about making your own clothes is wearing them again, years later, and having the same level of excitement! It’s not the same feeling with purchased clothing! This lovely co-ord set was resurrected from my #diycloset at a summer picnic with my cousins.
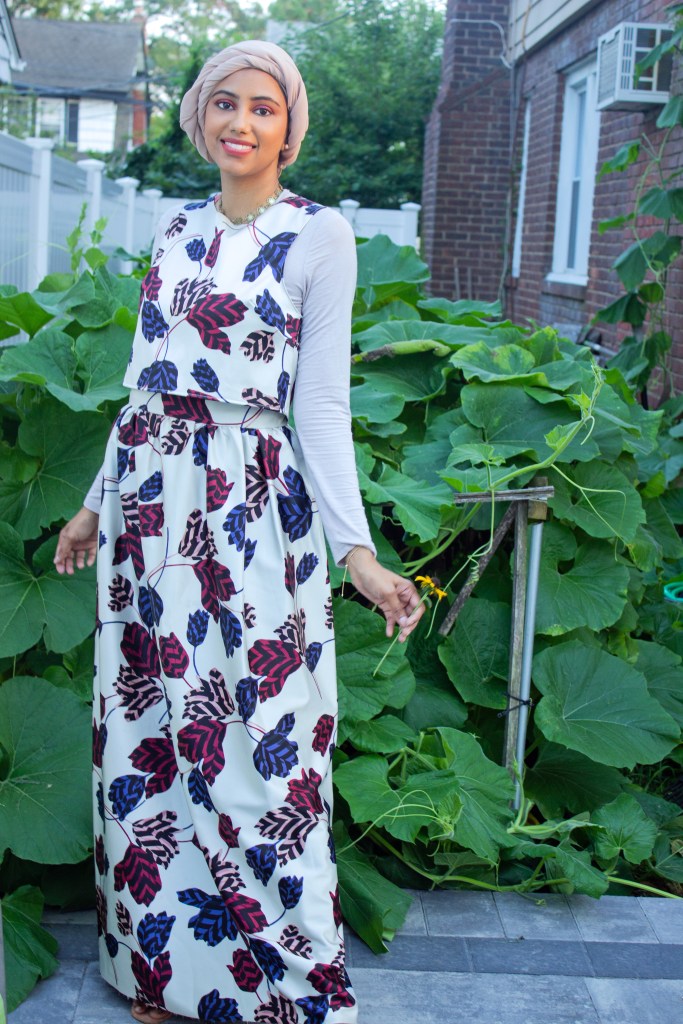
I purchased this fabric way back in 2016 at Mood Fabrics. If you follow me on instagram you’ve probably seen this outfit a ton of times already. 😅 It’s a bonded satin print, actually used in his Fall collection. Yards of this lovely Marc Jacobs print was still laying around, so much that the salesperson told me he couldn’t believe it was still there and thanked me for purchasing it!

I had zero idea what I would make out of it. After a few drapes, I realized this bonded satin fabric was perfect for a voluminous skirt and sleeveless top.

In the rest of this post, I’ll share a few self drafting tips for creating a gathered skirt and crop top set.
❤️Drafting the Skirt
This skirt sits on my natural waist and has a center back invisible zipper. No side seams! It’s a 60″ wide fabric.
Measure 2.5 – 3 times your waist measurement across the selvedge edge of the fabric. Three times your waist will be enough for a beautiful gather and a seam allowance at center back for the zipper. I left raw edges on the hem since this bonded satin doesn’t fray.
Use a 5/8″ seam allowance at the waist. Sew three rows of gathering stitches. Stitch in sections! This is the most important part I’ve learned for sewing gathering stitches on a regular machine.
❤️Drafting the Waistband Length:
The length of the waistband is my waist measurement plus 1.5″ for a overlap with a hook and eye closure.
❤️Drafting the Waistband Width:
The width is the tricky part. I wanted a 2″ waistband. I cut one entire piece for the waistband, although, it’s cleaner finish easier to cut outer and inner waistband pieces. Either way, the basic formula for a large rectangle waistband is: (2″ finished waistband measurement) + (5/8″ seam allowance) then, that number x 2. That gives 5 1/4.” To that, I add an extra 1/8″ to account for the “turn of cloth” which is the 1/8″ when the fabric is turned at seam allowances. This slightly extra makes difference for a perfect waistband edge (or other edge like a collar!). For a 2 piece waistband, I would only add it to the inner band. This is an extra step and most sewing patterns don’t include it, but production patterns usually have two separate pieces for waistbanda and collars.
❤️Drafting the Sleeveless Crop Top
I used a bust dart bodice block. The center back has an invisible zipper. I left raw edges on the neckline and armholes. And, I cut the crop length to just enough to show a bit of the waistband. You can really cut any woven dress pattern that has enough ease (not a fitter design) as a crop top.
❤️My (eye) makeup look

For this summer picnic, I used the Elf Retro Glam palette. I love the color story of this palette. Only a few colors don’t work the best on me, but at $14 it’s a good deal. If you follow me on Instagram (@ammaraza) you know I love coordinating my makeup to my looks.
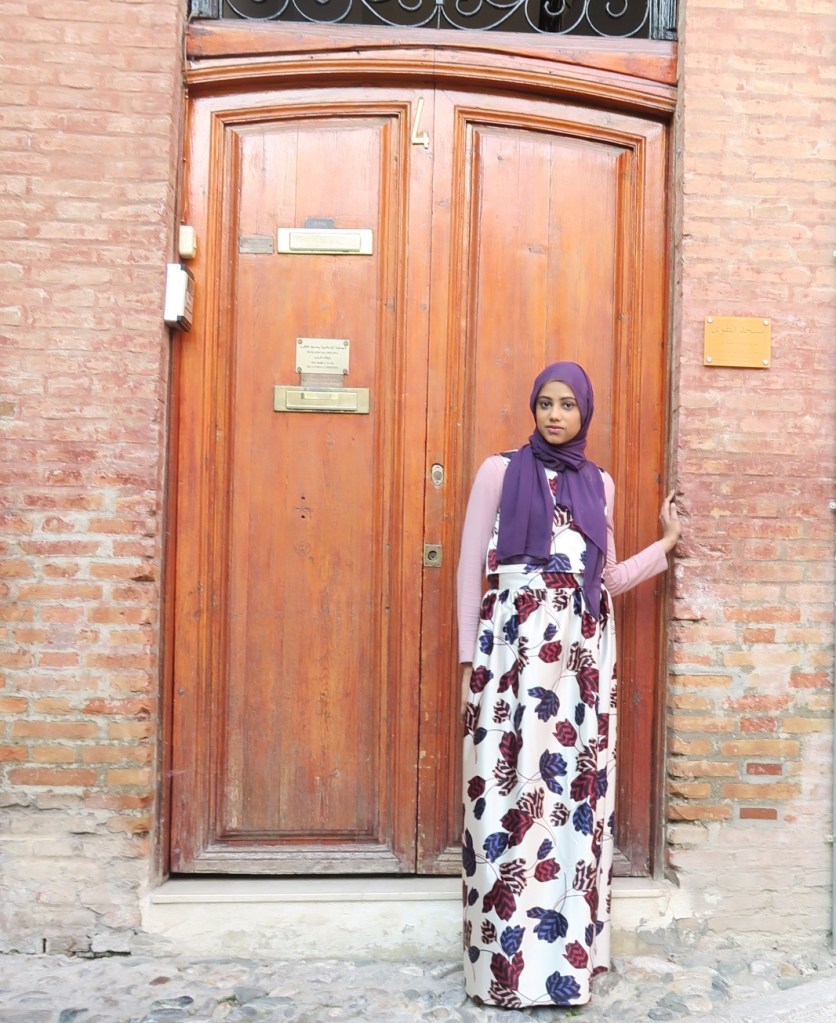
I drafted this to wear on vacation to Spain & Morocco. There’s a picture on my Instagram of me at the Alhambra!
Let me know if you love this print as much I do! If you want to see step-by-step instructions with pictures leave a 💖 in the comments! -Ammara @ammaraza


2 Comments Add yours