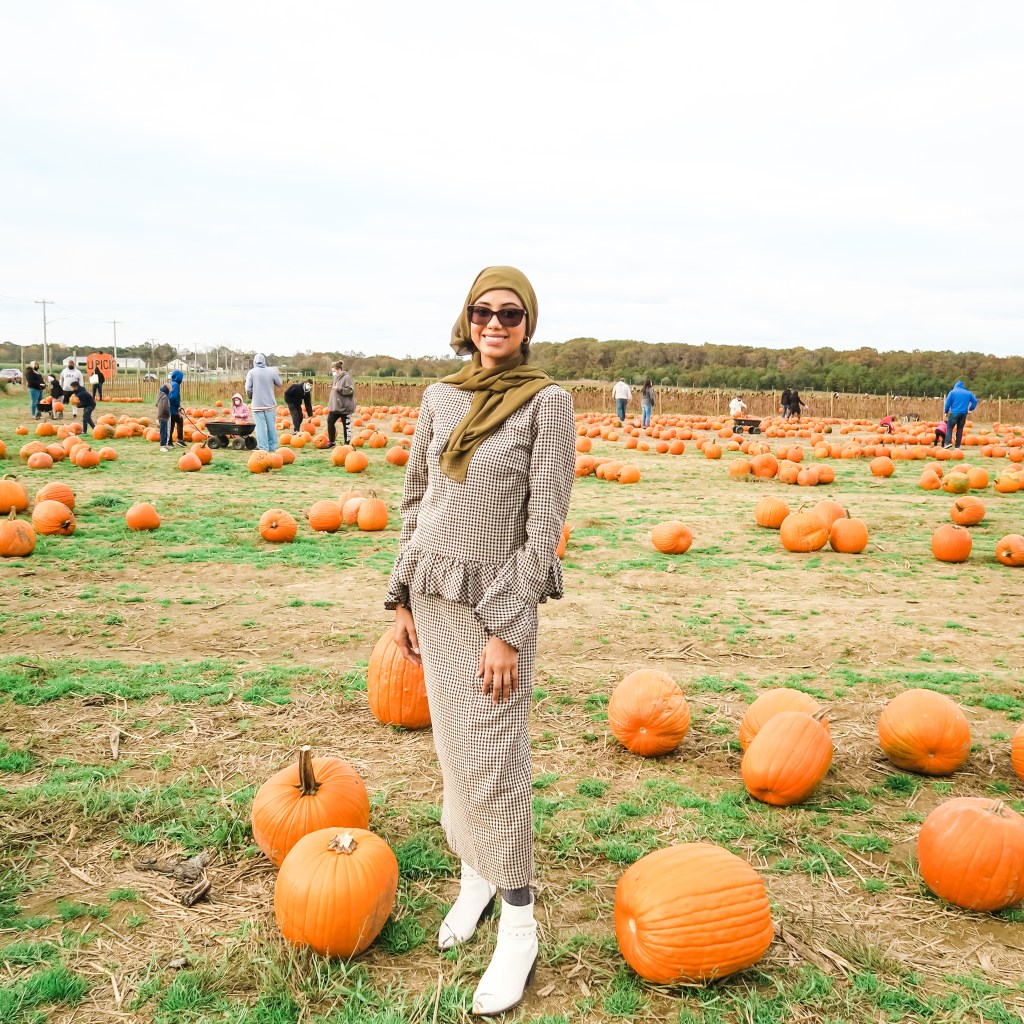
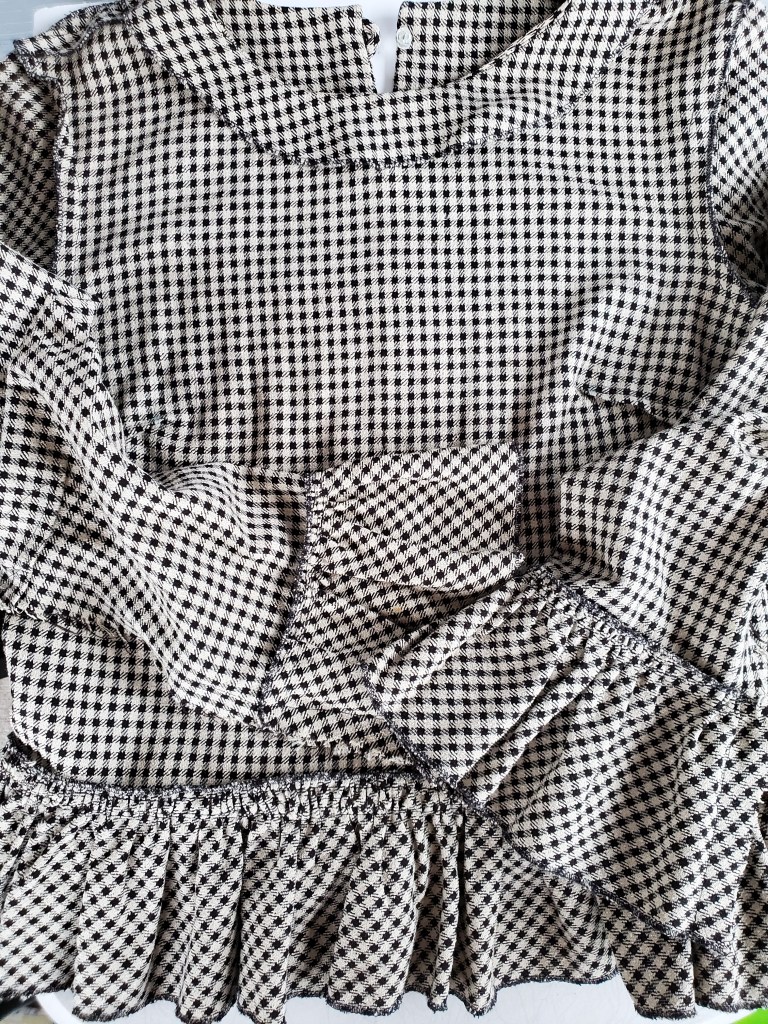
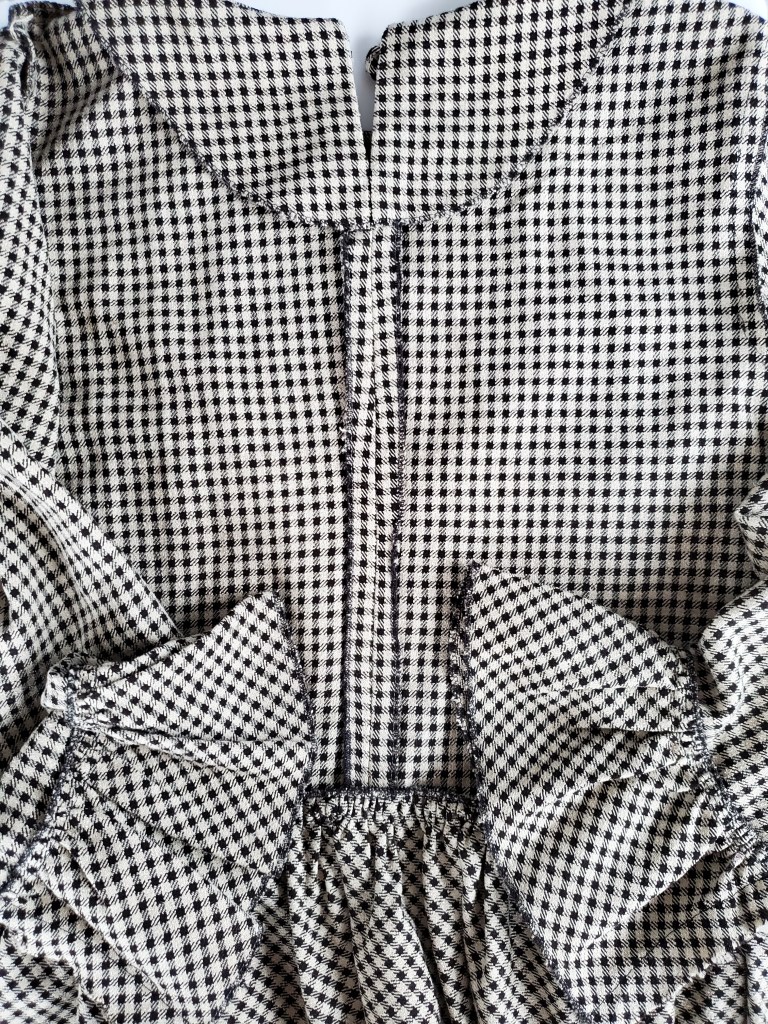
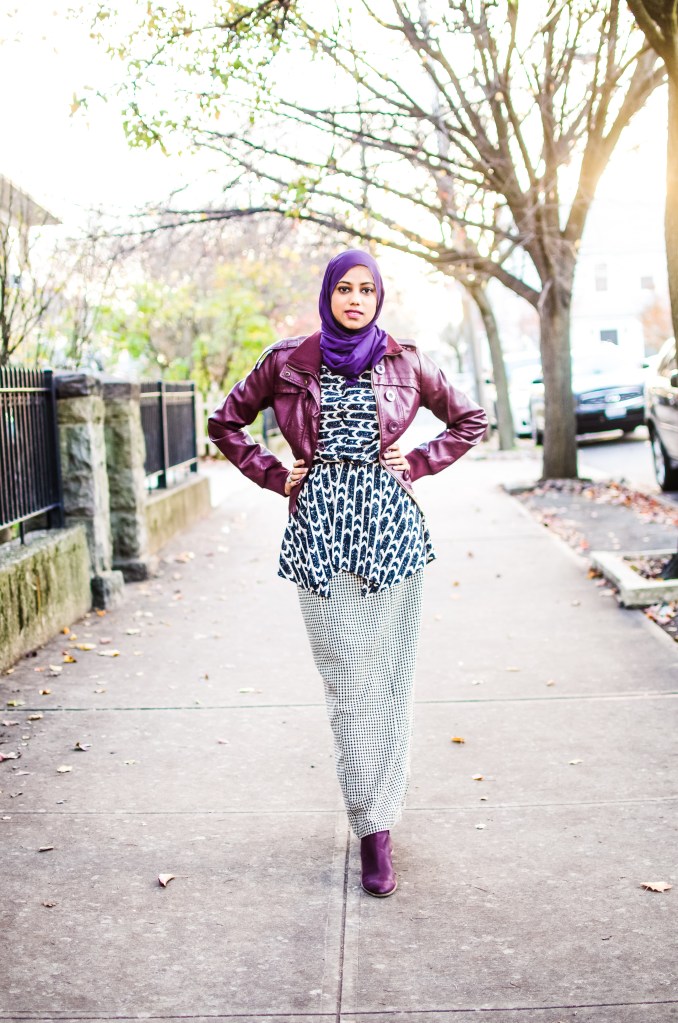
Hey friends 🧡 How fun to wear this Wool Checkered set again after I made it a few years ago!
We visited Waterdrinker Farm in Long Island. Great place for the kiddies to enjoy all the fall activities.
The farm has a pumpkin patch, sunflower field and a corn maze. Plenty of insta-worthy spots!

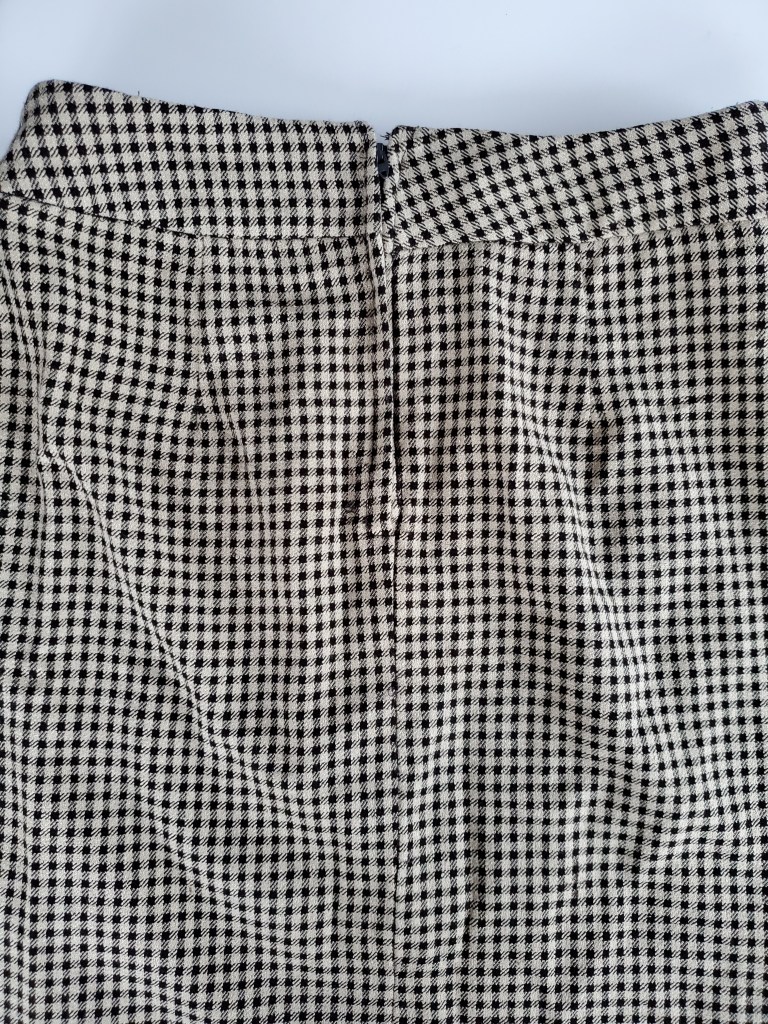
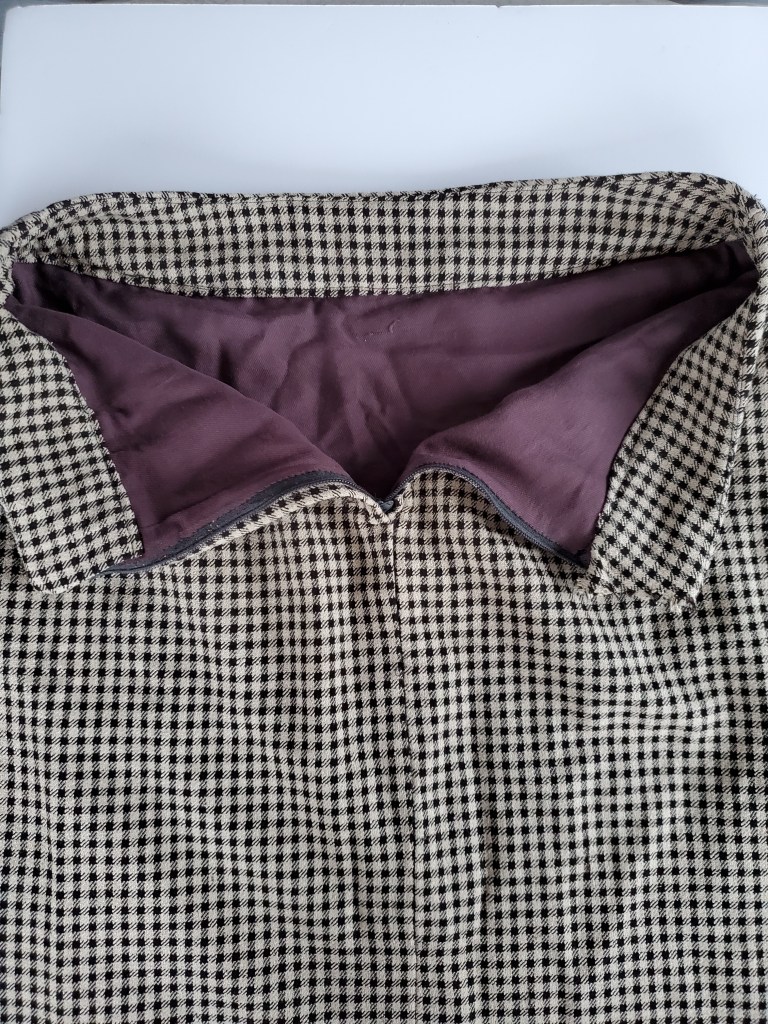
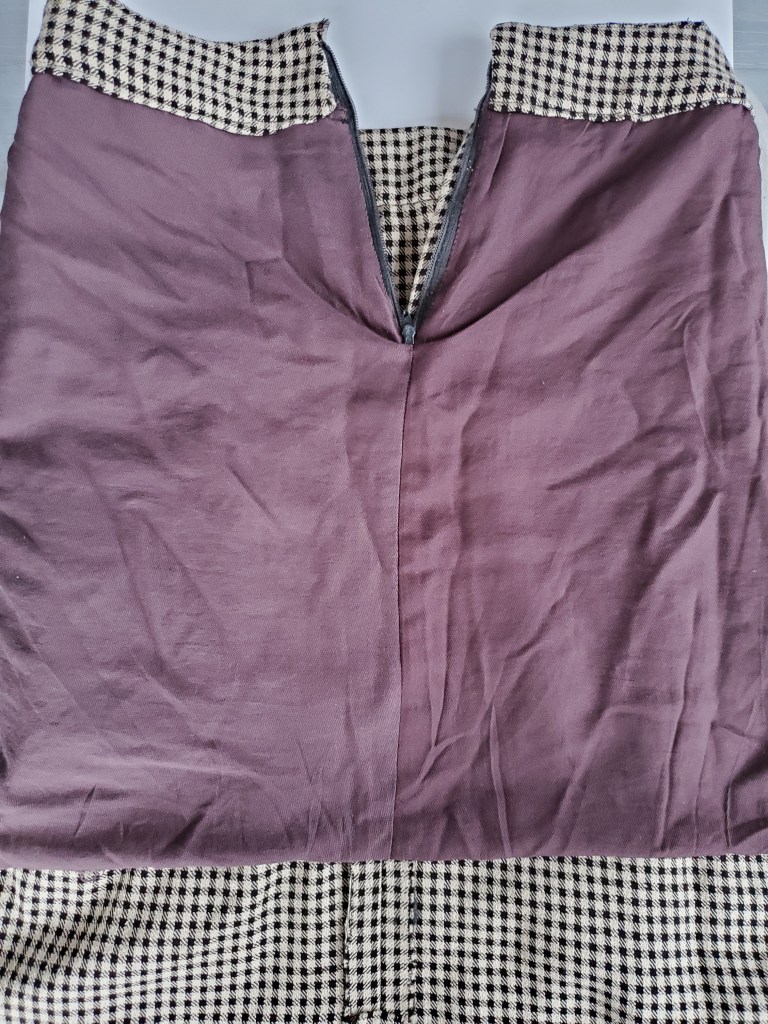
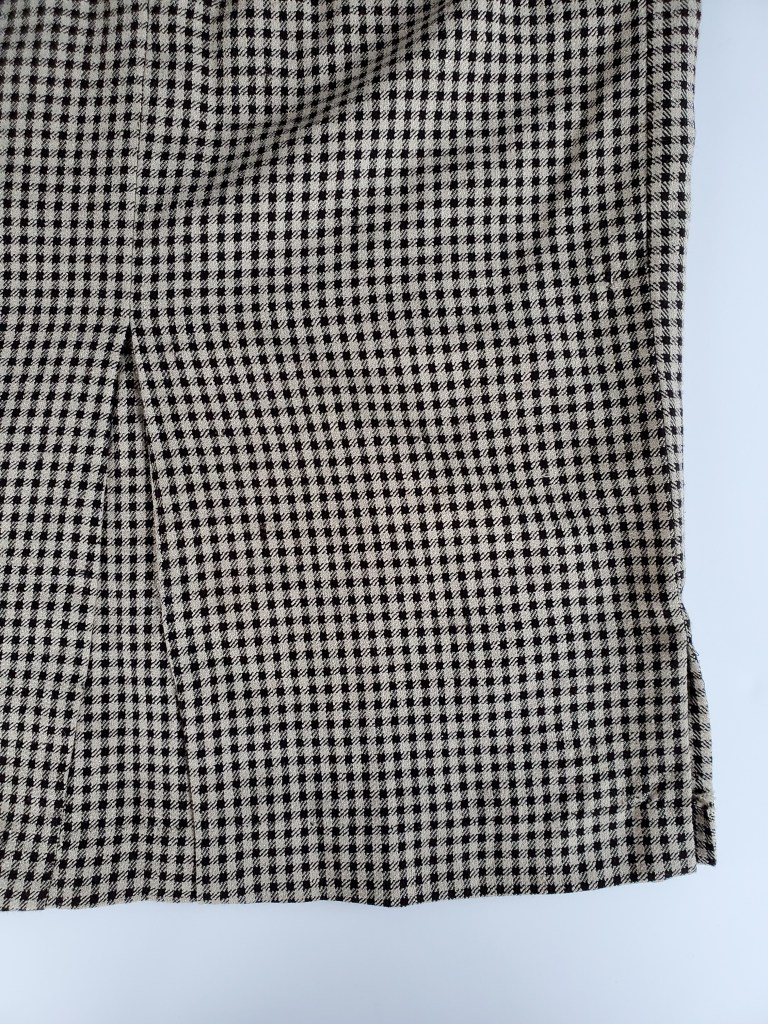
Now, about this outfit! This is the third skirt I’ve ever made around 2014. The first two were for my Sewing I class at FIT. I created the top a whole year after the skirt.
I learned a lot of things sewing this skirt. By the time a year passed and I created the top, I was more confident in self drafting and creating my own designs. The ruffle details and shortening the skirt to a midi length really makes this feel like an ammaraza look.
Behind the Scenes
I used a pattern for the skirt. If you want to learn to sew, start with a sewing pattern!
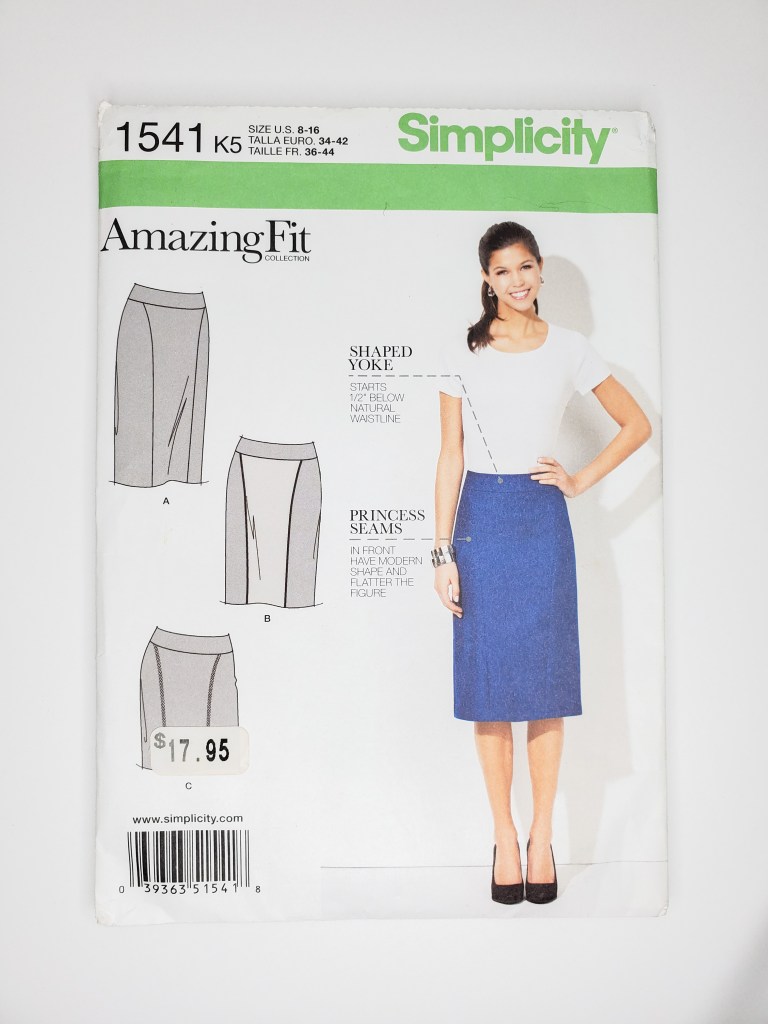
Supplies Used: 🧡Wool Fabric (similar) 🧡Simplicity 1541 Sewing Pattern 🧡Fabric Scissors 🧡Cutting Mat
I literally took months working out the details of this skirt because I made so many mistakes! (I detailed them in the captions below).
I view using skirt sewing patterns as training wheels. Once you sew a few different styles, you can ride on to the next level and self-draft!
Now I find it easier to use my own measurements for the perfect fit. Then create the perfect pattern for the fabric and style I want to wear.
Self-drafting takes practice. If you read my posts on my Minerva Set or Marc Jacobs Set, you can see how far I came from this skirt!

It was so discouraging to make mistakes. Now I see I really learned a lot about pattern drafting, sewing, and creating my design aesthetic. Now I feel quite confident to create any skirt look I want!
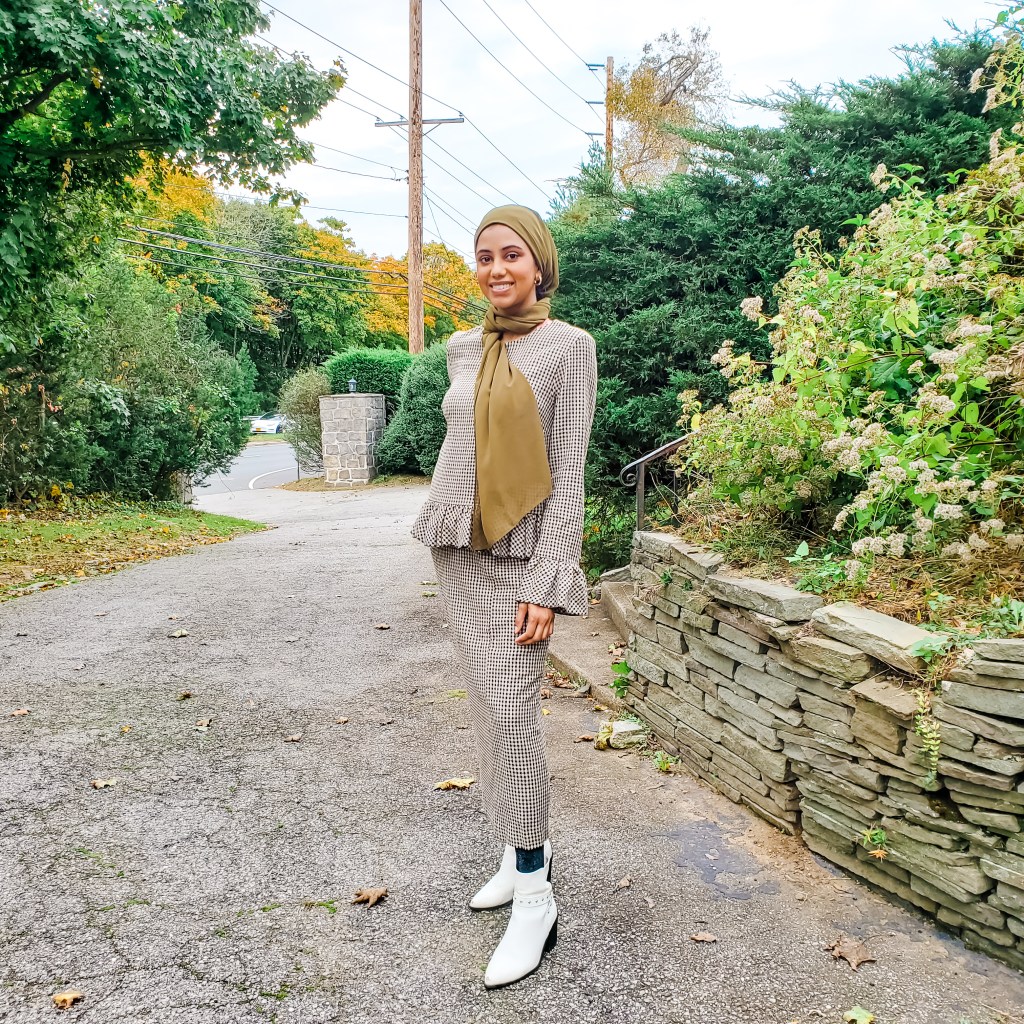
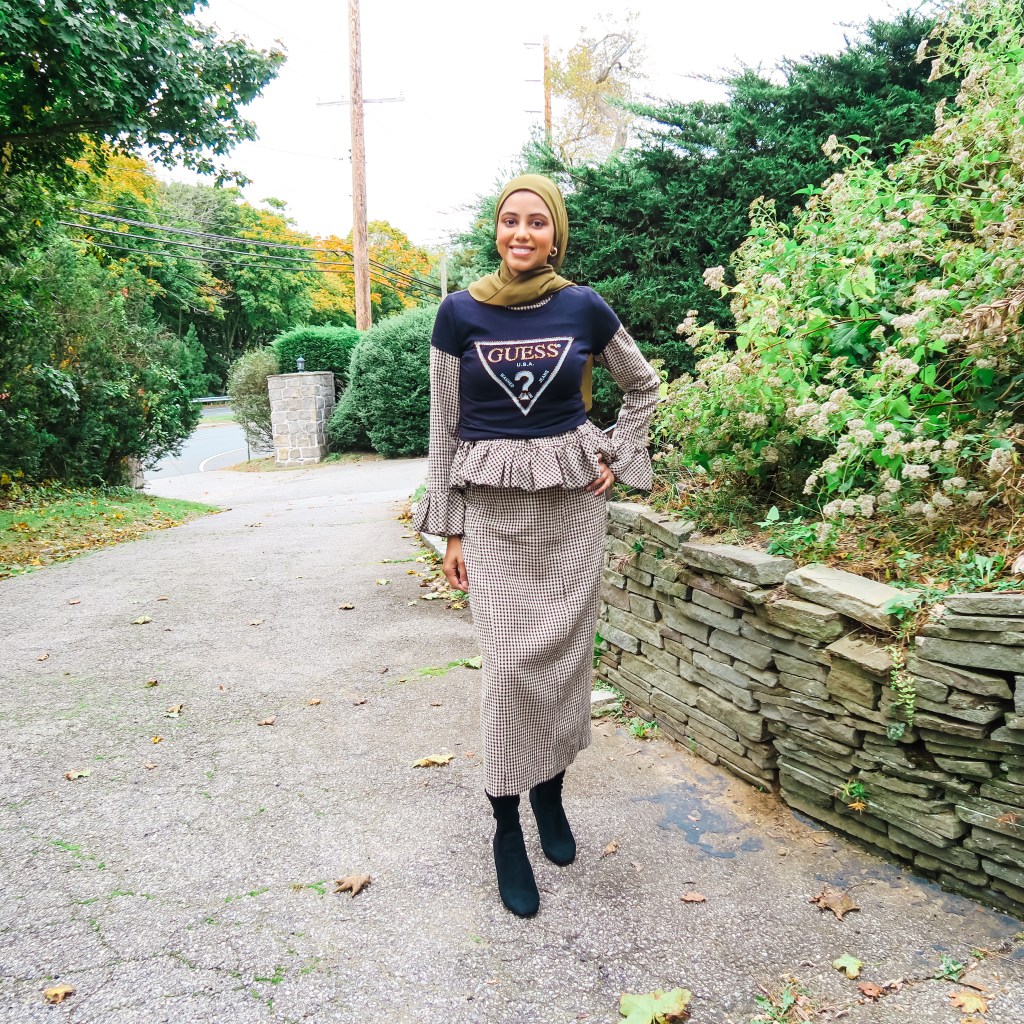
Here are a three ways I’ve worn this set over the years!
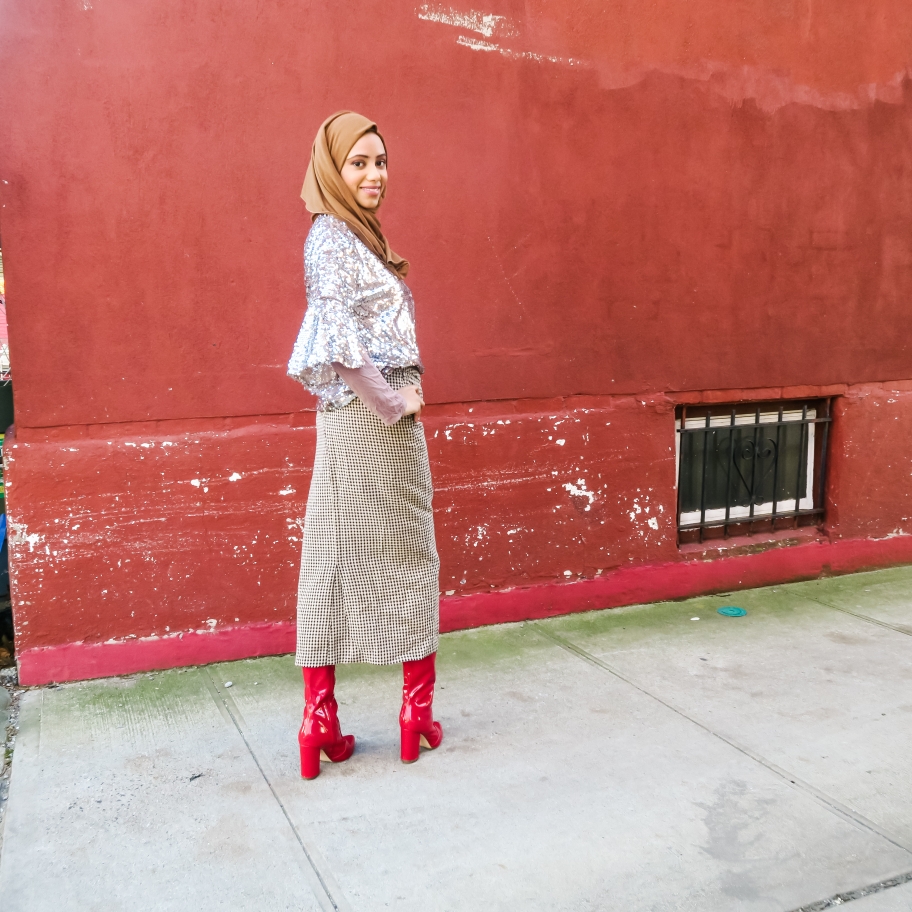
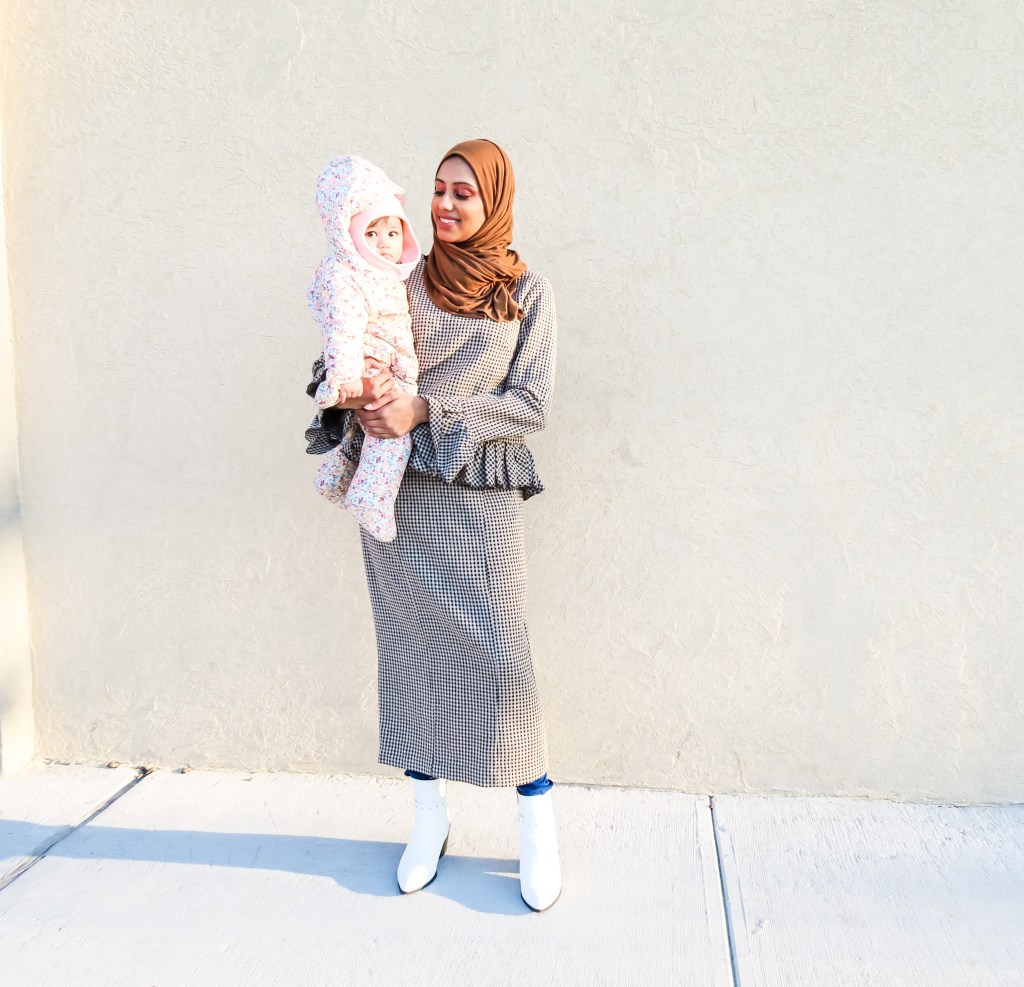
Which style is your favorite?
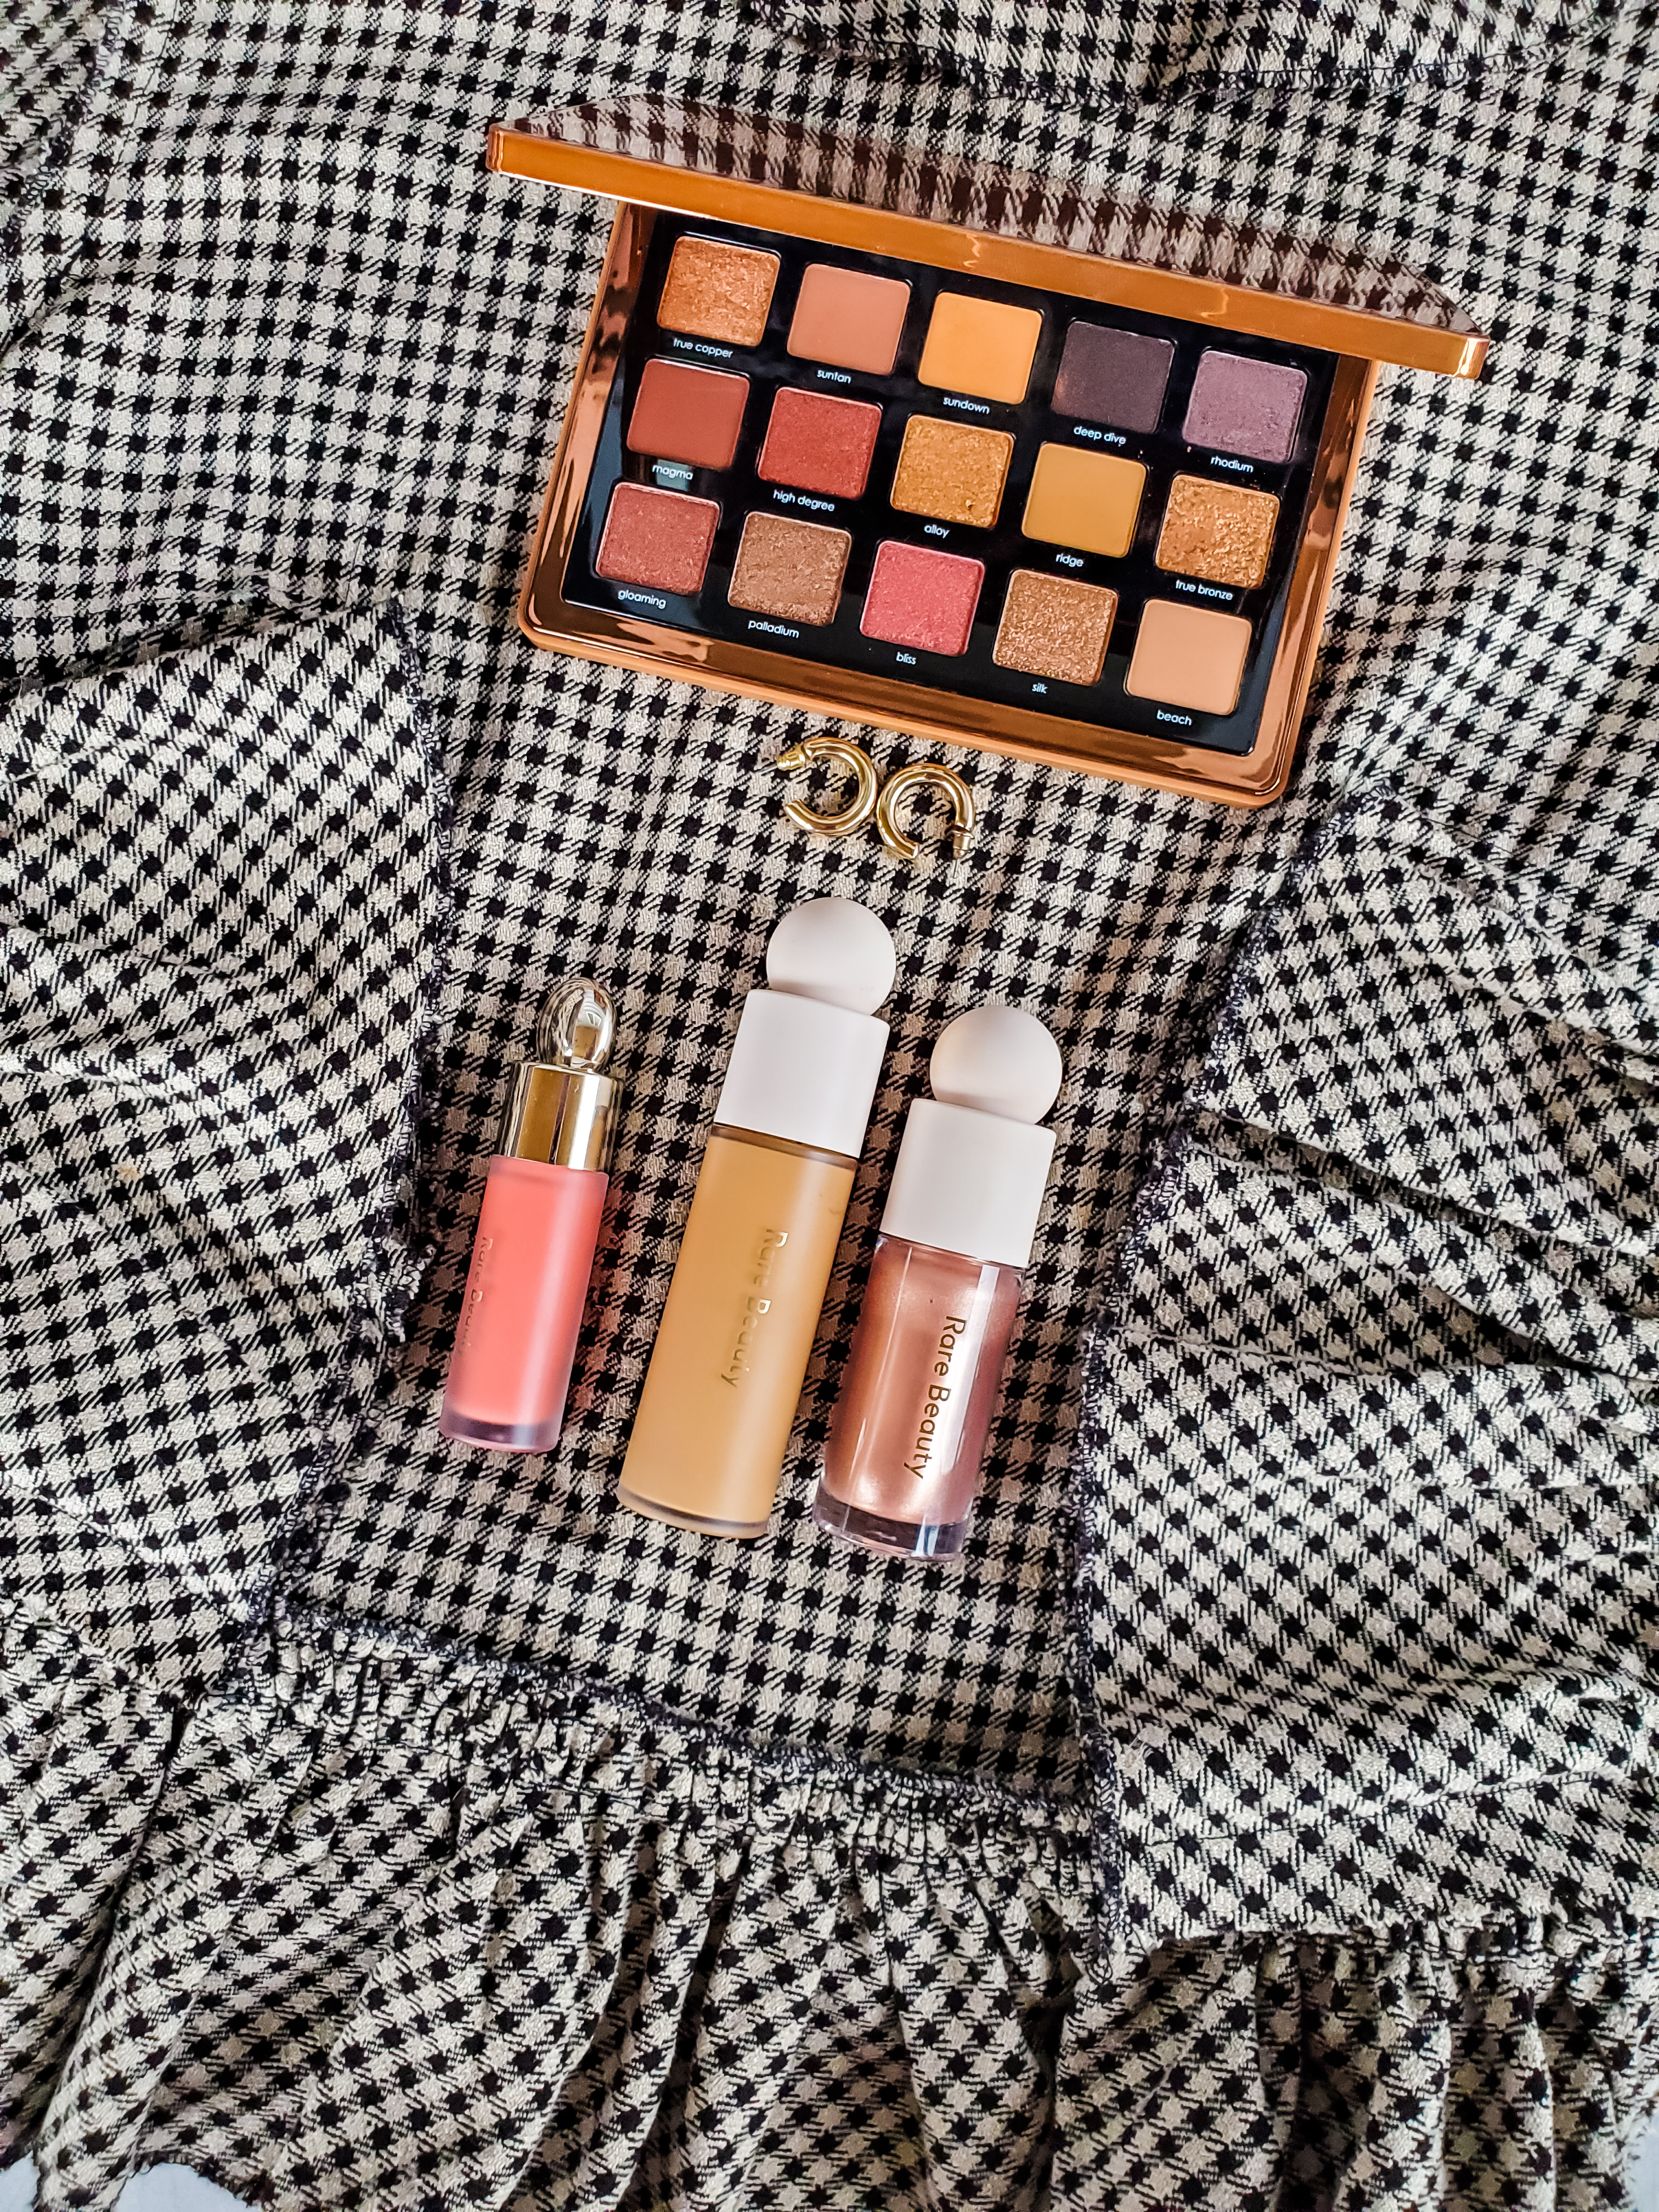
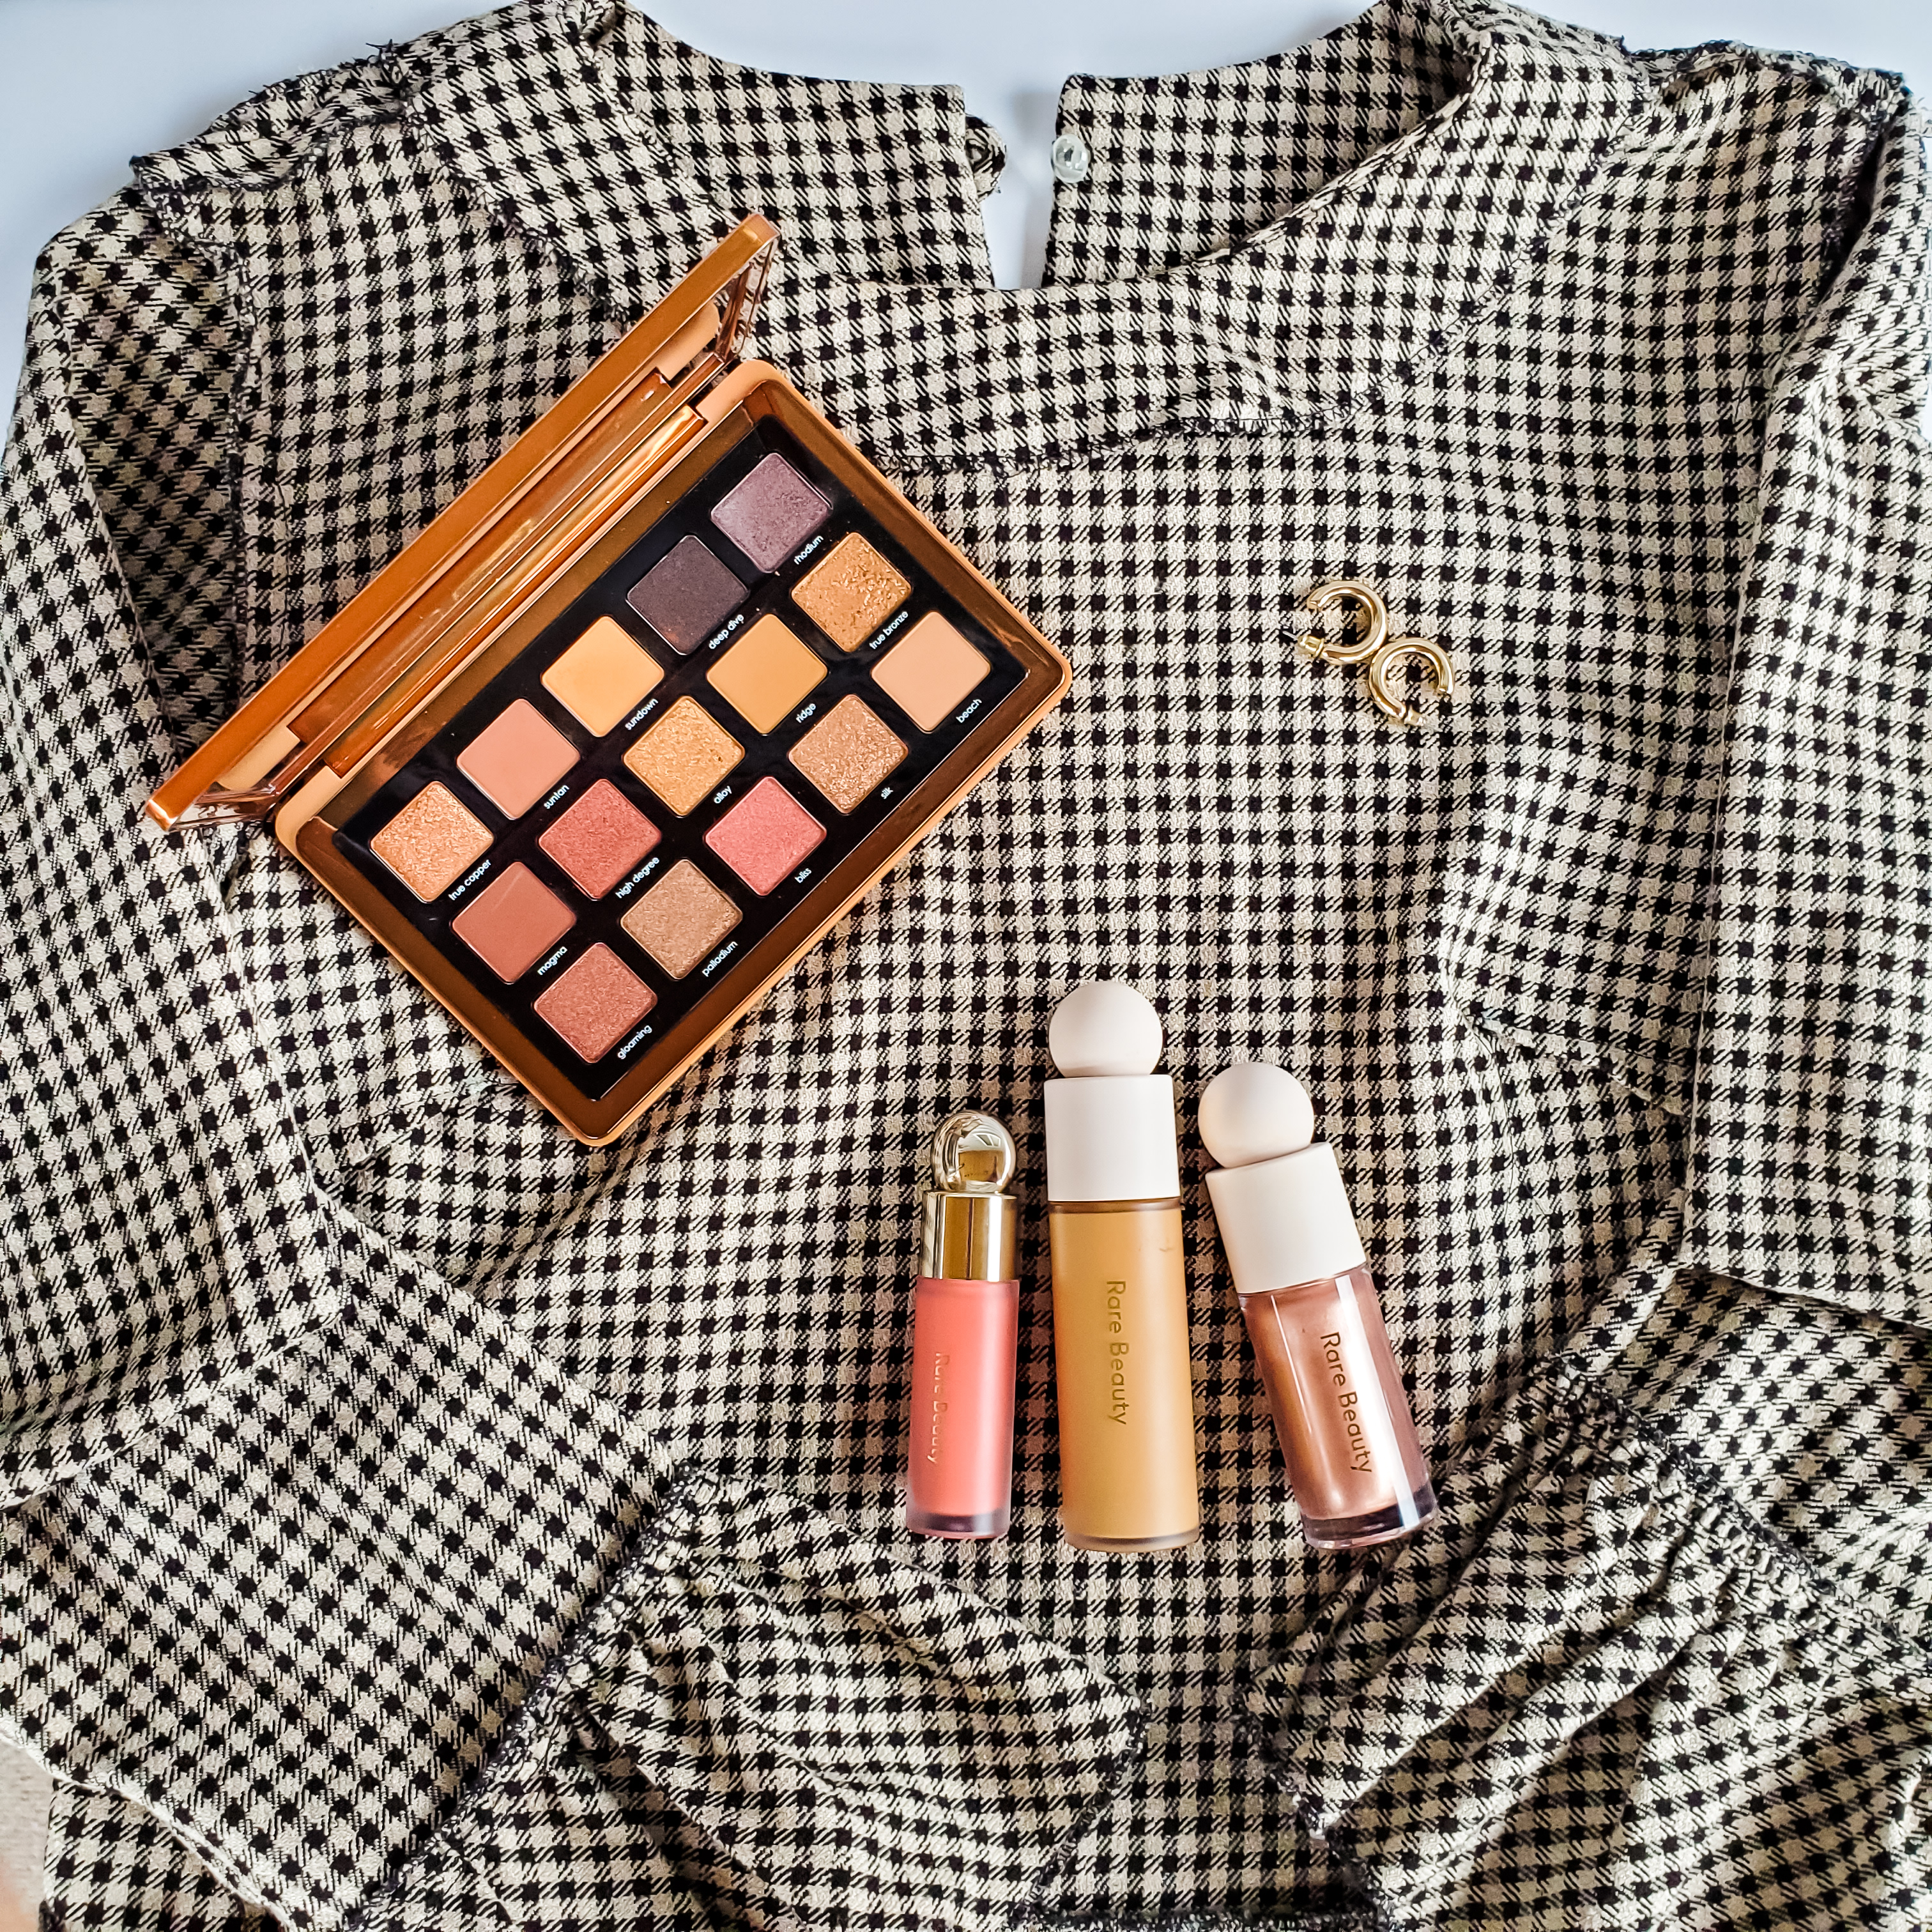
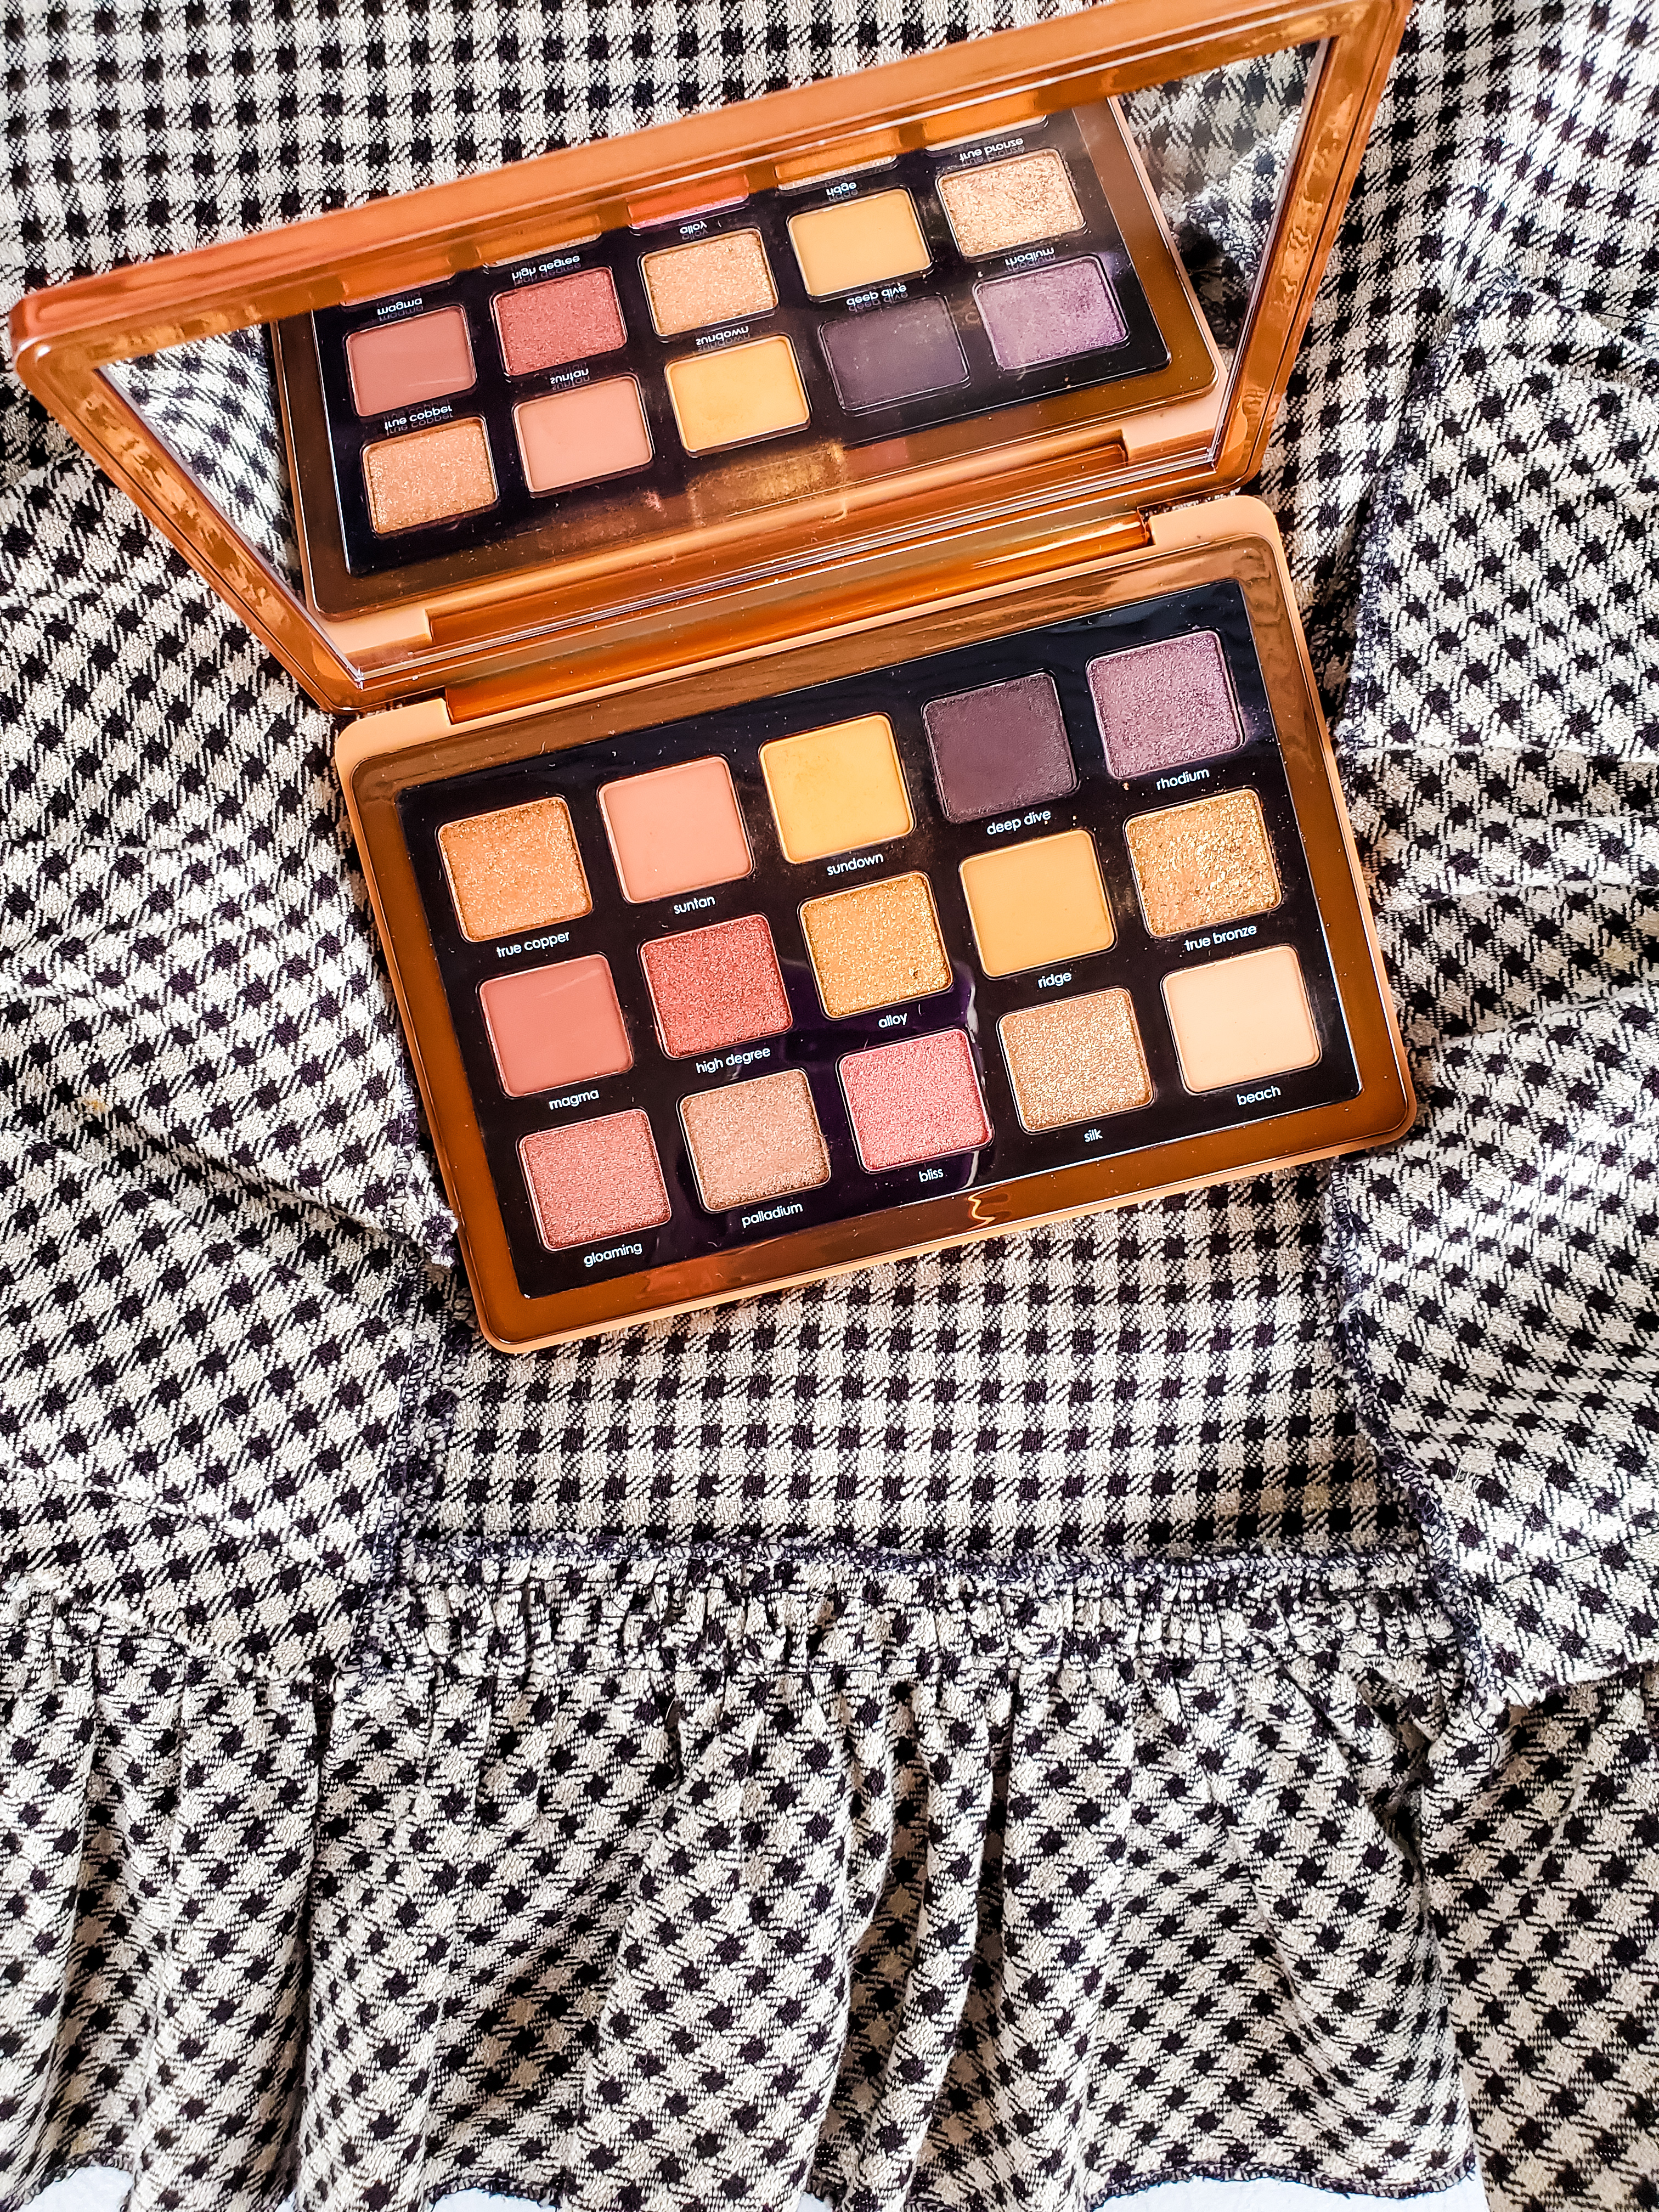
Here’s my makeup look. In love with this Natasha Denona Bronze palette. I think I need a section for makeup and sewing, any ideas what I should call it?


Thanks for reading! -Ammara @ammaraza