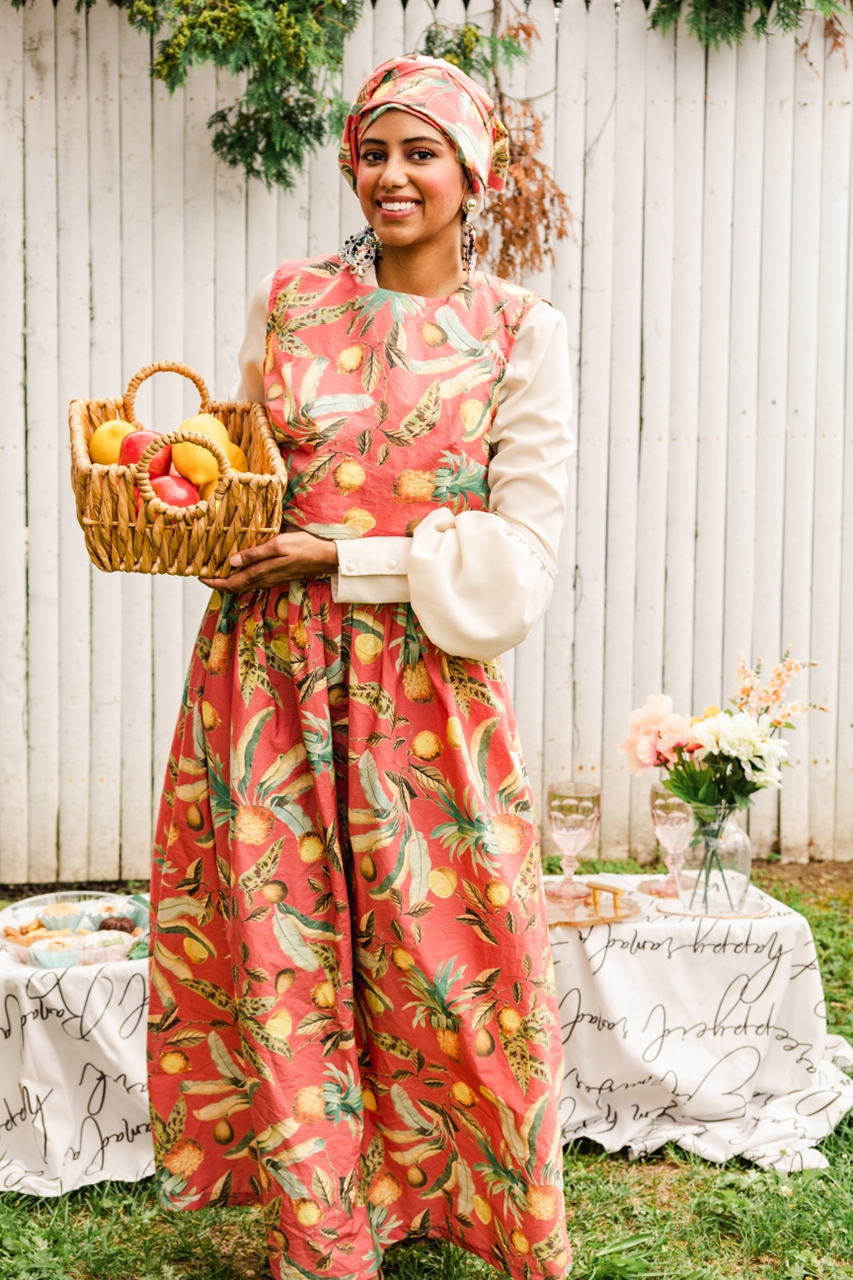
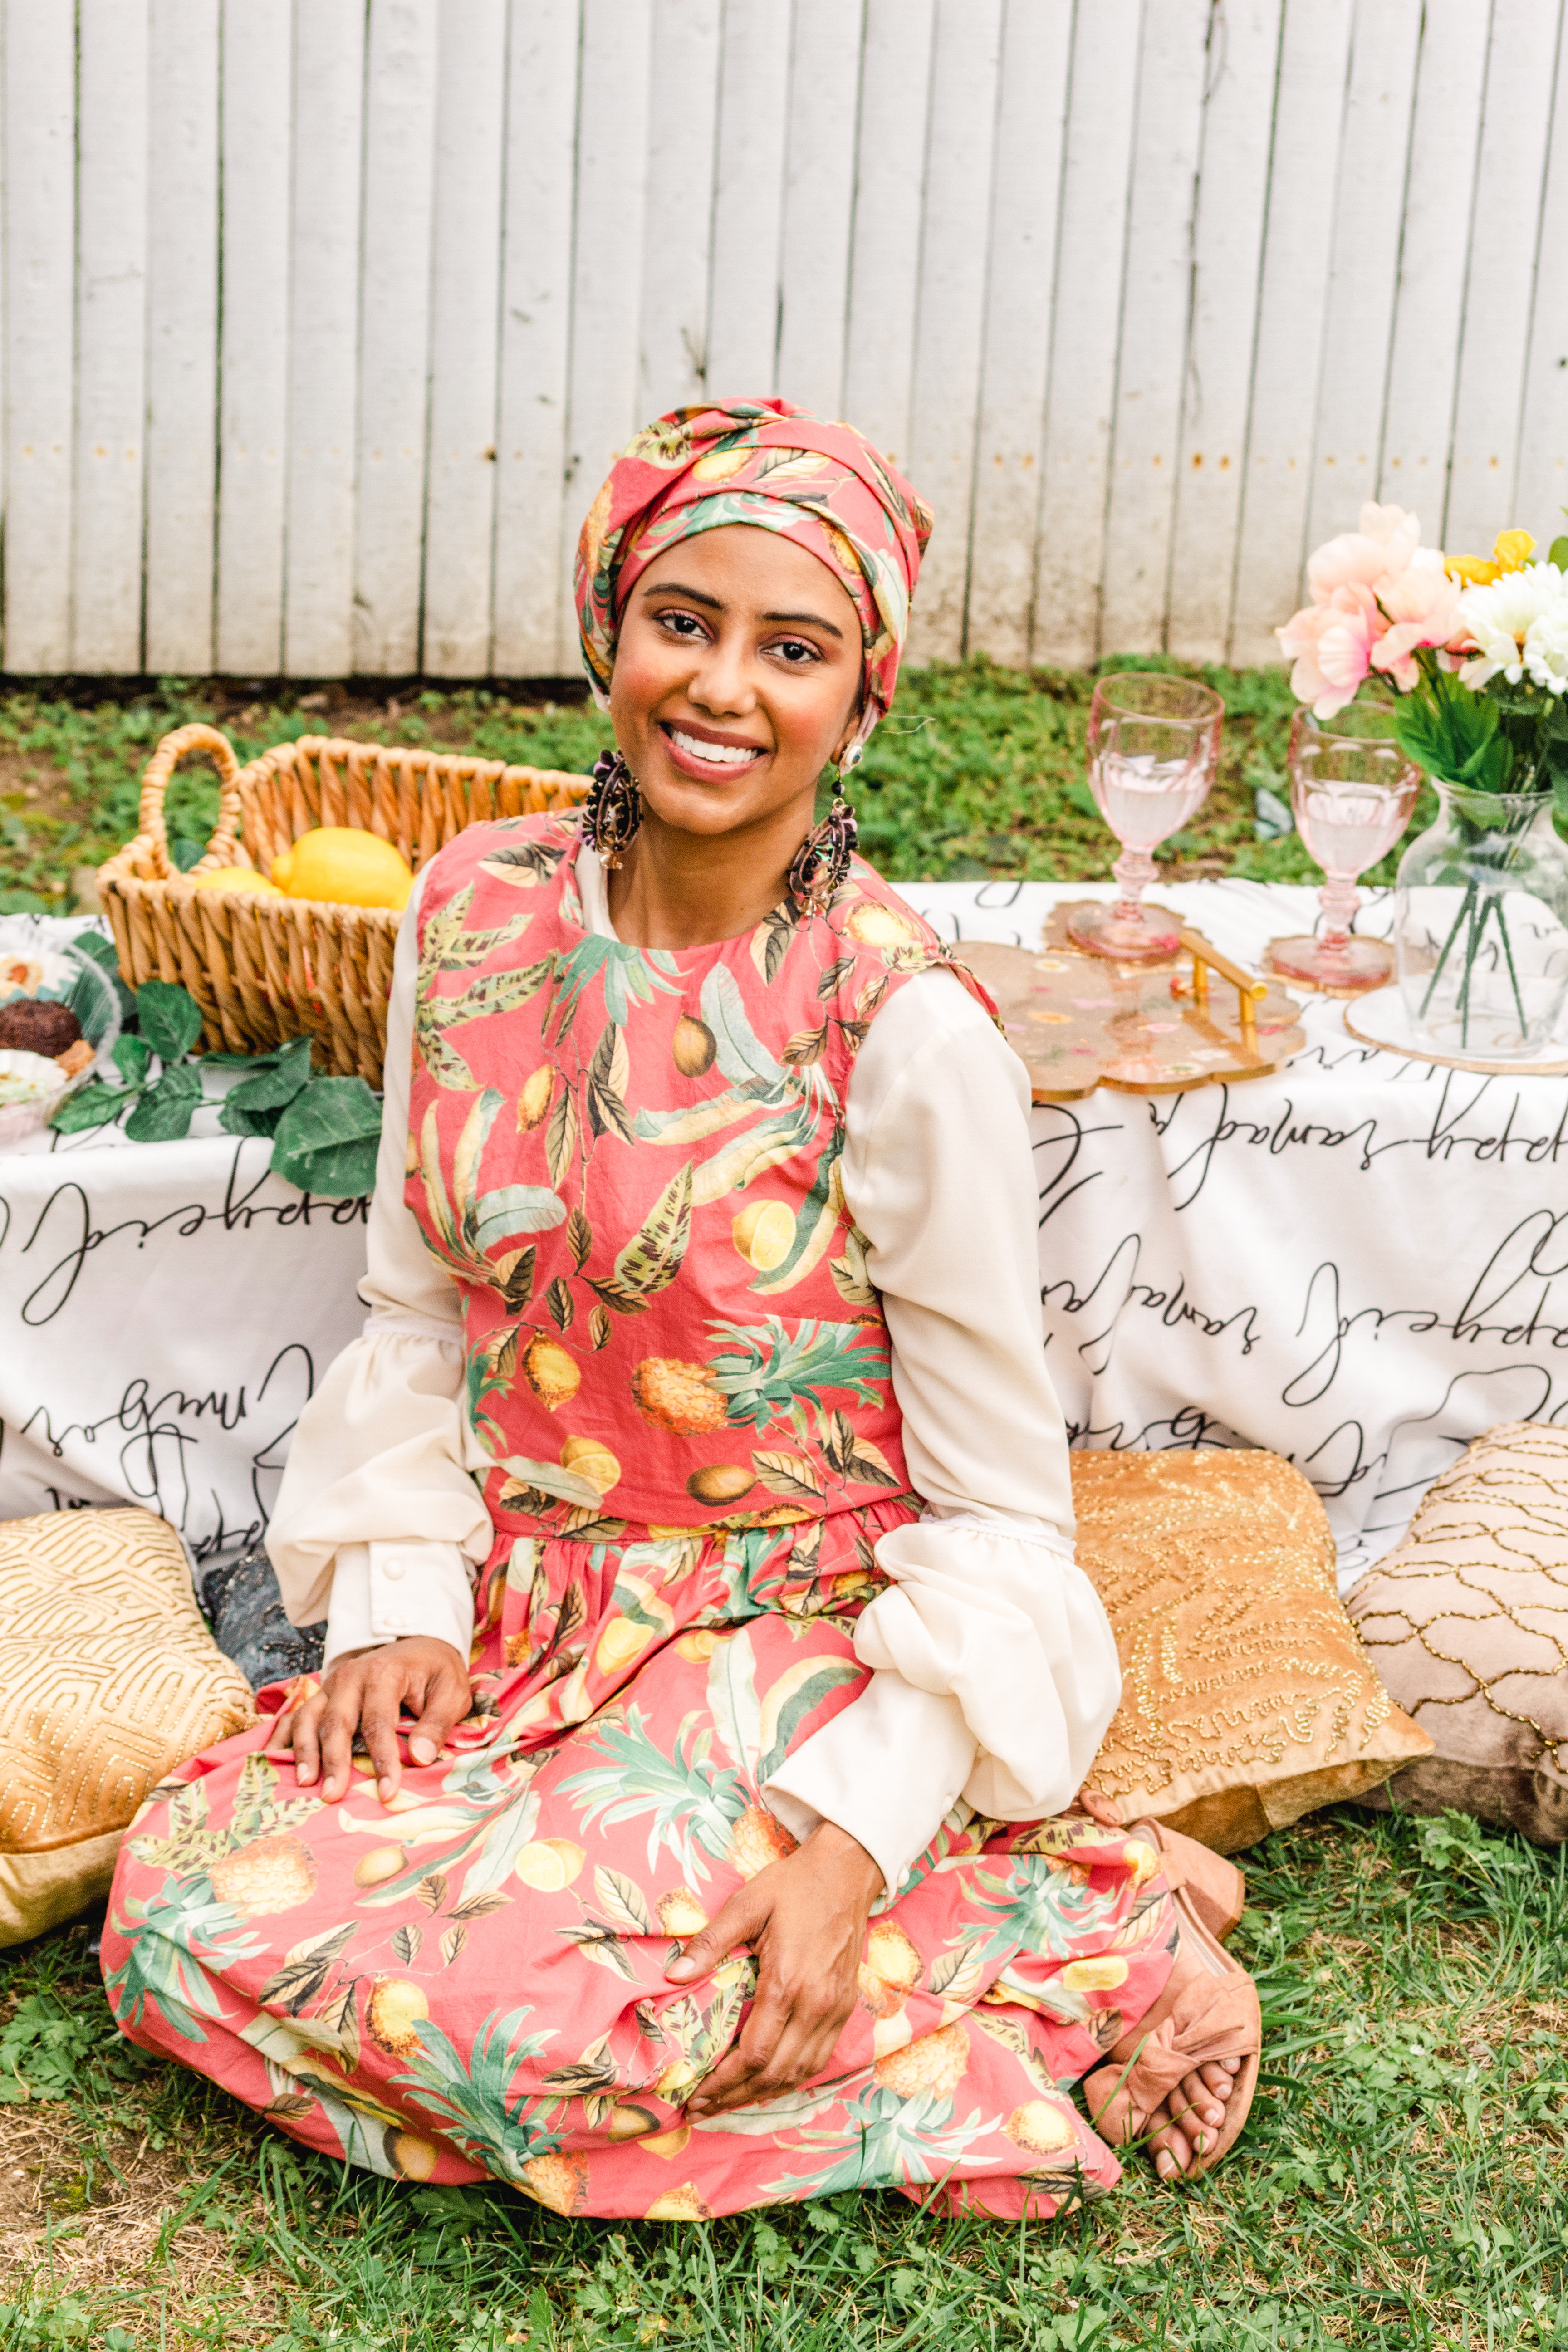
This lovely fabric “The Girl from Ipanema” is purchased from Mood Fabrics. This fabric has a watermelon background color with lemons, pineapples and leaves. I ordered 4.5 yards. I have a yard remaining after sewing this set.
My “The Girl From Ipanema” set is unlined. A lightweight cotton bastiste would be ideal if you want to create a more structured garment.
I used pinking shears to finish the raw edges. It’s easiest for me instead of wrangling my serger. I like the pinked finish on this lightweight summery fabric too!
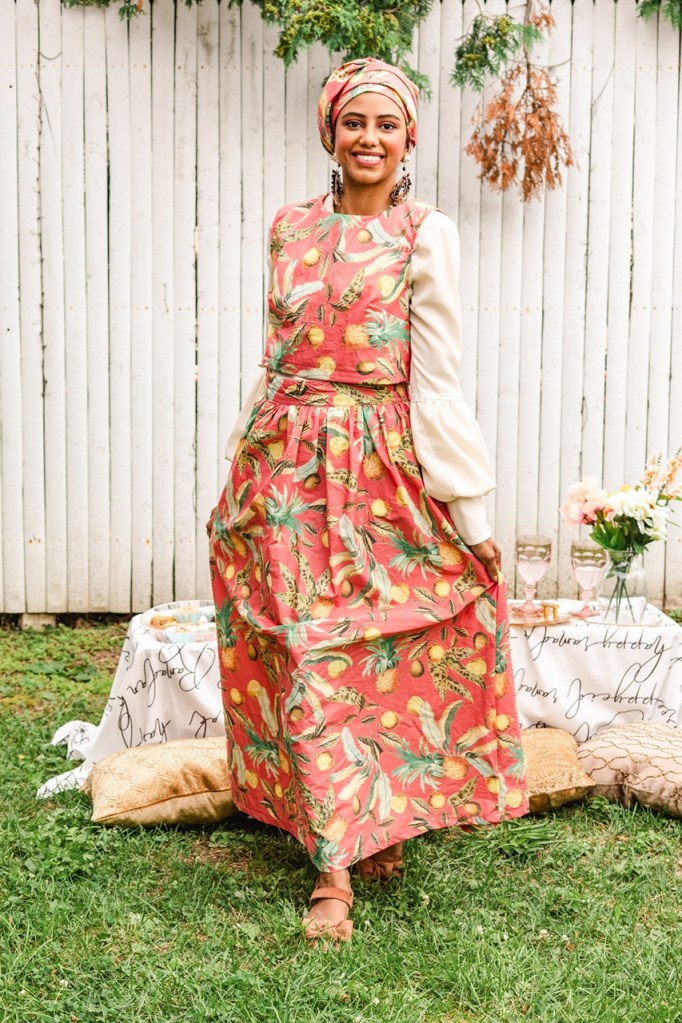
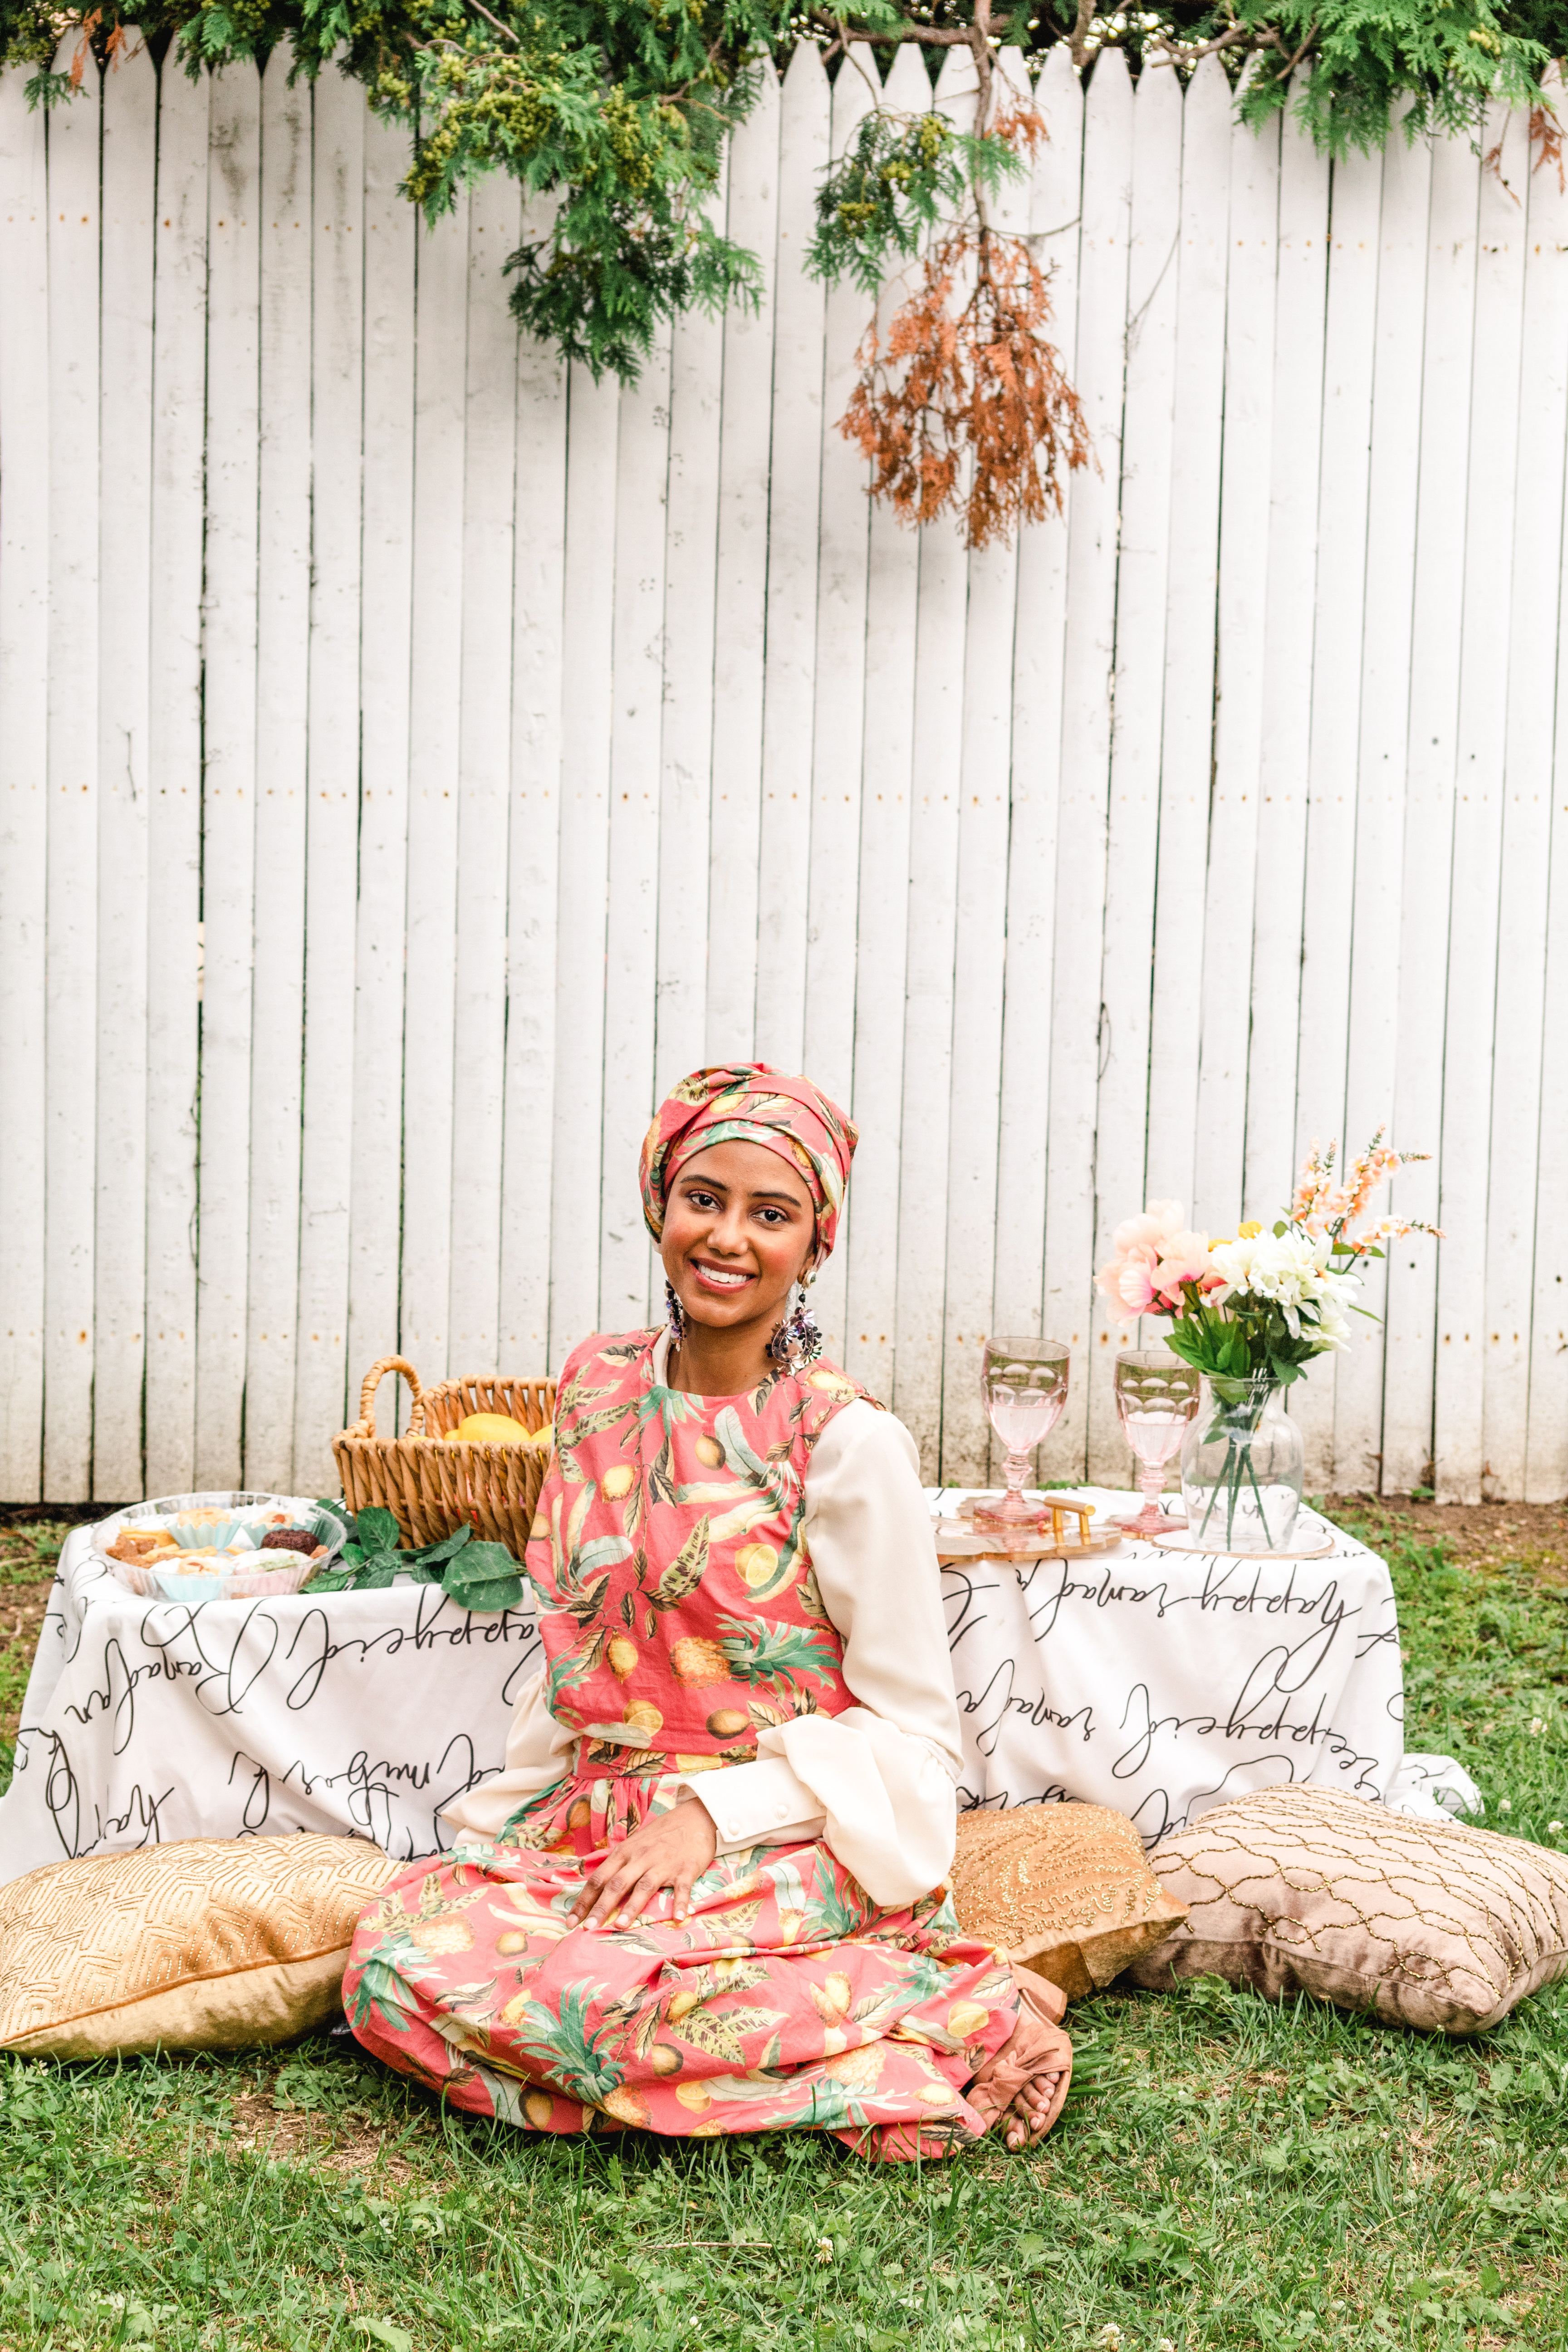
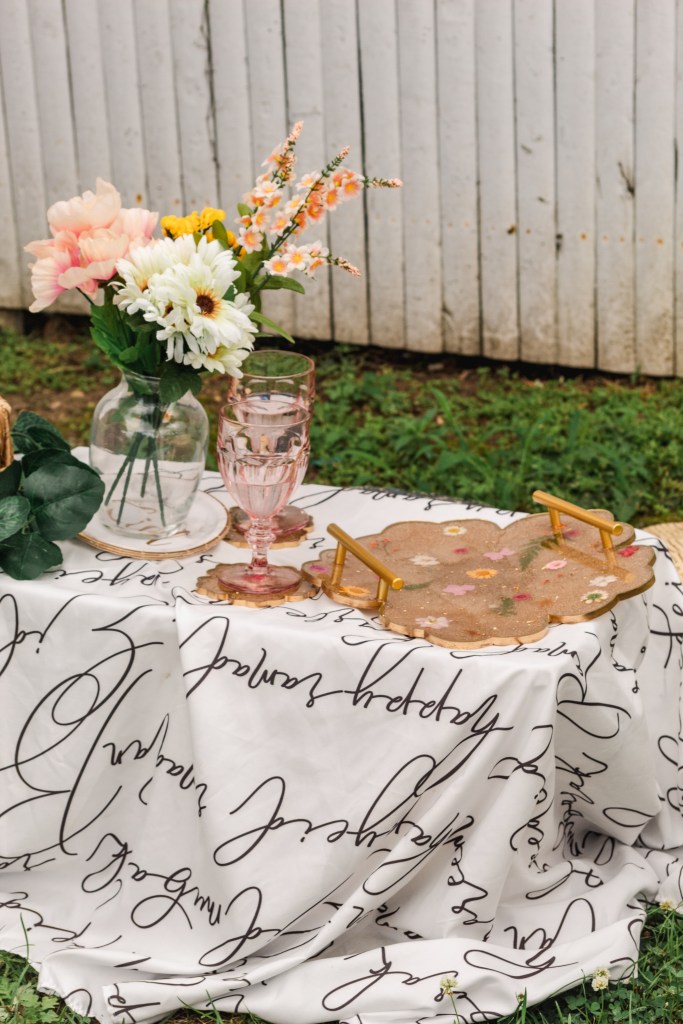
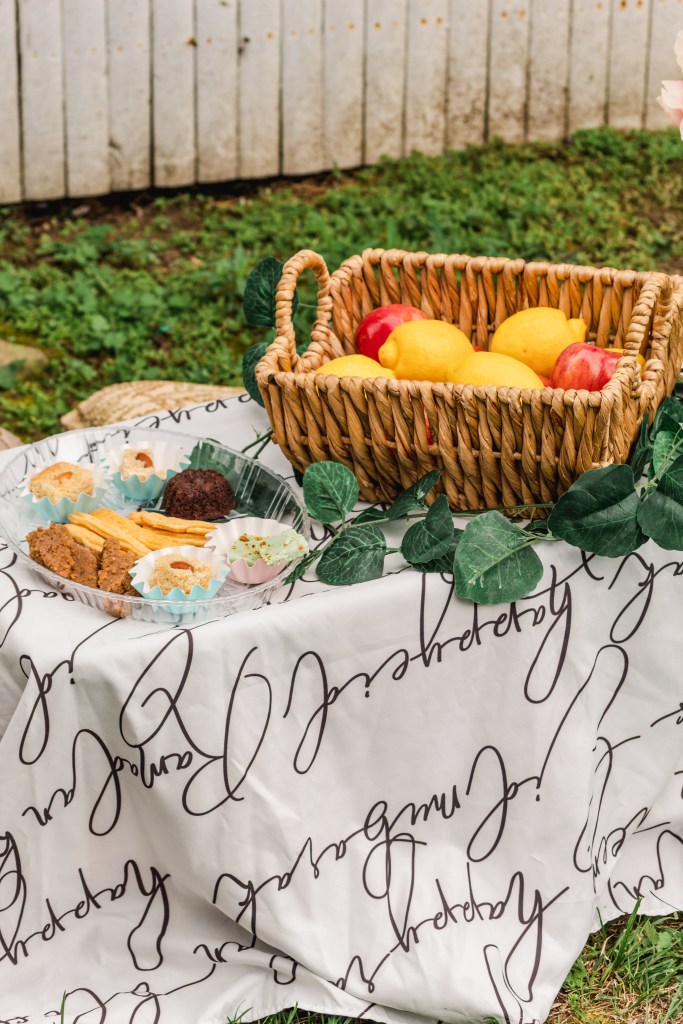
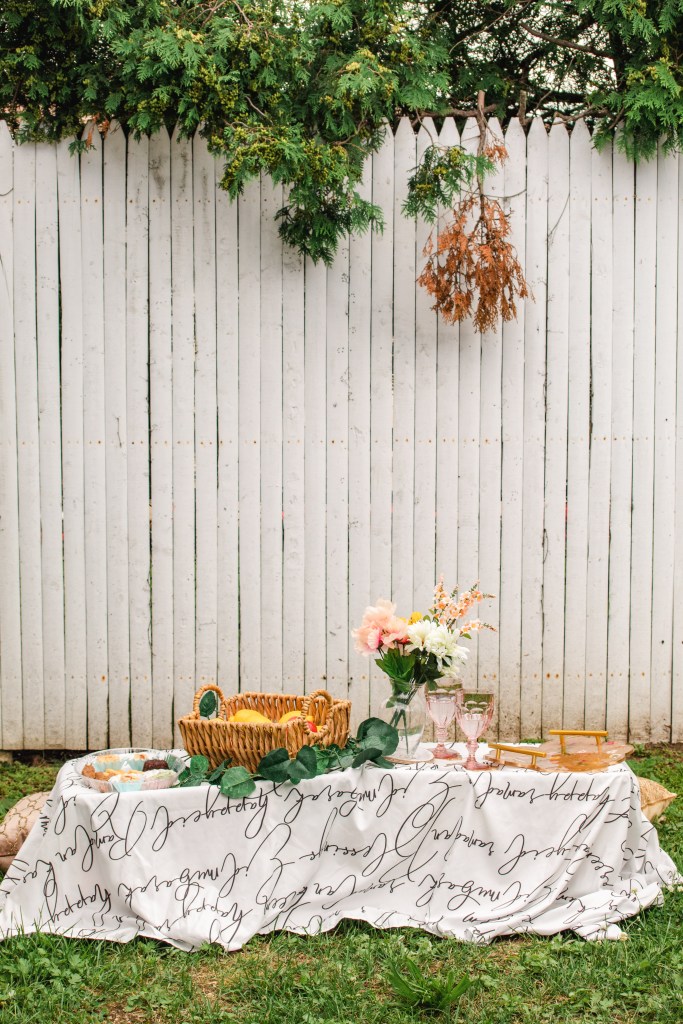
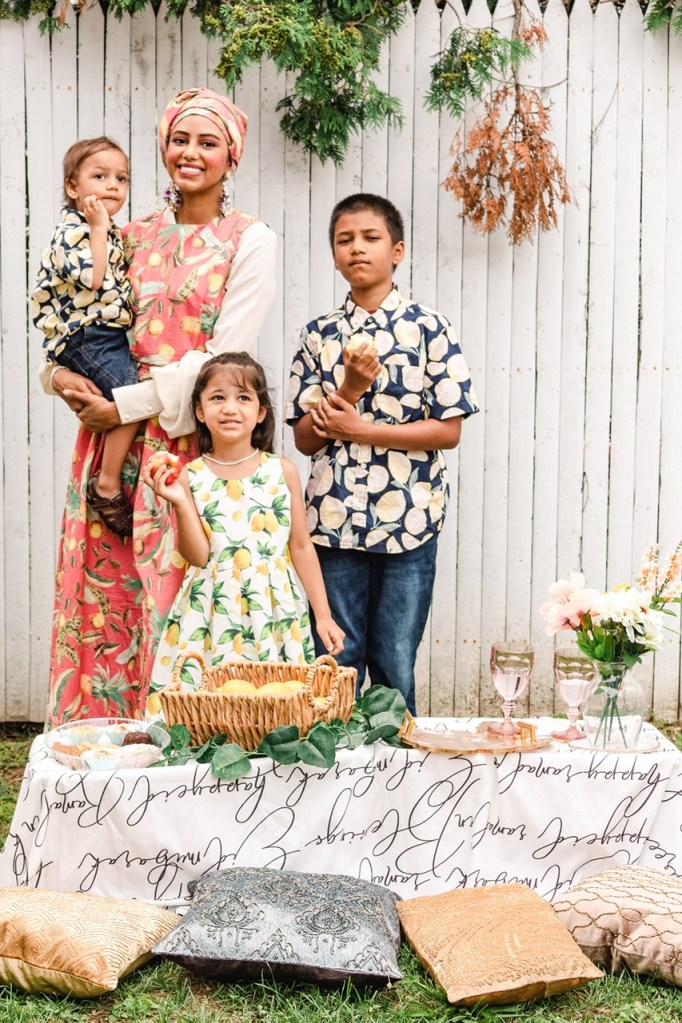
I purchased The Girl From Ipanema fabric with the intention of having our 2nd backyard Eid Picnic.
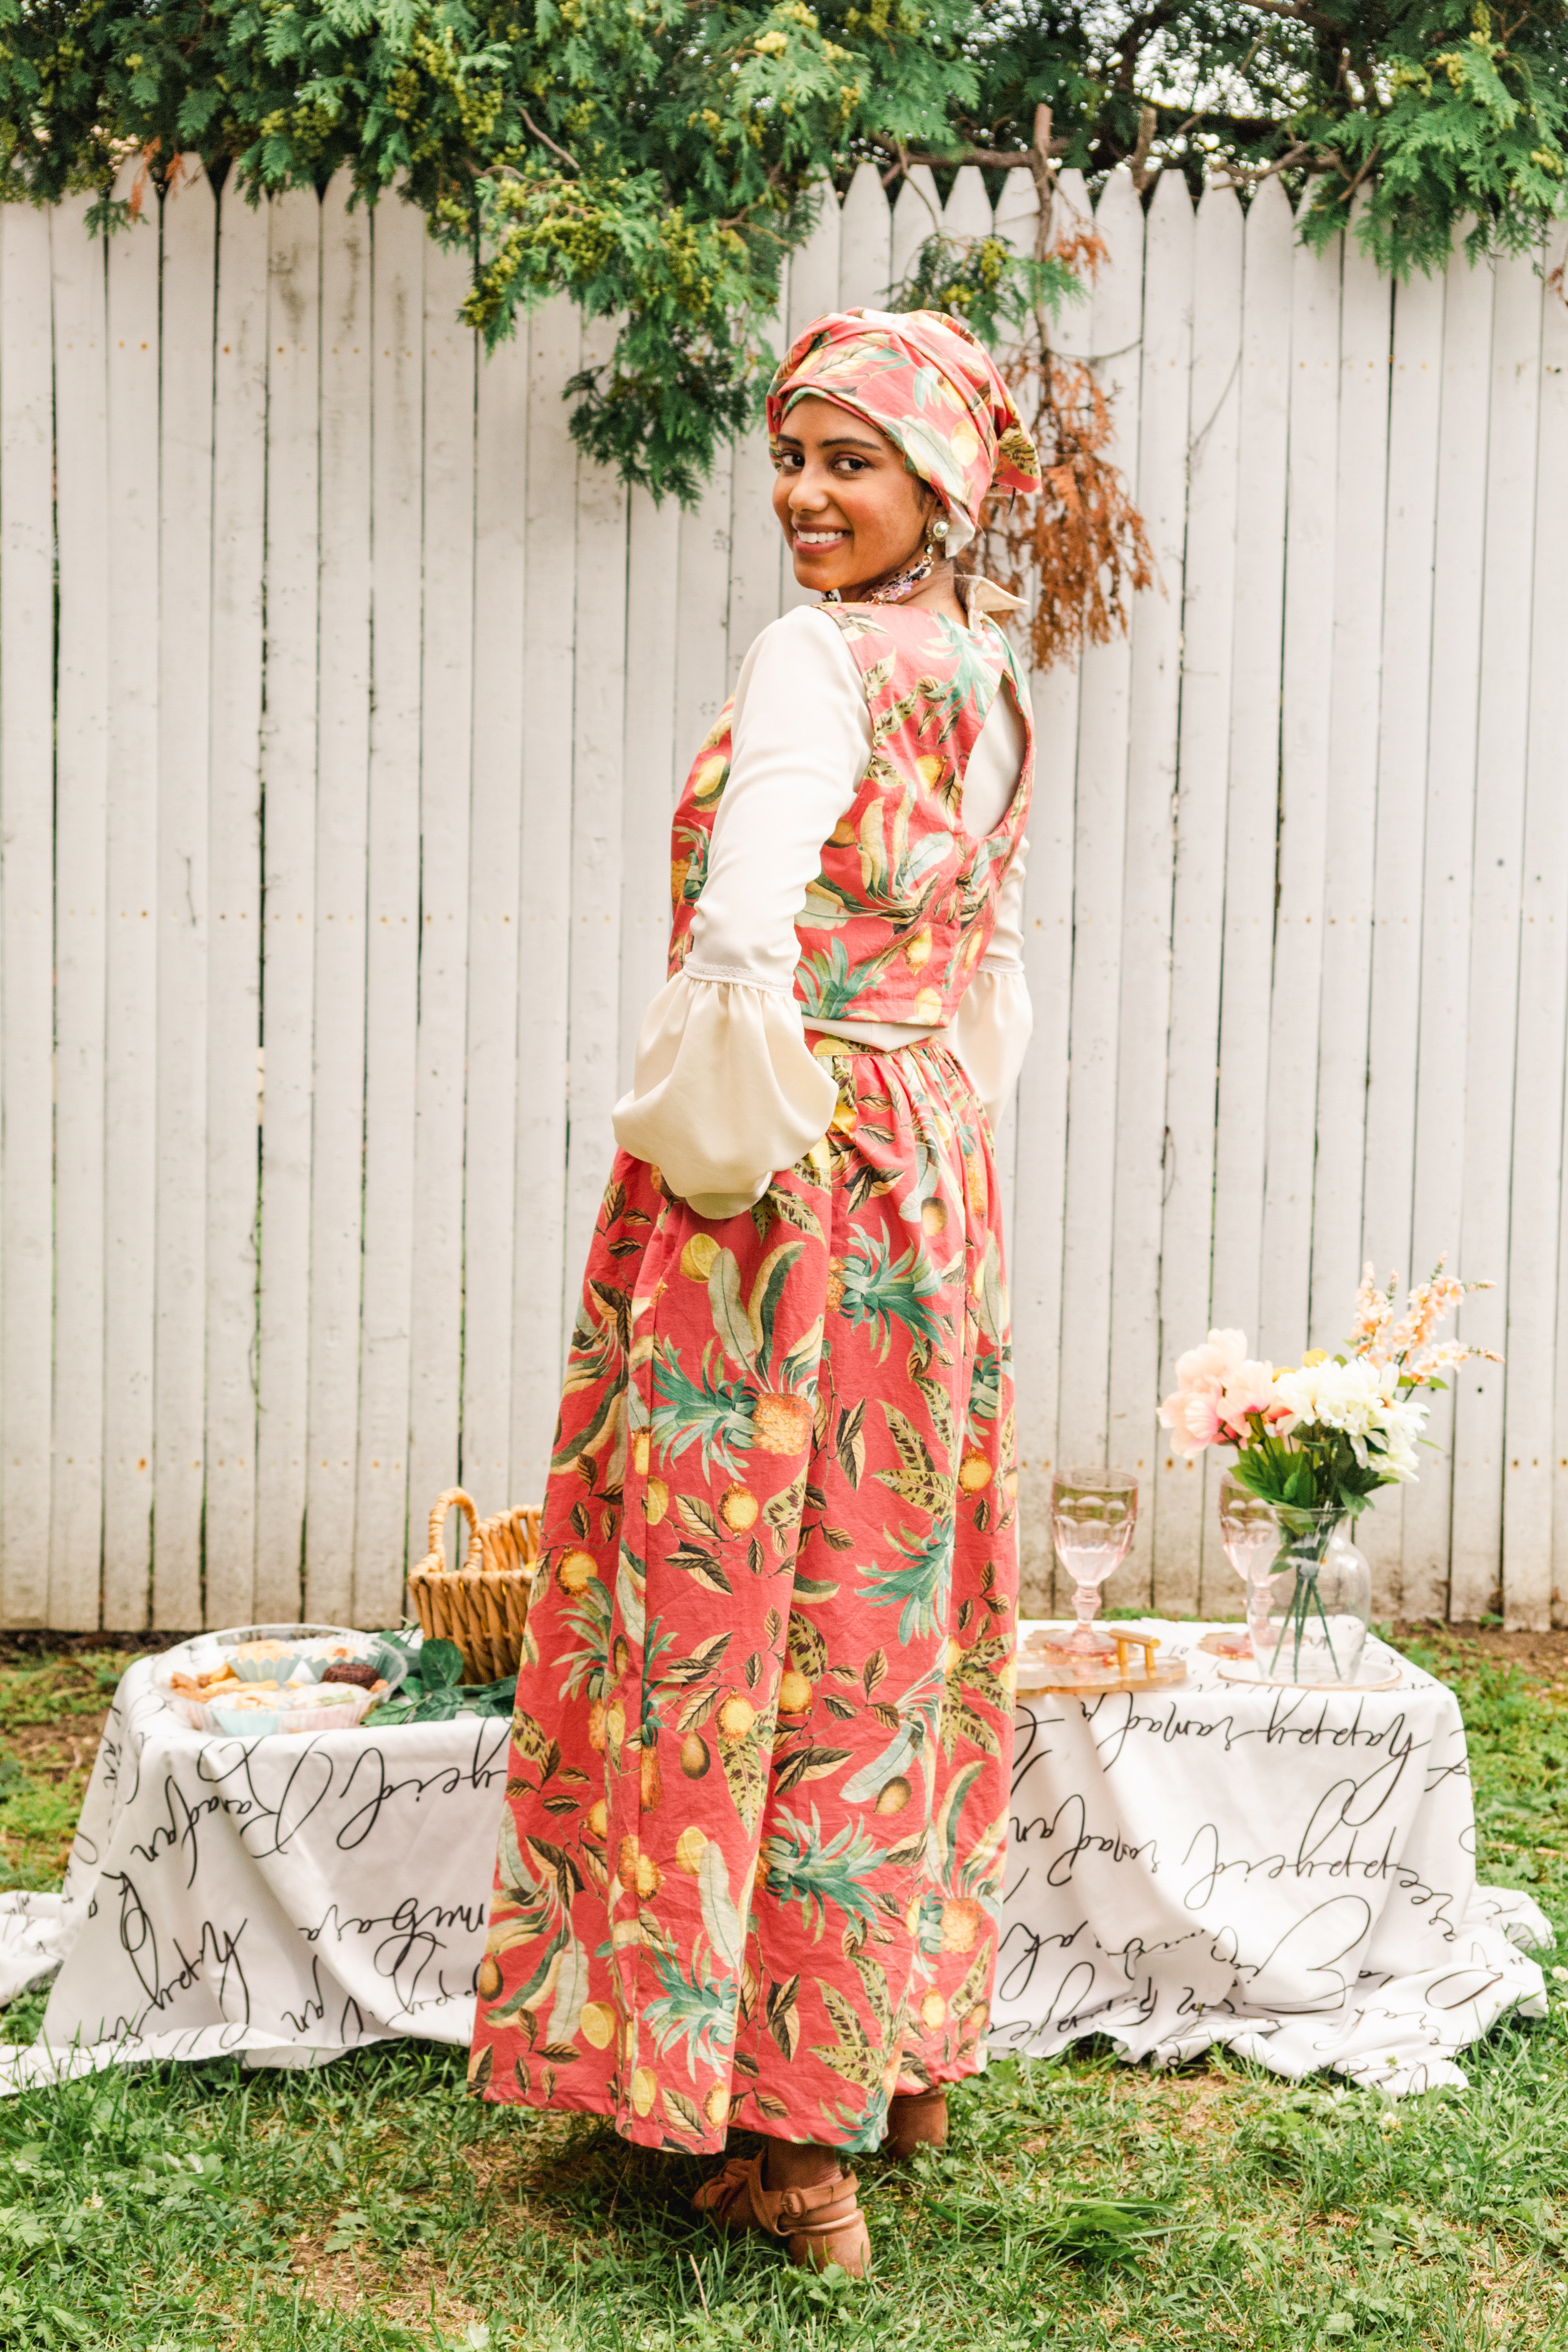
The Girl From Ipanema fabric was the perfect compliment to my decor pieces and my kids outfits.
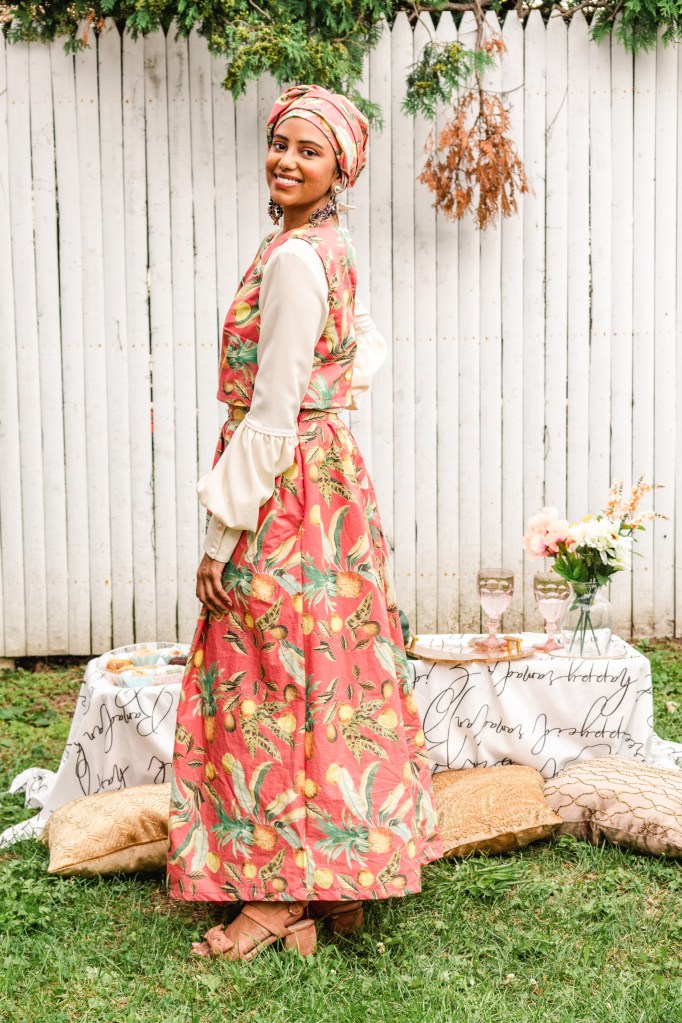
I share how I made my Mood Fabrics “The Girl from Ipanema” Crop Top and Skirt with measurements below!
Crop Top
Steps to sew a keyhole opening with a facing: filmed as an instagram reel! I listed all the construction steps on that reel.
For the base of the keyhole pattern, I used Kwik Sew Pattern 3560 View B, size small. The shoulders and bust fit me well at a size small, and I’m more xs at waist. I adjusted the pattern by taking in the side seams and center back. I also created a higher neckline for View B. I measured from my shoulder to waist to create a crop top. And that was it!
The best construction tips for attaching the keyhole facing:
- Understich and clip the neckline seam (concave curve) to keep the facing towards the inside and laying flat.
- Clip the keyhole seam allowance (convex curve) into little triangles to help that seam lay flat. A bit of steam from the iron gives it a professional crisp finish.
Gathered Skirt
The skirt! This is a full gathered skirt with a side zipper. This is a dirndl skirt style, or a gathered skirt into a waistband. All you need to cut are four rectangles to get started.
The first set of measurements to create this skirt is your waist measurement. I’m cutting a front skirt and back skirt, so I noted two measurements. I multiplied my front waist measurement by 2.5 and my back waist measurement by 2. Anywhere between 2 and 3.5 are lovely gathers.
Waistband:
The waistband is two long pieces. The length is your waist measurement plus seam allowance at the zipper side seam and about 1” ease.
The width is whatever you want the finished waistband to be, plus seam allowances.
The first waistband piece is sewn to the skirt. The second waistband is sewn to the first waistband, then folded over and topstitched.
To create the waistband, two measurements are needed: the width and length of the waistband. For the width, I cut 3 5/8 inches for a 2.5″ finished waistband. It’s a 1/2″ seam allowance on two sides and I account for the 1/8″ turn-of-cloth that’s lost when the waistband folds at the seam. This is a good rule whenever drafting waistbands!
The length of a waistband with a zipper closure is usually your waist measurement plus 1 1/4″ total seam allowances and 1″ ease. So for 27 inch waist, you would cut 29 1/4″ inches long.
I’m using a 9″ invisible zipper (technically a 20″ zip, that I had to cut because I had no other zip lengths on hand!). The zipper will go right to the top of the FINISHED waistband so paying attention to placement is important. You need to place it about 1/8 below your waistband seam allowance on both sides.

Do you love what I created with Mood Fabrics “The Girl from Ipanema” print? What would you create with this print?? Let me know in the comments below. Follow me on Instagram to see my next projects. Click on the tag to see more of my Mood Fabrics creations, coord sets, crop tops and turban styles! Thanks for reading! 😊
Here are photos from my Eid Picnic with the kiddies! The boys’ shirts are lemon prints from Old Navy.
– Ammara @ammaraza.sews

Heel covers for summer + Shoe care: Shop Solemates. Code: AMMARAZA for 10% off. 😍
*Affiliate link.


One Comment Add yours