
Here’s a quick way to sew a kaftan! It’s pretty much lazy sewing and pattern drafting because who has the time? I posted a Reel instagram making this one!
I was gifted 3 meters (a little over 3 yards) of this 60″ wide fabric! I’m 5’3 so the width and length worked out well.
I shared in my pink beaded tulle kaftan post that a kaftan is pretty much a large square, and it’s helpful to start with that shape and adjust as you go along!
Fabric
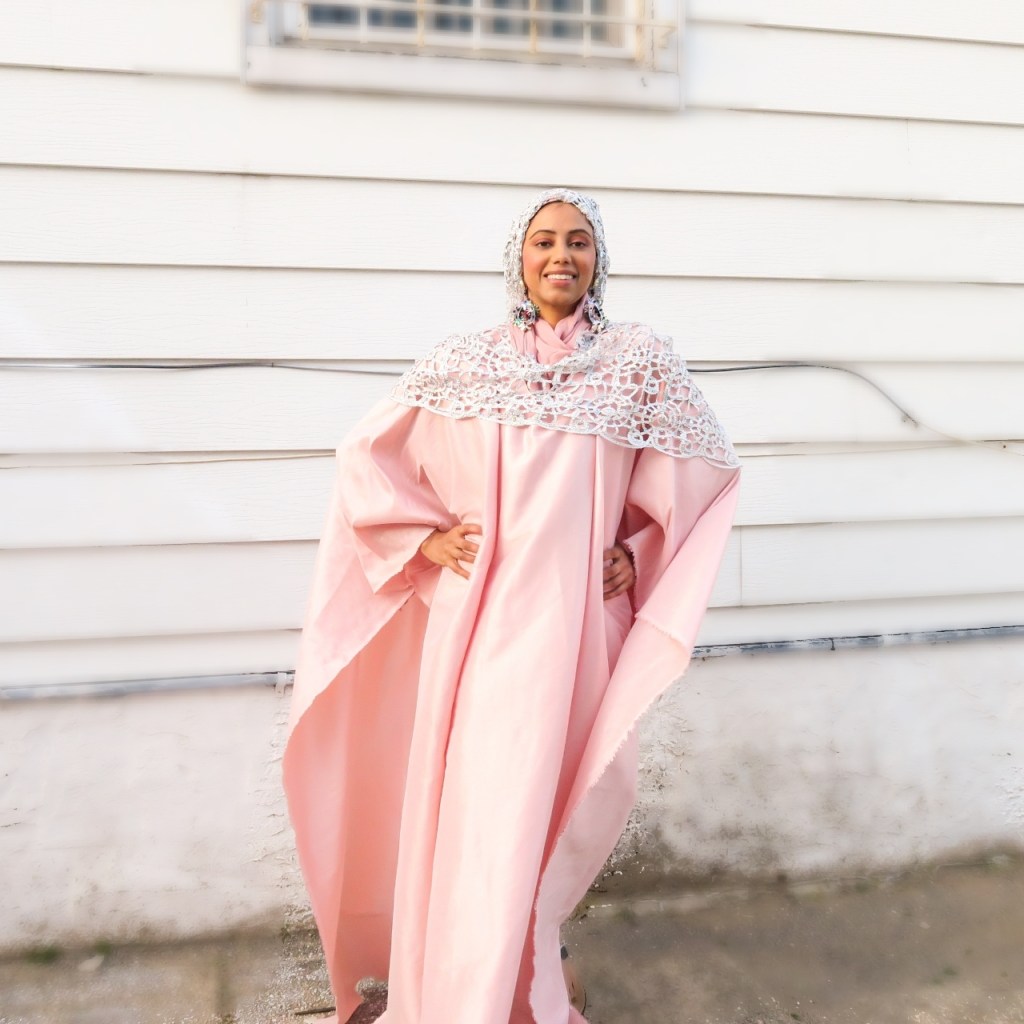
Use soft, drapey fabrics like chiffon or jersey!This icy pink fabric is totally not drapey, so I had to hack a few changes (details under Tips). With some imagination you can use a more structured fabric like this, so check out the Tips section if you like this structured design!
The fabric is folded crosswise which gives the nicely draped effect! The fold is the width of the fabric (60″) and this is draped from your wrist and across your shoulders.
This method does not have a shoulder seam, beacuse ~lazy sewing~ and the less cutting and seam finishes the better!

Measurements
The amount of fabric you need is determined by the total length you need.
The length measurement is from your shoulder to your desired hemline, for BOTH front and back. Remember to leave the back hem a little longer! I had enough for the front hemline to be ankle length and the back about 2″ longer. I had a little over 3 yards of fabric.
For this kaftan, the fabric is folded crosswise, so the 60″ fabric width is across my shoulders. That was more than enough for me!
Instructions
1. Measure your wing span! Measure across your chest from wrist to wrist, and add 1″ for seam allowance. Technically, I didn’t bother with a seam allowance, but across will help you keep the measurements in the next step balanced.
2. Next, I marked my center front line and my shoulder points. I estimated how large I need for the head opening. I used 5″ center front to shoulder, which includes 1/2″ seam allowance. I decided on this measurement by figuring out where I wanted my shoulder seam.
2. Open the kaftan, and create a basic shape for the neckline opening. I measured 6″ down from my center front mark and connected this to my shoulder marks.
Keep in mind you can always cut the opening larger if you need, but you can’t shrink it! So start smaller.
3. Cut the front neckline shape. The back portion you can trim and adjust as needed! I have a 1/2″ seam allownace around the neckline and I turned under and stitched down.

4. Sewing the side seams. But even that, is optional. I told you this was lazy sewing! In these photos I left the raw edges. I created a ‘sleeve’ by sewing about 1″ from the bottom of the sleeve opening.
5. Finishing the hem. Mark the hemline and finish according to your preference.
And that’s it for this kaftan! Jump to the tips section for info on how I created the cape!

Tips
1. If you’re taller than 5’3, you’ll need more yardage than the three I used. If you’re shorter, a little less! The standard 60″ wide fabric is great for most people.There are tons of fabrics with this width. If you’re curvier, you’ll probably want to use 72″ wide fabric.
I ended up using all the fabric and added shoulder pleats to manage the excess fabric! This fabric is a more spongey texture, like softer neoprene, and drapes like a stiff upholstery fabric.
The shoulder pleats were a welcome addition. The pleats give the effect that I’m wearing a 2-piece ensemble!
I created a center back seam by removing 2″ from the back. In a different, more drapey fabric the extra fabric would fall nicely, but in this case I felt it was a bit overwhelming on me!
2. You can create a shoulder seam by cutting two separate pieces for the front and back.
3. You can create a neckline facing (but who has the time?!).
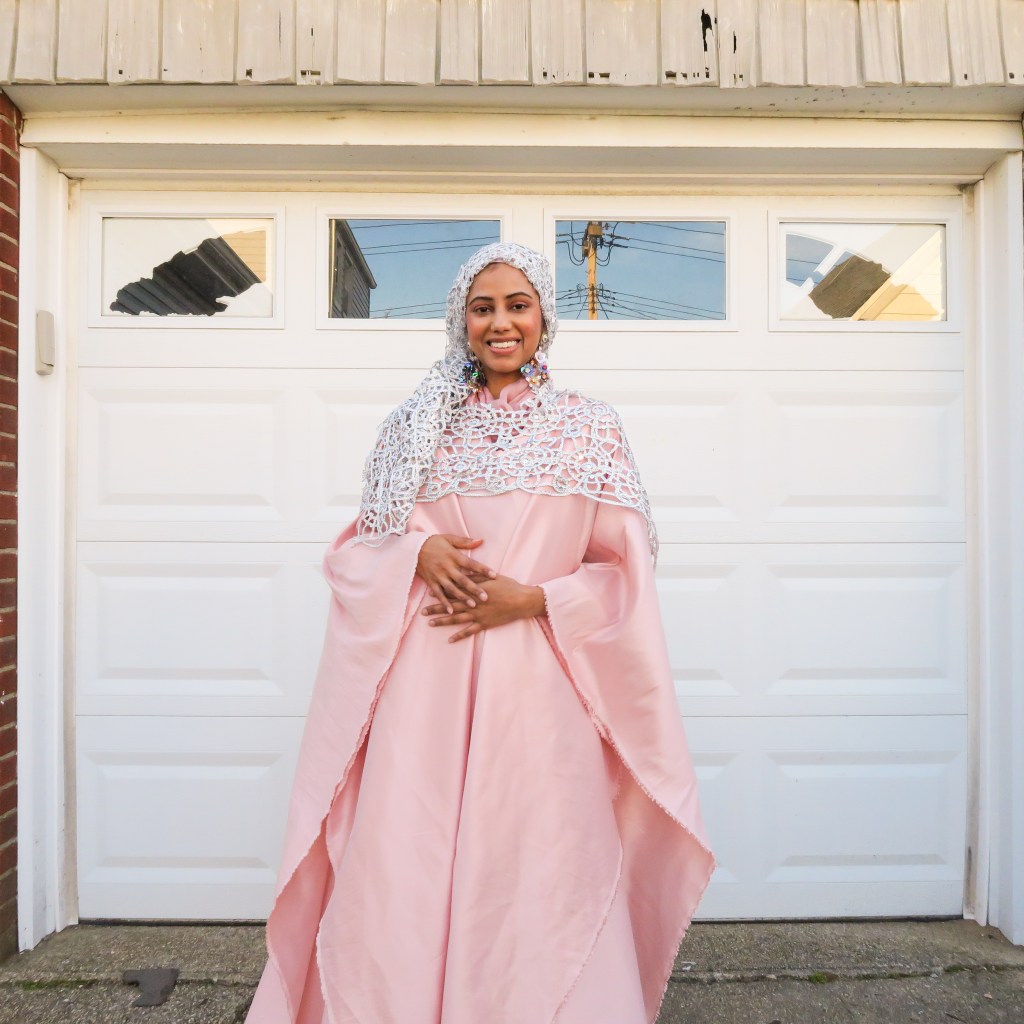
4. I added embroidery because ~ I love the drama~ but really, it covered the basic neckline, which I turned under 1/2″ and sewed, and adds a sophisticated look.
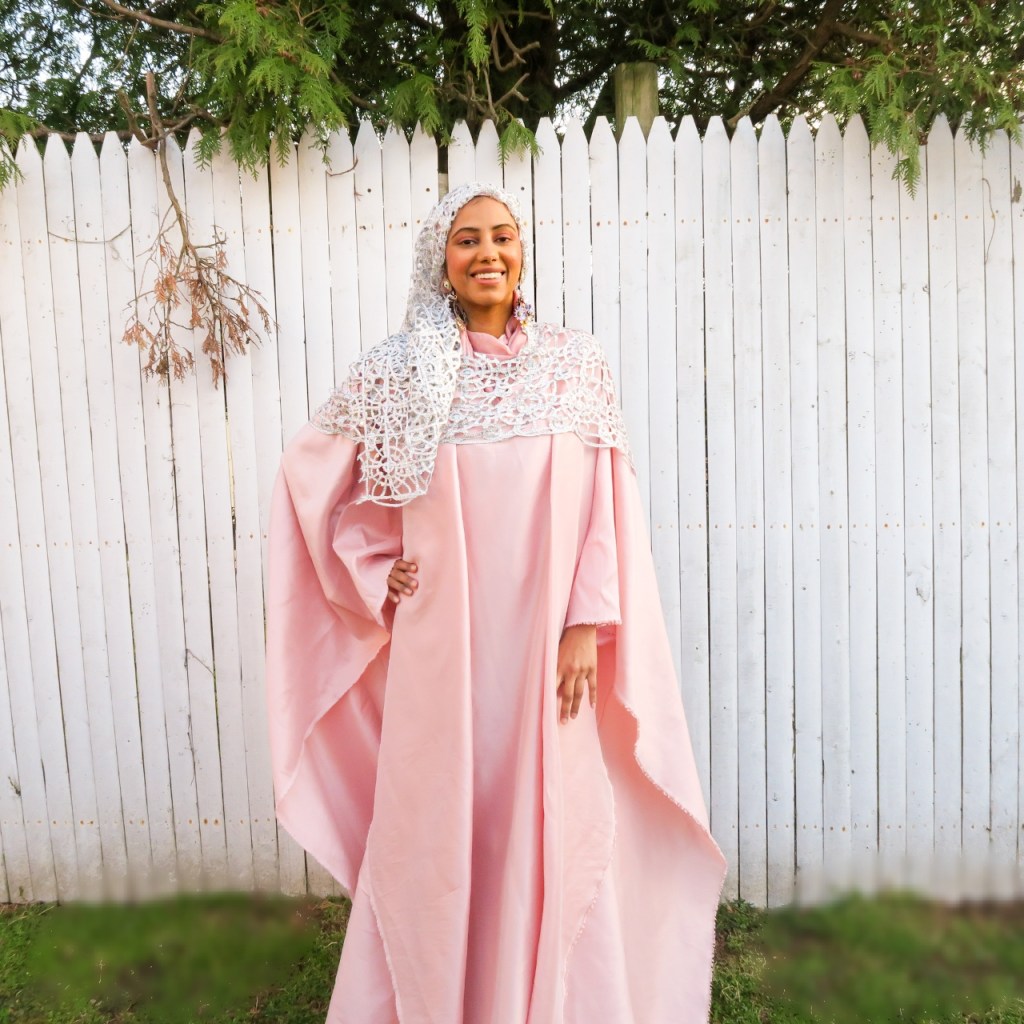
Embroidery fabric looks beautiful on the neckline, the sleeves, and the hem. I planned to do a collar style embroidery, but Instagram Story fam voted Cape! So that is what we did!

5. The cape is super simple by draping a rectangle shape from shoulder to shoulder. I did a few hand stiches at the shoulder. In these photos the back of the cape is a little longer and I’m in process of finalizing how I want it to look!
For a high-neck cape design you’ll need a closure to get in and out of the kaftan. Beacuse I don’t want my neckline opening to be visible, I wore a scarf underneath, and cut the cape loose and low at my front neck.
6. Leaving the side seams open, you can wear an outfit underneath with a belt, and belt the front!
Thanks for reading, if you’re ready to try this let me know and reach out with any questions!
-Ammara
@ammaraza.sews

