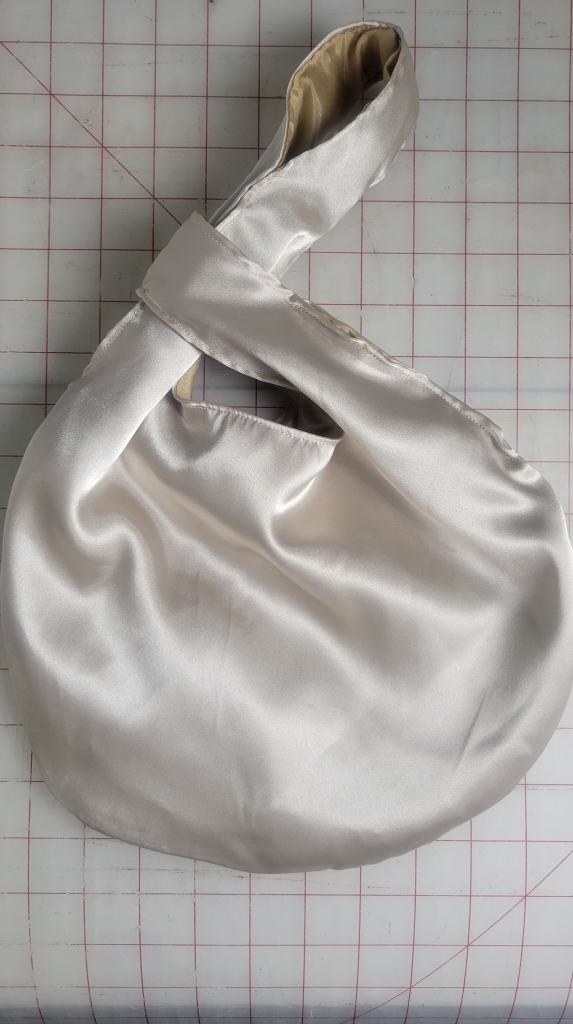
Hey friends! I made this Japanese Knot Bag for my cousin. It’s made from an ivory satin fabric and two lining fabrics to give the satin more structure.
The Japanese Knot bag has one handle longer than the other handle. The longer handle goes through the short handle and you can carry it on your wrist or hold in your hand!
Continue reading for all the pattern and fabric details!
Fabric
The ivory satin is a silky satin charmeuse from fabric.com and I love it SO much, it is the perfect amount of softness and drape. The color description is technically taupe! I actually made face masks out of this and I named this color Tusk!

Pattern
I printed this Japanese Knot Bag pattern from BHG. This bag has instructions for a pocket, I skipped that. The pattern is great, however I found the instructions confusing so I followed this Japanese Knot Bag tutorial from Hello Sewing because it was the most clear. It includes pictures and videos. This tutorial makes a reversible bag too!
I traced the pattern directly on the fabric with a fabric marker.
The basic instructions are as follows:
1. Cut two main body pieces*
2. Cut two lining pieces
3. Sew around bottom of the bag and lining, leaving a 3″ space in the bottom of the lining
4. Sew the inner curve of the bag, making sure to only sew one set of bag body and lining at a time. Leave a 2″ space at the top between the bag and the handles.
5. Sew the seam allowance at the top of the handles (I didn’t do that at first!)
6. The bag is turned right side out through through the space in the lining
7. The remaining unstitched parts of the handles are now folded inwards topstitched.
*For this drapey satin I cut another set of lining and basted that to the wrong side of the satin.

Good luck sewing! I wish I had started sewing with projects like this, so I love sharing them! I think it’s quite beginner friendly!
Thanks for reading!
-Ammara
Follow me on instagram @ammaraza.sews

