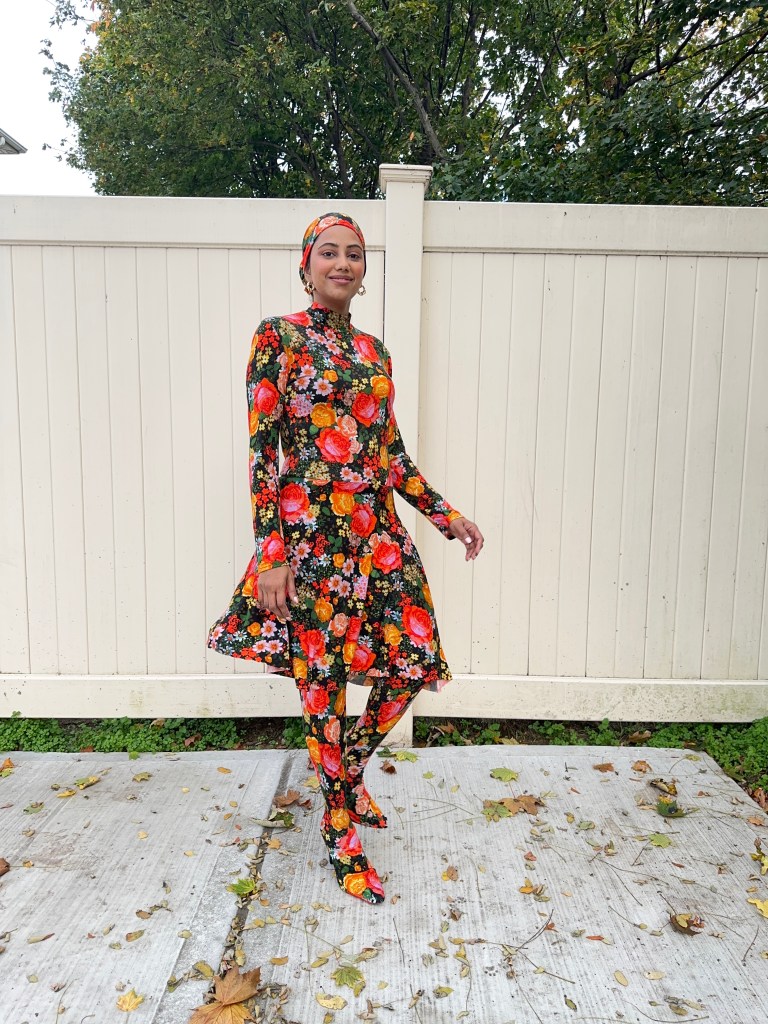
Hey friends! Here is Part II of my DIY Balenciaga set ! This post is all about making the legging boots.

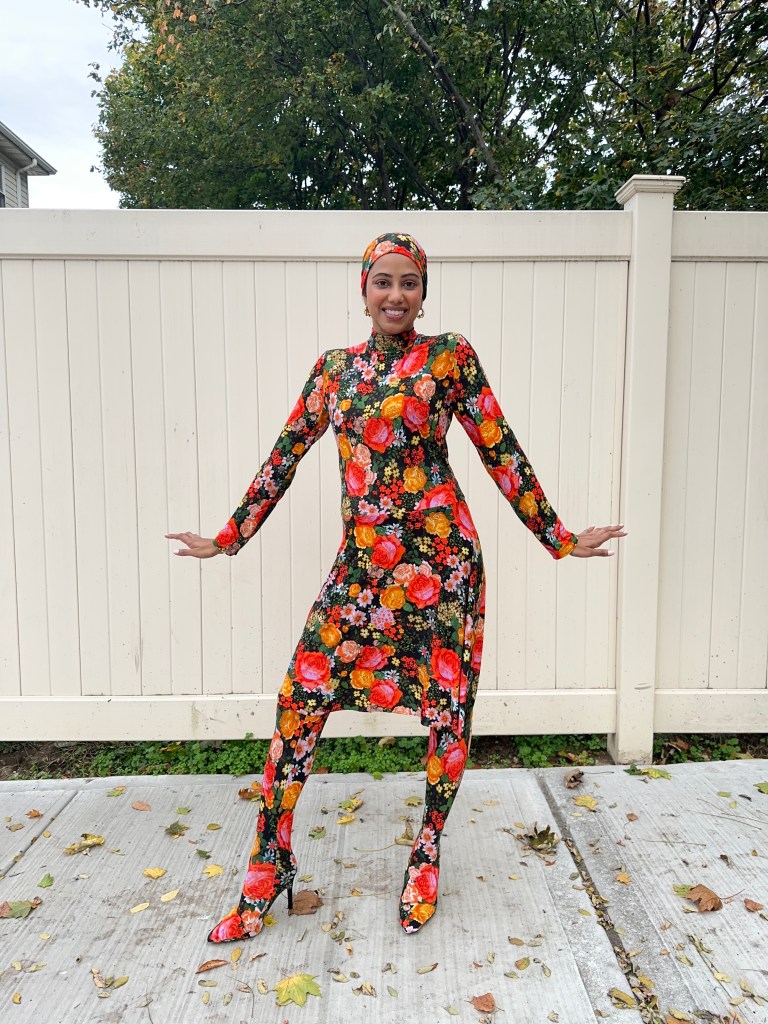
This look came together so well! I almost can’t believe how simple it was. It’s such a fun look to wear. I looove matching looks and this one is my most favorite I’ve made so far!
Fabric
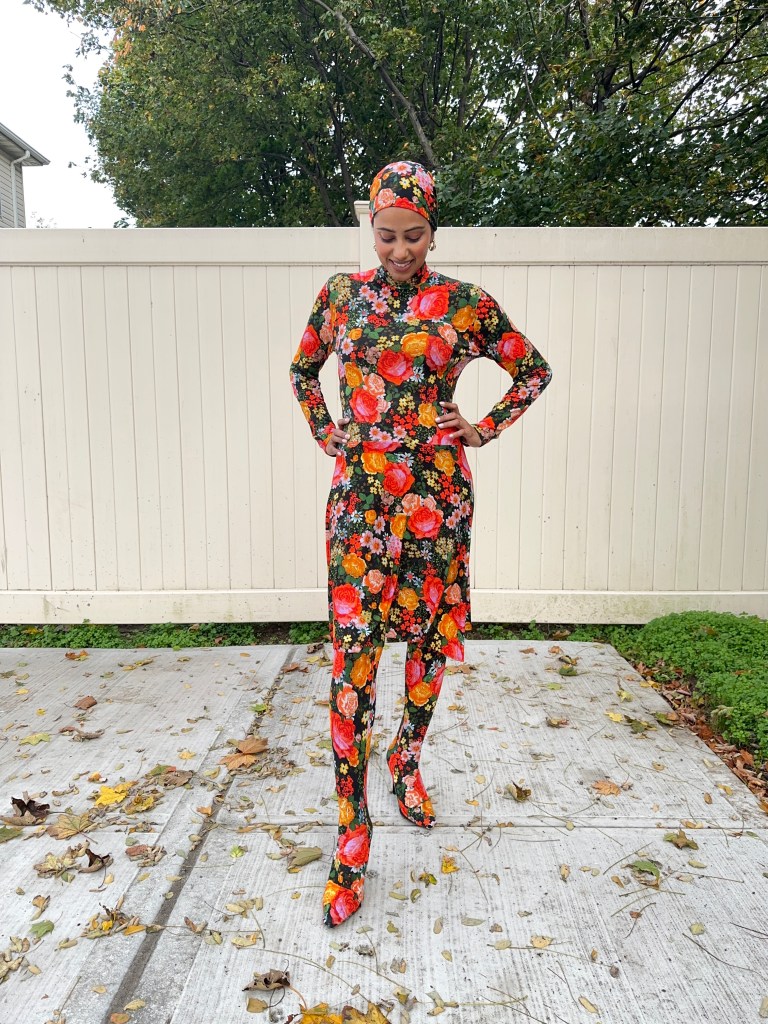
The Mood x Balenciaga orange floral is stretch cotton jersey and has an amazing luxurious feel.
I had 4.5 yards and it was just enough for the leggings, circle skirt, and turtleneck top. I cut a size small for the turtleneck, and 21” long skirt.

Patterns
The turtleneck pattern and my self-drafted circle skirt details are shared in my previous post.
Footed Tights
To create the boots, I started with a footed tights (leggings) pattern from The Wolf and The Tree. It was the only one I could find that was exactly what I needed to recreate the Balenciaga look. The runway look is a little slouchy, but that looks sloppy on me, so I wanted a more fitted style.
Here’s a short pattern review: this footed tights pattern has several sizes from 0 to 32W. I was thrilled that the pattern has petite sizing. I’m 5’3 so I can wear regular sizing, however the petite sizing sometimes works better. I cut a petite size 4 with a yoga waistband and found it’s pretty much perfect.
I love the multiple style options this pattern comes with: footed, capri, or biker shorts, plus multiple waist finishes too!
The pattern took forever to piece together. Thank goodness it’s layered so you can print one size. The pattern comes with a projector file and it’s definitely a pattern worth a projector setup if you don’t need to adjust anything.
On my fabric, I cut the leggings one leg at at time, on opposite grains! This a 4-way stretch fabric so the fit is still great. I cut this out on my carpet. You have to cut 2 mirror images, so the first leg piece was the pattern right side up, on the right side of the fabric. Then I flipped the pattern piece to blank side up and cut on the right side of the fabric.
How to make Balenciaga style boots
Step 1: Start with the footed leggings pattern. Cut out the right leg as a prototype. I suggest to sew the seams on the right side of the fabric. It’s easier to mark the new shape and transfer the markings to the pattern.
Step 2: Find the perfect heel: I was gifted a giant bag of shoes from a friend, and this pair of Charlotte Russe stilettos with a soft matte finish was included! The soft matte finish gives the fabric something to grip to. I decided I didn’t want to glue anything to the shoe so if you don’t either, use a soft matte shoe.
Step 3: Put the footed legging on the shoe. Trace around the front of the heel shape onto the footed legging. With sewing the seam on the right side, it’s easier to mark the new foot shape. Add the seam allowance on the pattern paper.
The pattern has 1/2” seam allowances, I sewed a zig-zag stitch at 1/4”. Reinforce the front shoe seams with a straight stitch. (I didn’t at first and there’s a little snag at the tip of the heel!)
Step 4: Measure where the heel is and draw a tiny box for the heel to go through. I made a diagonal cut in this box and poked the heel through the fabric.
Step 5: Finally, add non-skid shoe backings. I tried the boots without them and the fabric became scuffed up in a second!
Tips
-Create a prototype first! It helps to get the exact shape of the front of the shoes.
-My shoes are a half size larger than my normal size. I think this works perfectly for this style.
-Reinforce the toe portion (the tip of the shoes) with a second row of stitching.

Styling
To complete the look, I wore a small portion of the fabric as a turban wrap, with hoop earrings.

Check out my Reel on making the Balenciaga style boots!
-Ammara
Follow me on instagram @ammaraza.sews


2 Comments Add yours