Hey friends! It’s the season of pink! 💕 The theme I planned for Eid this year was Barbie! I wanted to re-imagine the first way I fell in love with fashion & styling – through playing with Barbie!

Plus the movie is coming out this summer and I knew it would be a fun, on trend theme! We had to cut back on my photoshoot idea due to timing, so I came up with with digital backdrop photo.
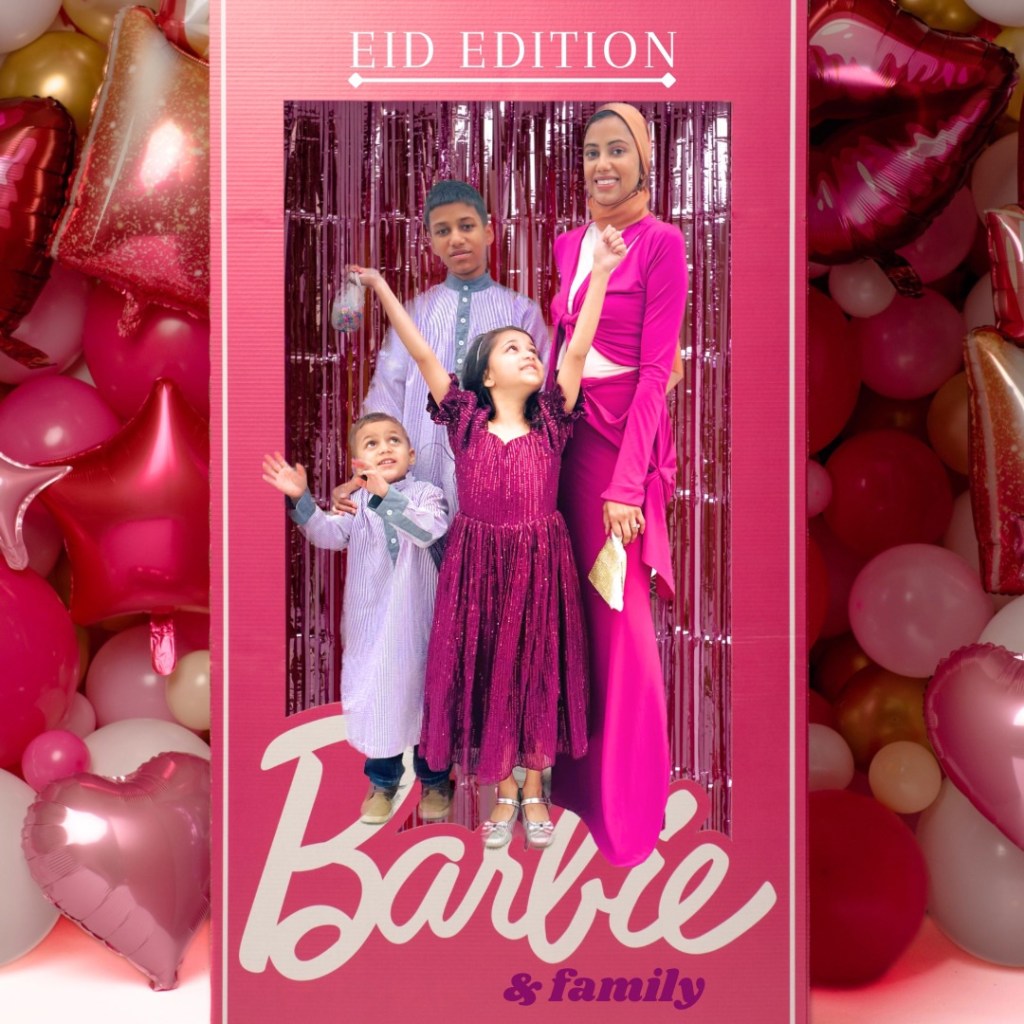
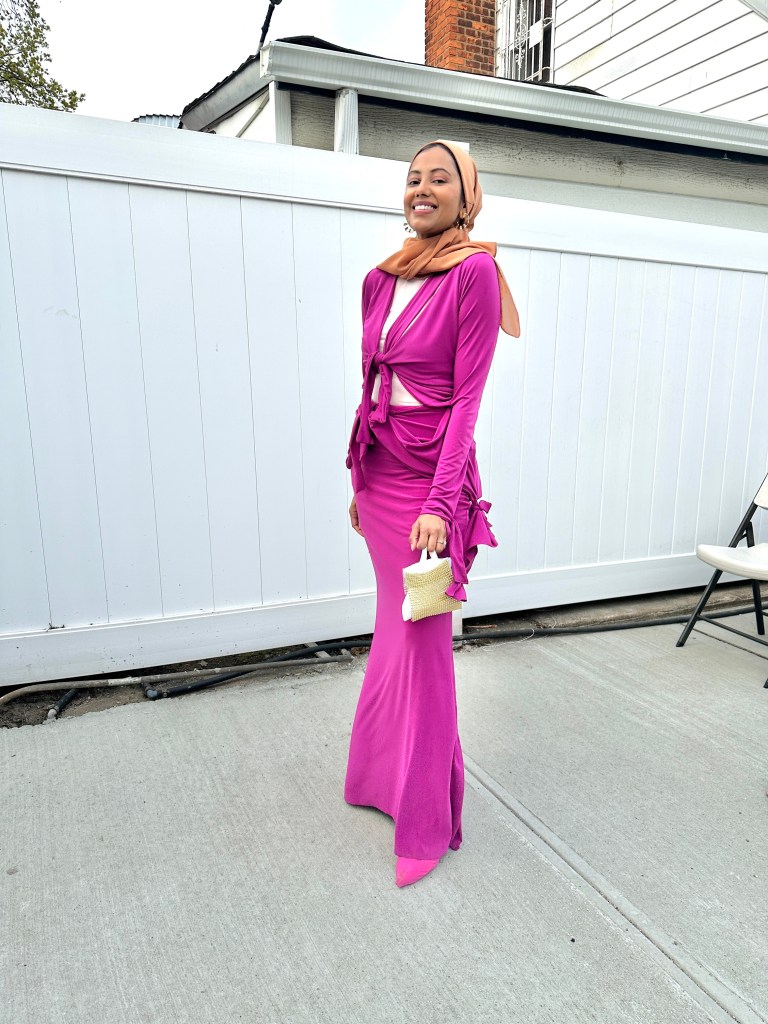
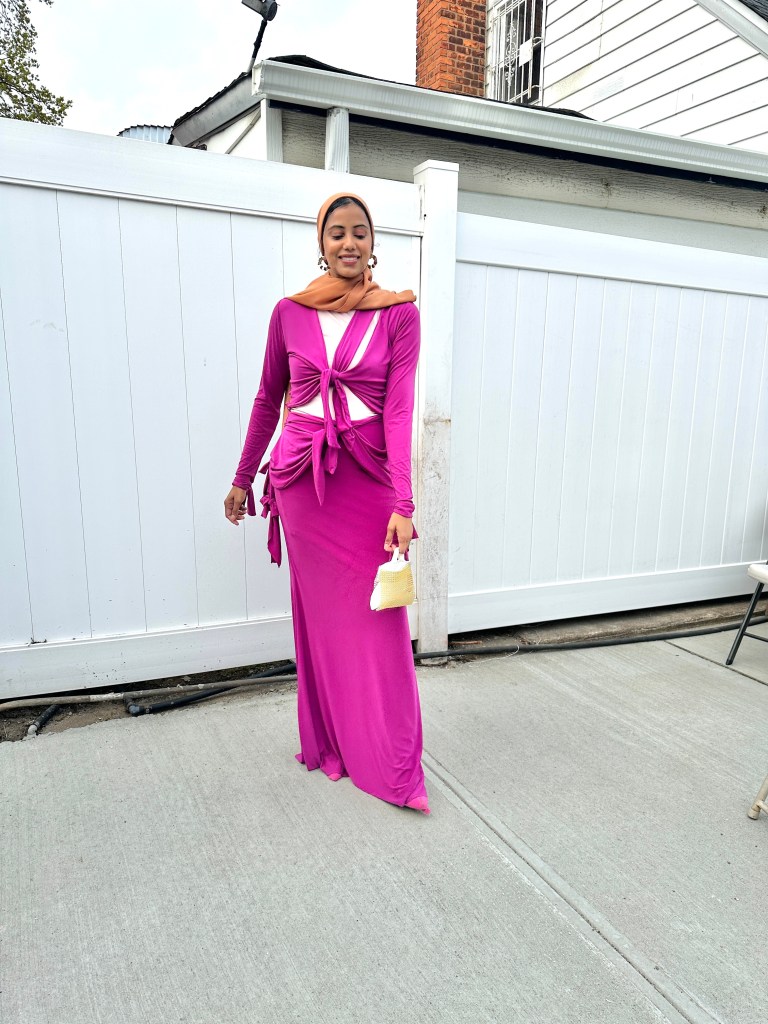
I went through SO many design ideas for a Barbie theme dress! When I saw Kim Kardashian’s bow dress, I fell in love. I love everything about the dress: the sleeves, the cut-outs, the mermaid skirt shape, the BOWS, and especially the fabric!

{Fair Use image post}
Fabric
I purchased eight yards of magenta ITY. I used most of it, save three yards! I went with ITY because I’ve made several items with this fabric and I know how it will perform. Plus, it’s very affordable.
A soft and stretchy fabric, ITY jersey has become a fave since working with knits. In my experience the fabric has to be doubled for the front and back pieces, otherwise it’s too thin and cheap feeling, so I doubled all my pieces except the sleeves. I ordered enough for a long train, which I ended up skipping in my design.
It’s also tricky to see the fabric right side and wrong side. After cutting, the pieces look the same to me! So definitely mark the wrong side. I used a heat-erasable fabric pen.
The actual fabric for Kim’s dress is most likely this shiny finish miliskin nylon spandex. I’ve never worked with this fabric, but it looks like the exact fabric to create this dress! I almost purchased this, but it was out of the budget for me!
{If you’ve worked with this fabric before I would love to know your thoughts! Tag me on socials in a garment you’ve made with it!}
Patterns
I started with two sewing patterns to re-create Kim’s bow dress. The top is Kiana Bonollo Turtleneck pattern, size small. I love this pattern, it’s perfect for 4-way stretch fabrics. I would suggest your usual size (I’m normally XS). ITY is super stretchy and for this style, the top should be snug.
Pattern Mods:
-split the front bodice into two parts – front right side and front left side.
-scoop the front and created a tie-front to the both front side pieces.
-scoop the left side about an inch more to accommodate the strap that will be sewn to the shoulder.
-reduce the back neck by 1/2″.
-cut to my waistline.
-added a center back seam and remove 2″ from the back waistline (sway back adjustment).
-sew the sleeves flat to the bodice instead of easing into the armhole.
The skirt is the Lola Dress by StayStitch Pattern Co, in size four. I would have also preferred a size two for this fabric. I’ve previously turned this pattern into a skirt by cutting 2″ above the shorten/lengthen line on the pattern. That’s slightly below my natural waist. I wish I cut a few inches above that line for a more high-waisted look for this dress re-creation.
Or, I needed to make the skirt a bit more fitted to sit properly at my waist. Once I added the waist tie pieces, the added weight kept rolling the front top of the skirt down. So keep in mind you’ll have to see how this fits at your waist with the waist tie pieces and adjust! I draped the waist tie pieces because that worked better me.
Pattern Mods:
-cut at the shorten/lengthen line plus 2”
-slash and spread from the knee to floor to create a mermaid skirt
-added length to the skirt (I can’t recall how much, it was several inches).
Making the Waist Ties
There are four waist ties. Two in the front and two in the back. This is where most of my time went – figuring out those ties! I used the Lola Dress to draft the waist ties. Like the bodice, the waist ties are one piece with a smaller side to tie. I think starting with a sarong pattern like this one would save a ton of time. You can use it for the more drape-y waist ties that I created and for the more fitted style of Kim’s dress.
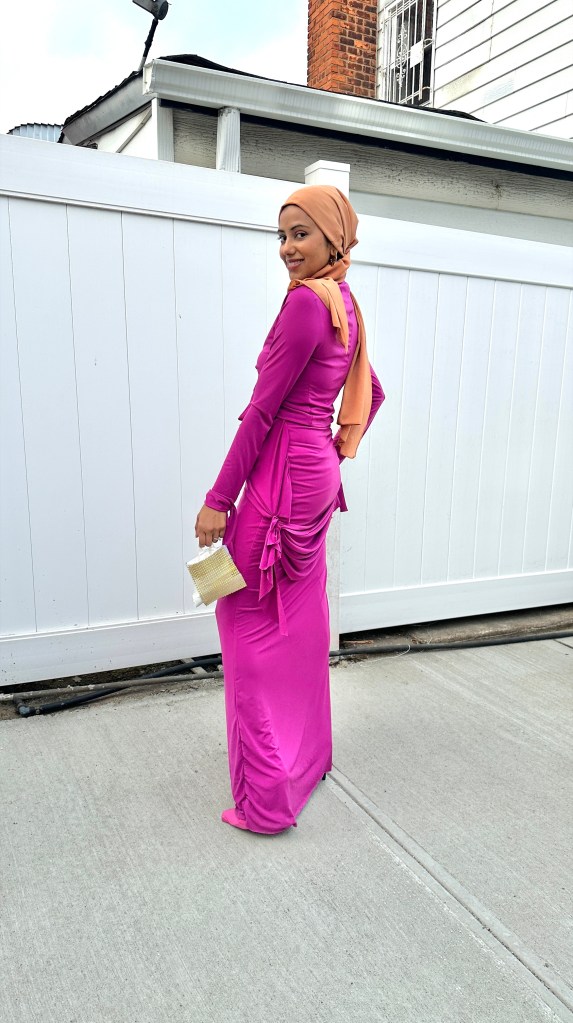
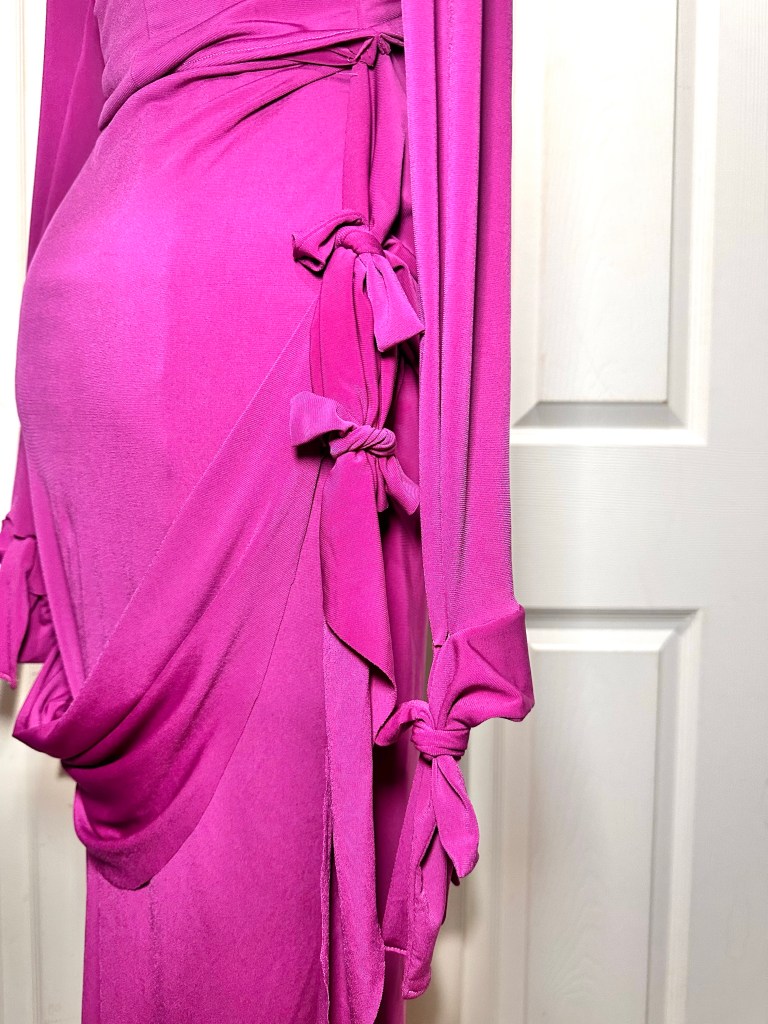
I doubled the waist tie pieces and sewed them right sides together then turned right side out. Except for the last back waist tie – Kim’s dress has another piece that creates a wrapped effect. I tried so many times to get that right, but in the end, it wasn’t working out on me! The very last minute decision I made was to eliminate that part and create bows at the side. So I left the last back waist tie as one piece.
By the time I arrived at the back waist tie, I was so done with this dress! I didn’t double that piece, and I left the edges raw. I finally hand-stiched the back waist tie to my left side hip to hold it in place. Kim’s dress has an additional (or two!) pieces for that wrap effect which connects to the front left hip.
But, that was due to wanting to make my dress as close to Kim’s dress as possibe. In the end, I had to change several elements to make this dress work for me. And that turned out perfectly okay, because my design works better on me than Kim’s dress would!
How to make the Bow Embellishments
This part is a total experiment since I haven’t seen the dress in person. The easiest one to start with is the bodice bow. To have the bow off center, make one tie longer and also pay attention to the point where you scoop the bodice. I went towards the middle, at the top of the bust on one side will be an asymmetrical style.
Since I have two pieces for each side of the bodice (because I doubled my pattern pieces), I sewed each side right sides together. I left a few inches to turn the piece to the right side out. Trim the seam allowance (I followed Kiana Bonollo 1/2” SA), corners and iron the bodice.
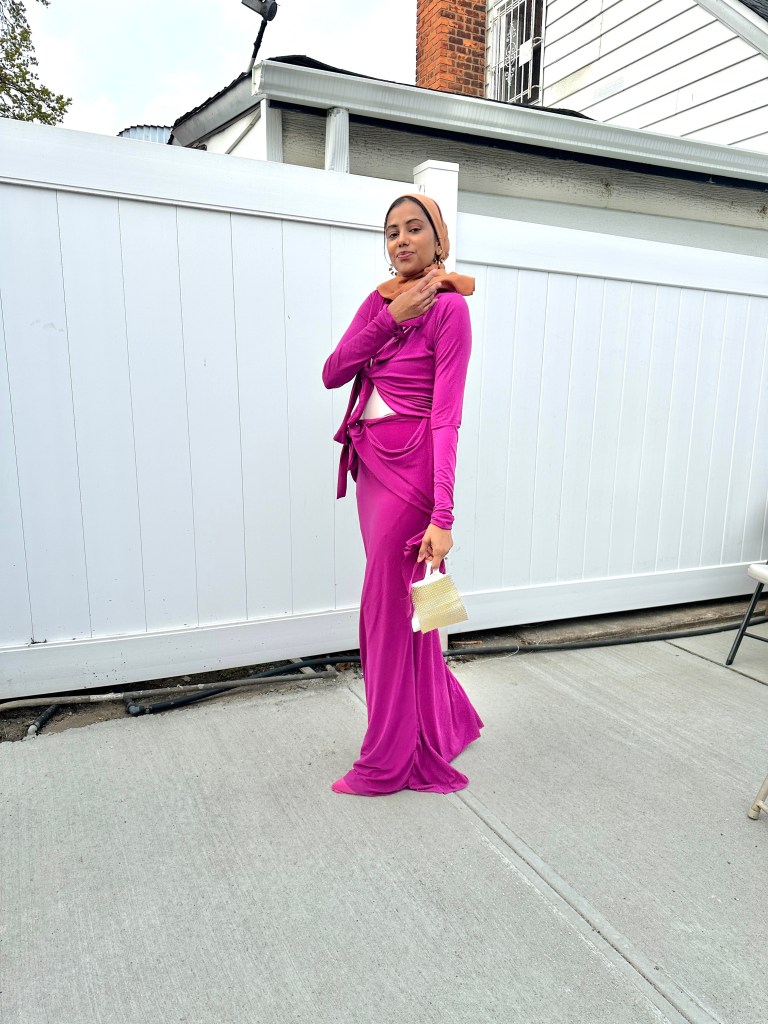
I cut the shoulder strap about 4″ wide by 18″ long. Again, you will have to test the width and length of this one. A total of 4″ width looked about right for this re-creation. I folded it in half and sewed the two sides, then turned it right side out and topstitched the short edge to the shoulder. The shoulder piece is used to wrap the front tie pieces. So instead of making a bow out of the front ties, cross the front ties over and use the strap to wrap around the center of the front ties to create the bow.
This is the method I used for all the bows on this dress! I cut smaller pieces to wrap in the center of the waist ties, the sleeve ties, and the side and & back hip ties.
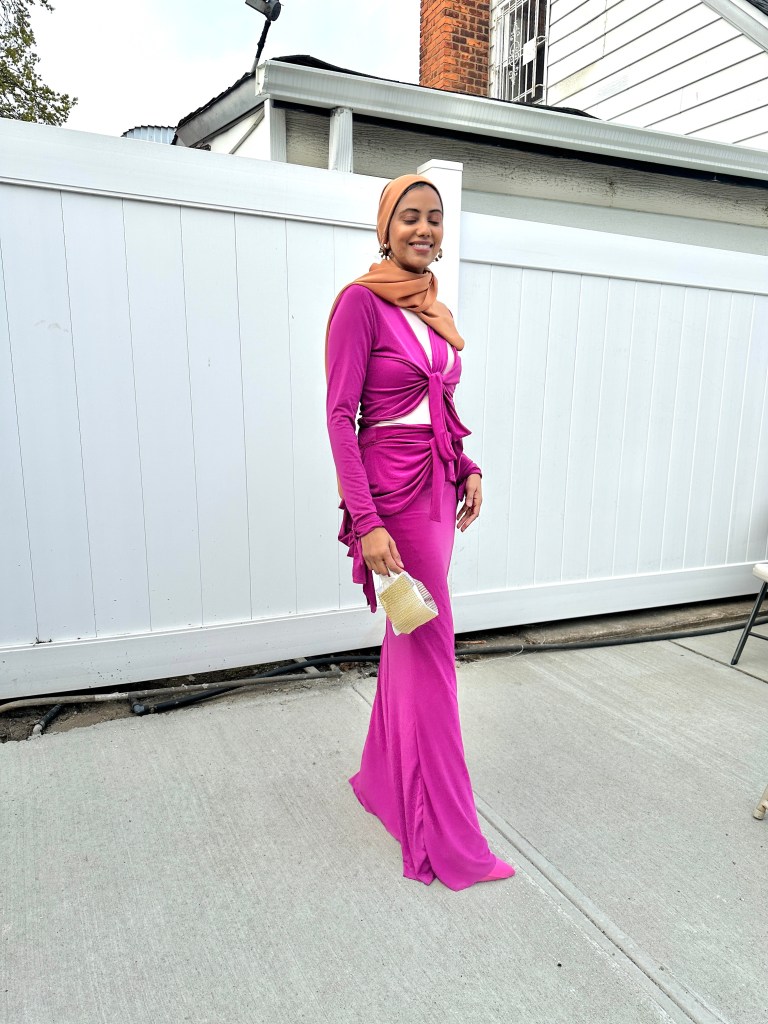
Another thing to note is the length of the ties. Mine are slightly longer than Kim’s dress and a different shape. The shape is due to the fabric (I didn’t interface a thing, so consider that so it can look more like Kim’s actual dress). I had to really pull the straps to have the bodice fit properly on me (the bodice was too loose!) The first drape on the dress form it looked great, but once I wore it, I had to keep pulling the ties. This was just due to the loose fit of the bodice so do make sure you have a pattern that fits very snug over your bust.
I wish I would have made the sleeves ties longer too, and it bothered me so much I almost cut out new ones the night before! It worked out in the end!
Next time I re-create a dress I wouldn’t be so hard on myself. Take the elements you like, but also remember it’s okay if you have to change several elements. The goal isn’t to copy, but to take inspiration!
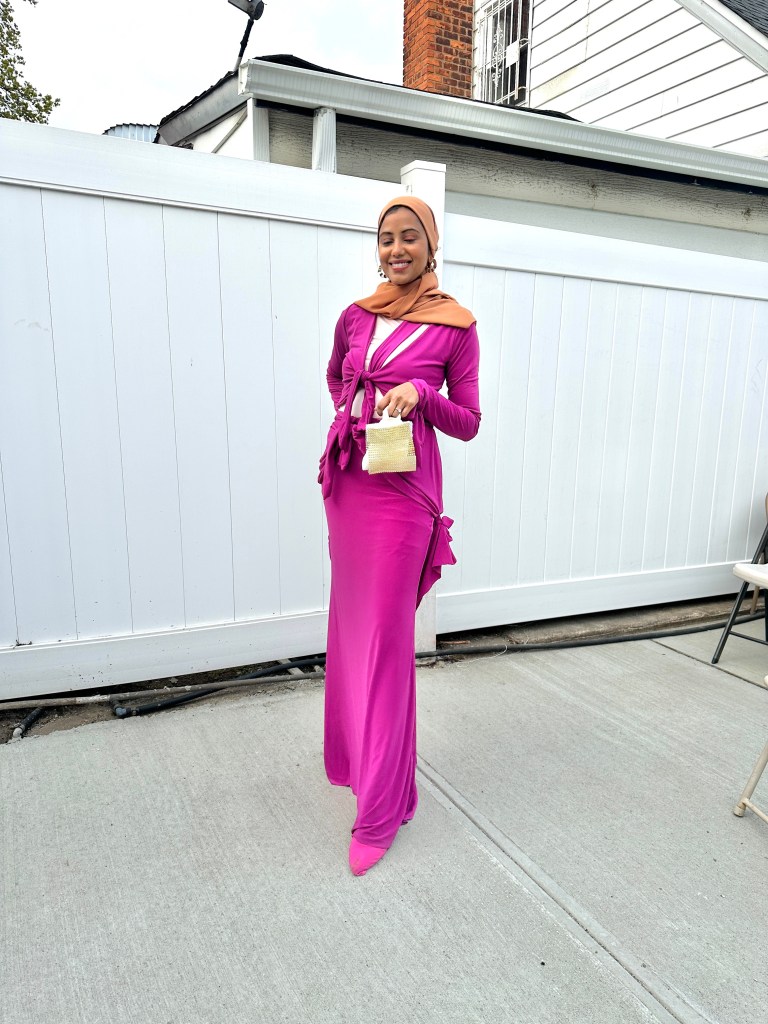
Styling

I wore an Express compression turtleneck bodysuit underneath with a strapless bra. I like this combo but I would like to try a bodysuit with a built-in-bra. I love cut-out styles and I’ve been looking for the happy medium of wearing those styles while still being more modest.
The shoes are my DIY hot pink pantaleggings and the bag is my Cult Gaia inspired rhinestone purse (I made it out of a rhinestone sheet for vase decor. Do you want a tutorial? Let me know in the comments!) I think a mini purse is so cute with this style.
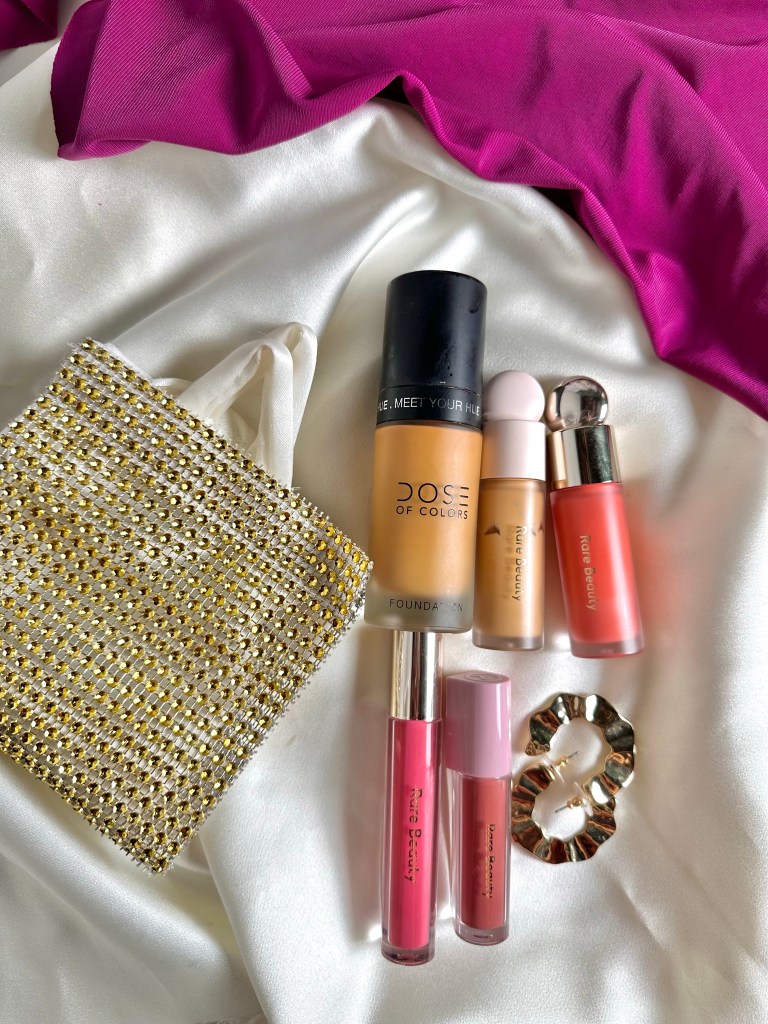
The makeup look was one of my quickest: wore a couple faves!
Follow me on Instagram/TikTok @ammaraza.sews for more content in this dress!
Thanks for reading! Do you love #barbiecore ? Are you excited for the movie?!

