
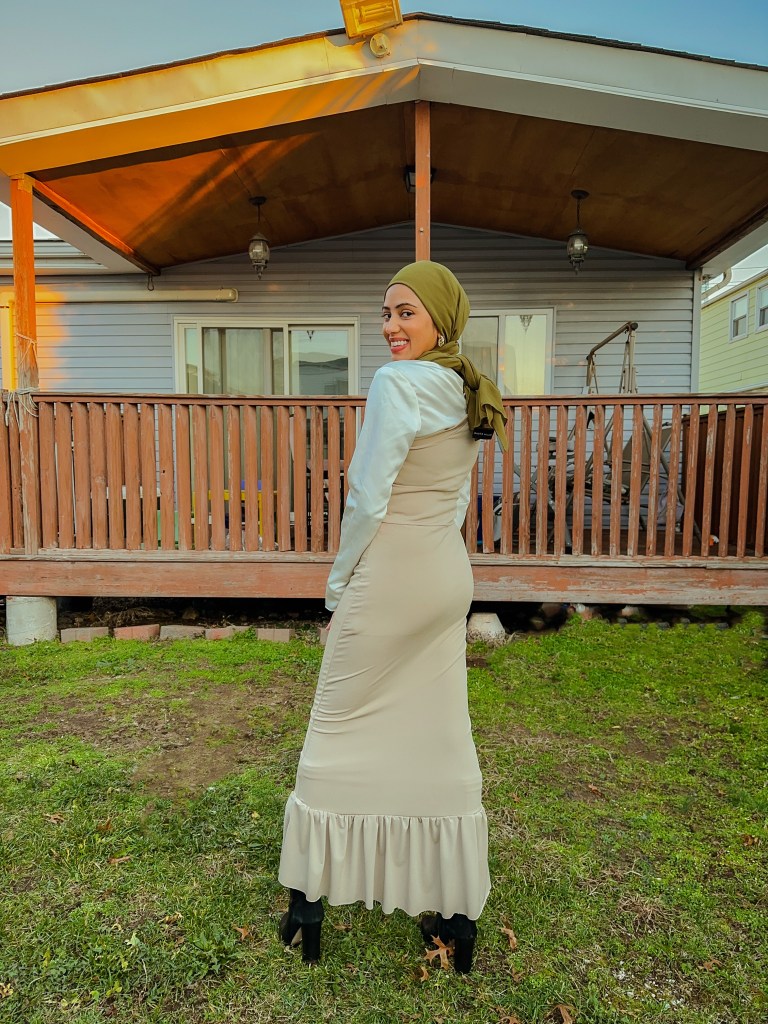
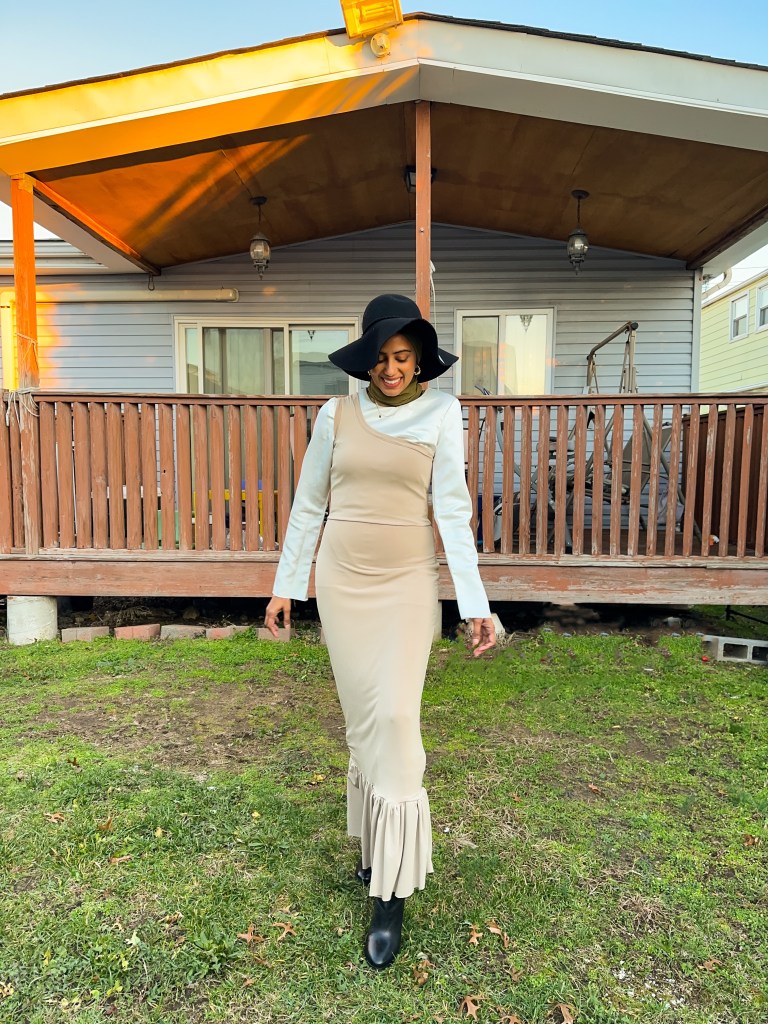
Hey friends! This one-shoulder tank dress is a sewing pattern mash-up of two patterns: the Shelly Tank by Alissa Threads and the Lola Tank Dress by Staystitch Patterns.
I moved this design up on my sewing list after the most annoying thing happened: my instagram account was disabled! Thankfully it’s re-enabled now! It was an annoying situation and I wanted to make something that wouldn’t take much time.
I sewed both patterns before, they were already cut out and ready to be blended together!
I recently started purchasing patterns after years of self-drafting. This two pattern mash-up is a fun way to design a unique garment without the headache from self-drafting!
Continue reading for fabric & pattern tips for the Shelly Tank and Lola Dress pattern mash-up.
Fabric
I’ve slowly gained confidence sewing with knits. I sewed the Muse Bodysuit and Lola, both easy beginner knit-wear sewing patterns. There is a learning curve on understanding the correct tensions for your knit fabric. Both of these projects helped me learn without tons of research:)
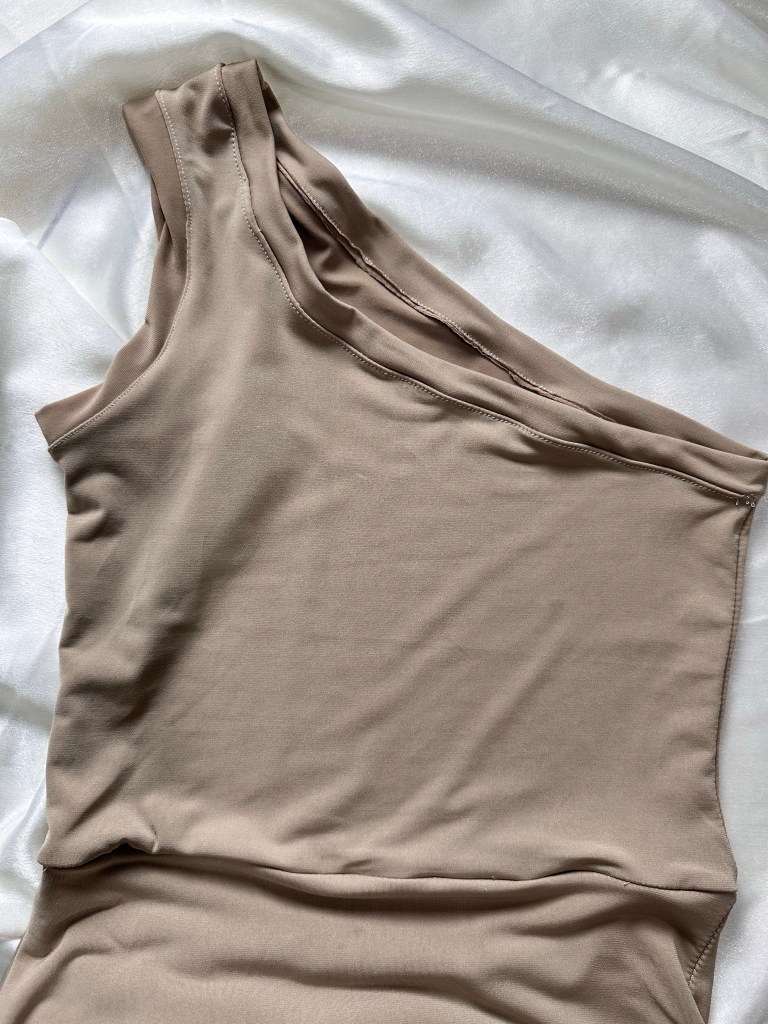
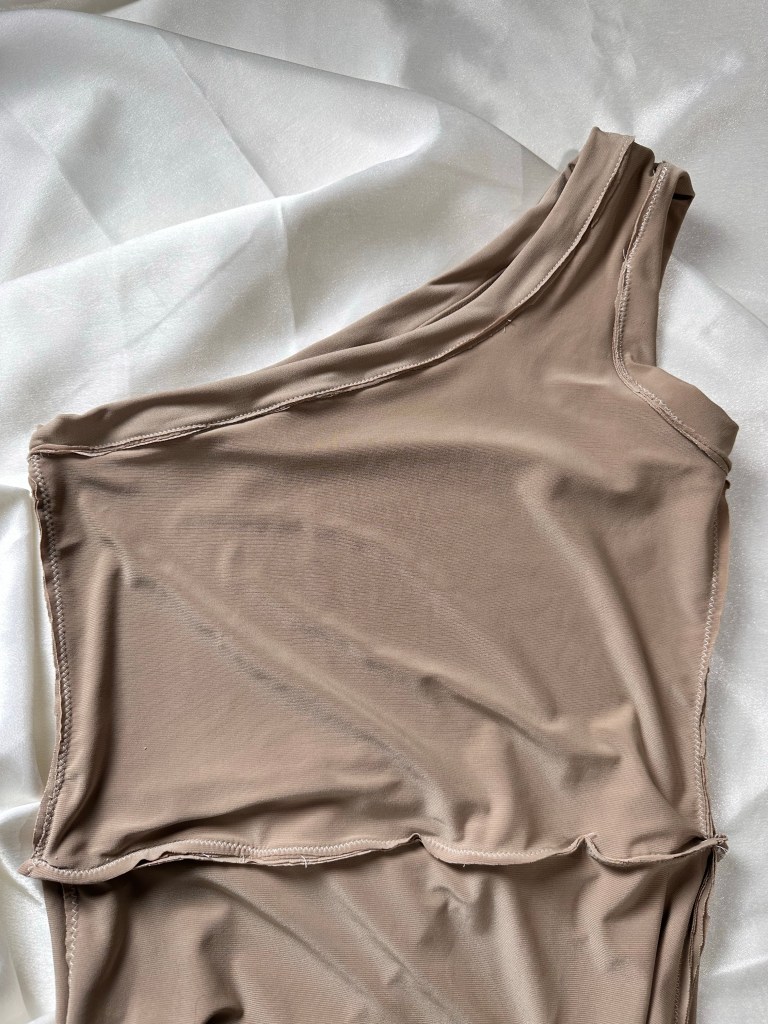
The fabric is a ITY Knit Jersey in Tan from FWD. I had 2 yards of this 60″ wide ITY knit, and used all of it for this Shelly/Lola pattern mash-up.
I double lined all pieces except the ruffle hem. The two layers are absolutely necessary with this fabric. The final result is a beautiful designer look and feel. Two layers of ITY is so much more flattering than one!
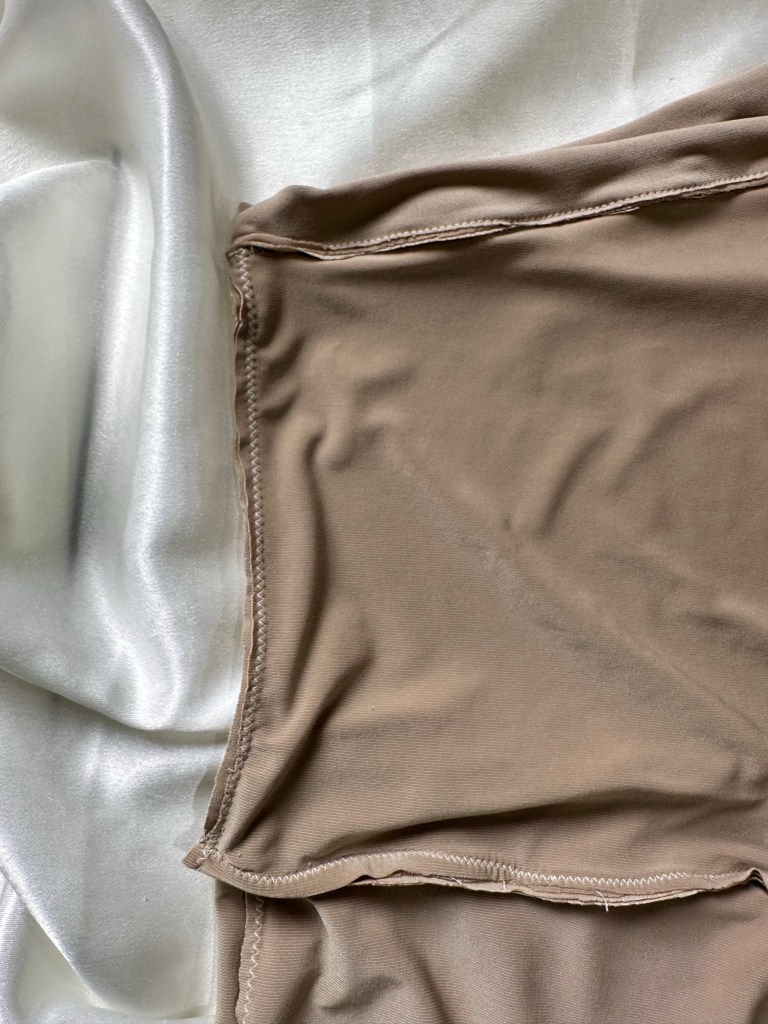
I sewed most seams on my regular machine with a zig-zag stitch. The ruffle hem was sewn with my serger and I’ve detailed my steps below!
Pattern
The easiest thing about the Shelly Tank pattern is the front and back are one piece – no cutting on the fold! I’m in between sizes 2 and 4, and I cut a size 4 per the pattern recommendation. However, I would cut true to size if I were not wearing a top underneath. This fabric, even with two layers, is stretchy knit so you want to be secure in this one-shoulder style.
The Shelly Tank is the first pattern where I quartered the neckband and armband and it easier! than I expected. The pattern instructions were very helpful!
For the Lola Dress, I followed my previous cutting lines to make a skirt, in size 4. I removed an inch from the width of the back for a sway back adjustment.
How to Sew a Ruffle Hem on a Serger
After years of sewing ruffles on my regular machine, I finally tried it on my serger! I have the Brother BabyLock 1040D. I sewed the ruffles then attached it to the dress hem with a zig zag stitch.
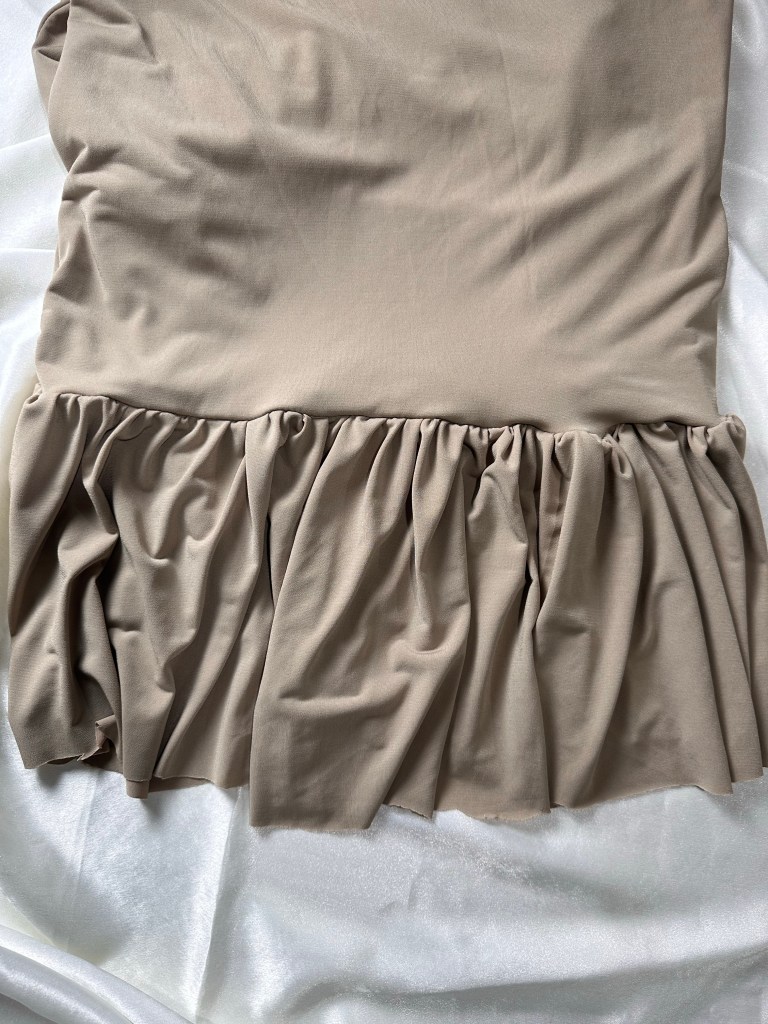
To create the ruffle hem, I cut two pieces about 2.5 times the width of the front hem and the back hem. This means there’s side seams on the ruffle hem. I sewed the side seams last.
Sewing a ruffle hem on the BabyLock serger was simpler than I thought. I wish I tried it sooner! Here’s how I set-up the Brother BabyLock to sew a ruffle hem:
I set the needle tensions to the just about max – this makes a huge difference! When the needle tension isn’t high, the fabric doesn’t gather itself nicely. The upper and lower looper tensions I set in the middle. Next, I set the max differential feed to 2.0.
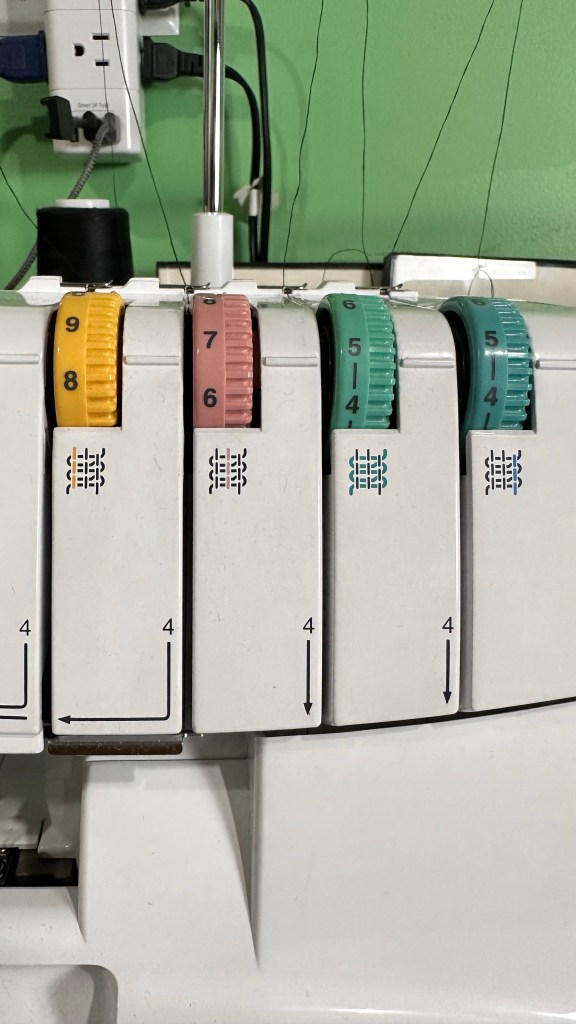
Then, I switched to the gathering foot that came with the serger.
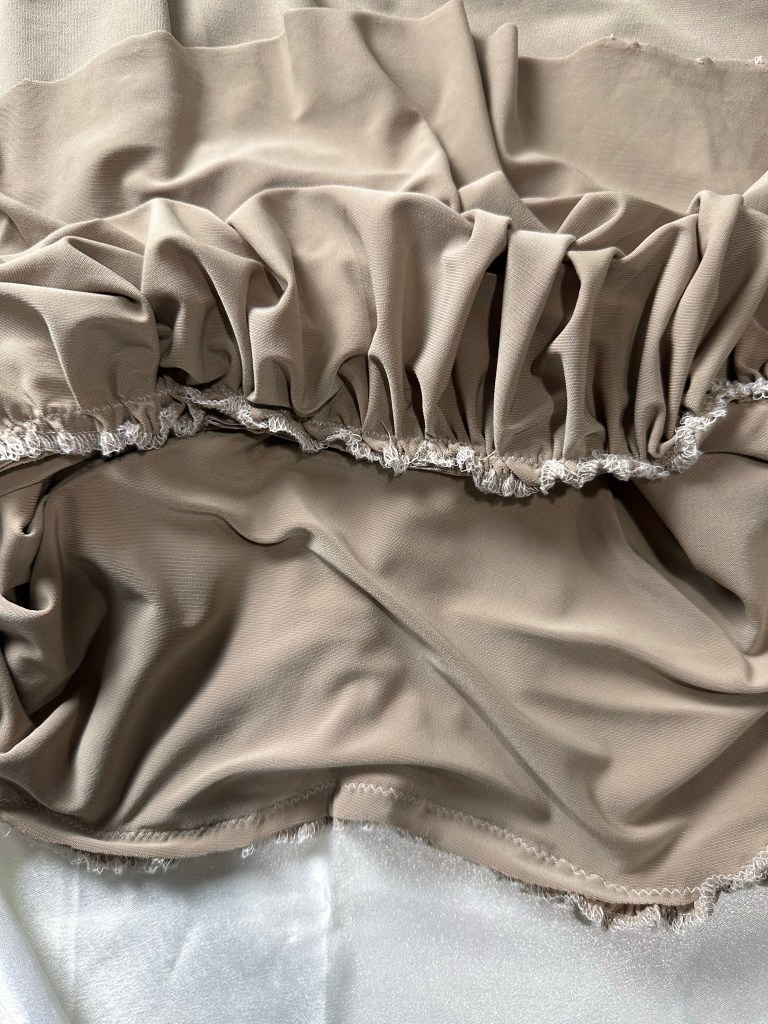
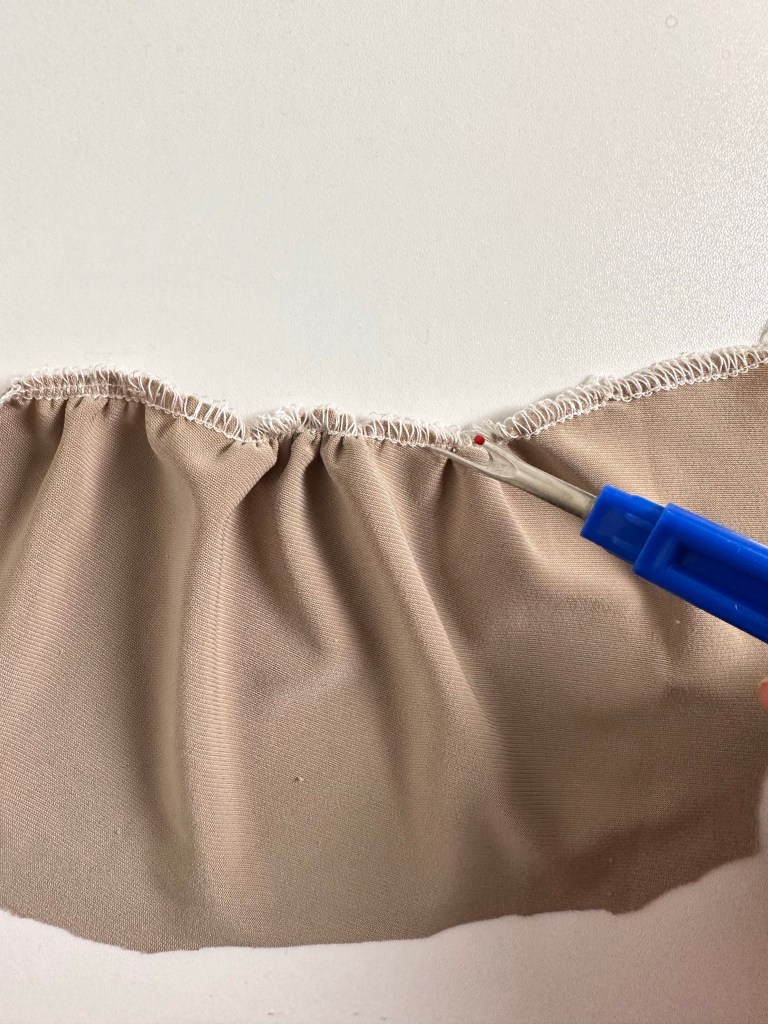
The serger stitches will look loose and out of place, that’s okay.
I still had to fit my gathered piece exactly to the hem of the dress; so to adjust the piece, I unpicked the right needle thread a little bit and pulled to adjust the gathers.
I made two separate gathered pieces – the front and the back, so attaching the new ruffle hem to my dress was easier that that I had smaller pieces to adjust. I joined them at the side seams, marked the placement, then completed the gathered adjustments, then sewed the side seams of the ruffle hem. I attached the ruffle hem to the dress hem with a zig-zag stitch.

For more info + tips on gathering with knits, this post is super helpful! Very detailed with tons of pics!
Styling
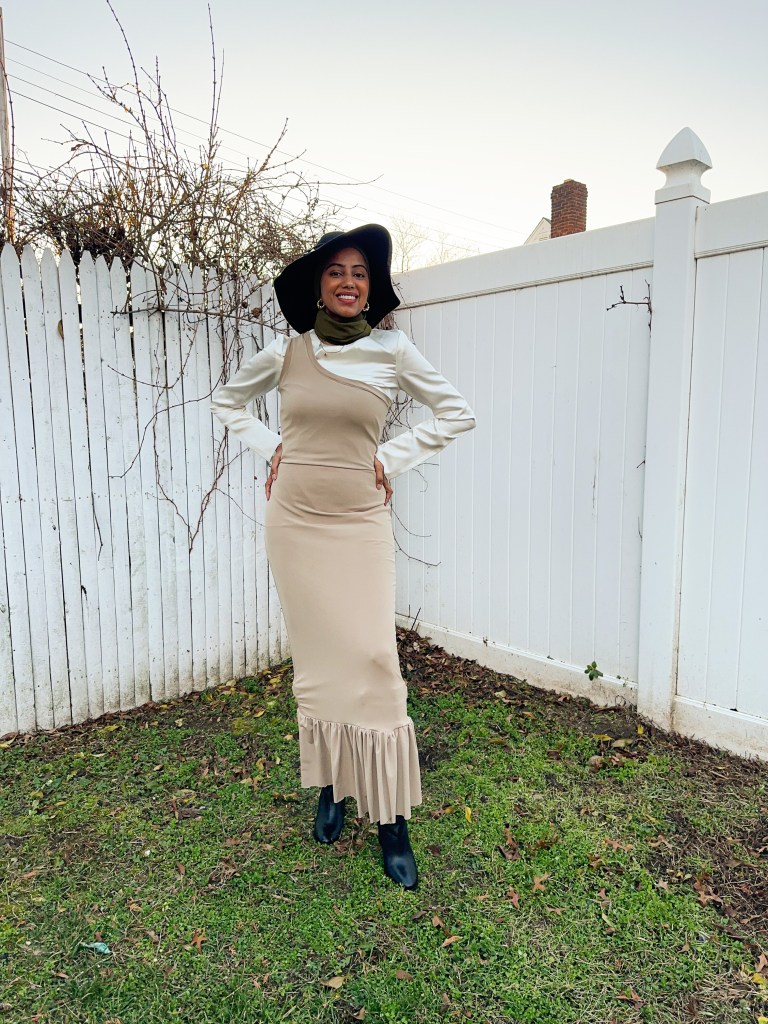
I tried this with a button down shirt. The buttons showed through the jersey so I changed into my silk ivory layering top and I love it so much more.
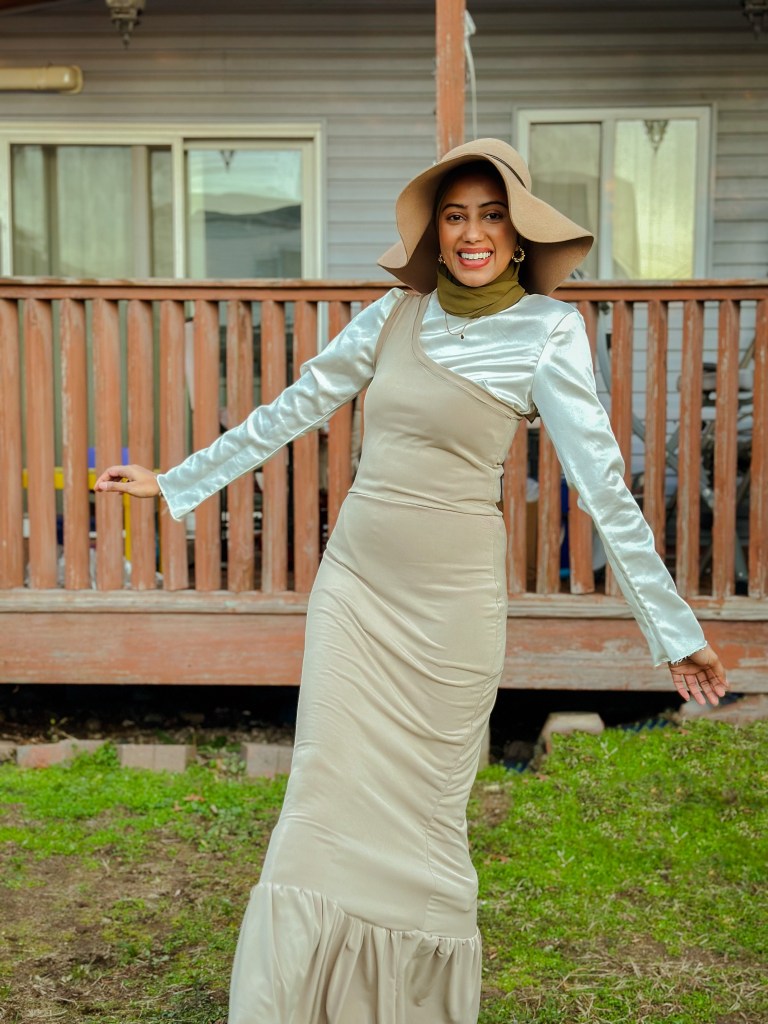
I wore black boots purchased in Istanbul many years ago. Instagram Story poll helped me decide on the camel hat. I do love the black hat too! Small gold hoop earrings and a multi-layer necklace from Express, paired with my Haute Hijab chiffon in Olive completed this style for me.
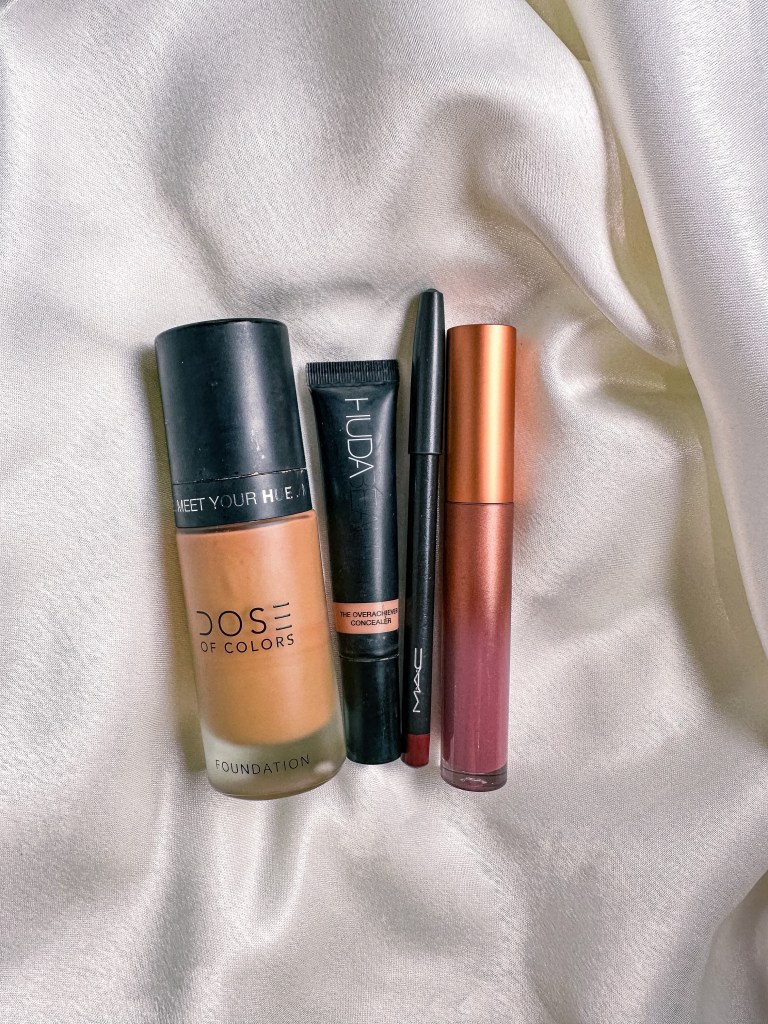
My make up look: Dose of Colors in Medium Tan with Huda Beauty Overachiever concealer in Cookie Dough, and MAC Auburn lip liner, Elaluz lip gloss in Picante.
Thanks for reading!
-Ammara
Follow me on instagram @ammaraza.sews


polished! New Law Requires Companies to Report Diversity Data 2025 gratifying
LikeLike